
How to Replace WB30T10130 12-Inch Dual Radiant Element on GE Range — Step-by-Step
Always unplug the range before working on heating elements. The glass cooktop is heavy and can crack if dropped — use a sturdy prop like a 2x4 to hold it open safely.
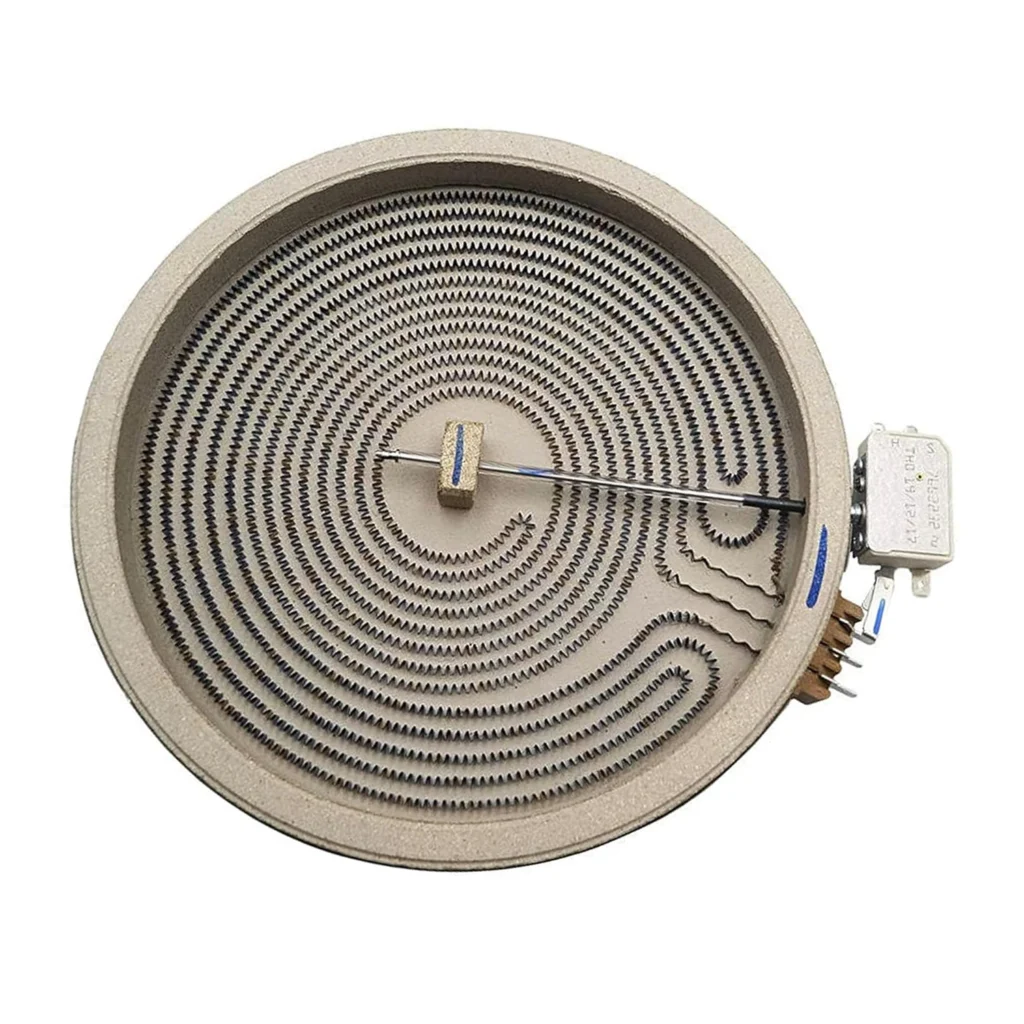
Your GE range was working perfectly fine yesterday, but now the center part of your 12-inch burner won't heat up. One user described it perfectly: "The inner part of element wasn't working" — you turn the knob, the outer ring glows red, but the center stays cold. That's classic dual radiant element failure, and it happens on models like the CS975SD1SS, CS980SN2SS, and dozens of other GE cooktops. The good news? You can replace the WB30T10130 element yourself in about 20 minutes with basic tools.
What You Need Before Starting
One repair tech watched someone do this repair on YouTube and said, "I watched a pregnant woman on Youtube do it so how could it be that hard?" He's right — this is a straightforward fix. Here's what you'll need:
- Pliers — for disconnecting spade connectors
- Screwdrivers (Phillips and flathead) — to remove screws and pry up clamps
- Nut drivers or socket set — depending on your model's screws
- A sturdy box or 2x4 block — to prop the glass cooktop safely
- Heat shrink tubing (optional but recommended) — if your spade connectors look crispy
Repair time: 15-30 minutes
Difficulty: Easy
Safety First
Unplug your range completely before starting. Don't just turn off the burner — pull the plug from the wall or flip the breaker. You'll be working with electrical connections under a heavy glass cooktop, and one slip could crack the glass or worse. Keep that box or 2x4 handy to prop the glass while you work — holding it up with one hand while working with the other is asking for trouble.
Step 1: Access the Element From Below
Crawl under your range and locate the two screws underneath the front edge of the cooktop. Remove these screws, and the glass top will hinge up from the front like a car hood. Don't try to remove the glass completely — it just lifts up and props open. Slide your box or 2x4 block underneath to hold it securely at a comfortable working height. You'll need both hands free for the next steps.
Step 2: Disconnect the Spade Connectors
Look at the element from below — you'll see four spade connectors plugged into terminals. Pull these off with your pliers. One user discovered during this step that "one of the spade connectors for the inner section of element was broken," which explains why only the center coil failed. If your heat shrink tubing looks melted or brittle, cut it off now and plan to replace it with fresh tubing rated for high temps.
Step 3: Release the Element Clamps
Two metal clamps hold the element against the underside of the glass. Use a flathead screwdriver to carefully pry these clamps up and out. They're spring-loaded, so work slowly — you don't want them flying across your kitchen. As one repair person noted, "I had a little trouble removing and replacing the clips that secured the element to the stove surface." Take your time here. The clamps have small spikes that dig into the ceramic element body, so they'll resist a bit.
Step 4: Install the New WB30T10130 Element
Position your new element where the old one sat. Here's the critical part: those clamps have small alignment spikes that must line up with holes in the element body. One tech emphasized this: "making sure to line up small spikes on clamp connectors with holes in element (digs into ceramic material)." If they're misaligned, the element won't sit flush and could crack the glass. Press the clamps back into position until they click securely.
Step 5: Reconnect and Test
Push the spade connectors back onto the new element's terminals. If you're replacing heat shrink, slide it over the connections now and heat it with a lighter or heat gun. Double-check that all four connections are tight — a loose connection on a high-wattage element can cause arcing. Lower the glass cooktop, reinstall those two screws underneath, plug your range back in, and test each zone of the burner. Both the inner and outer rings should glow evenly.
Testing After Installation
Turn the burner to medium-high and watch for even heating across both the center coil and outer ring. It should reach full red glow within 60-90 seconds. If only one section heats, you've got a loose spade connector — unplug and check your connections. Also listen for any buzzing or arcing sounds, which would indicate a poor connection. One user reported after replacement: "Plugged back in and tested. Working fine now." That's what you're looking for.
Frequently Asked Questions
Why did only the center part of my dual element stop working?
Dual radiant elements have separate coils for the inner and outer zones, each with its own electrical connection. The inner coil typically fails first because it heats and cools more frequently during cooking. A broken coil inside the element or a failed spade connector will kill just that zone while the outer ring keeps working. This part — WB30T10130 — is the complete assembly, so replacing it fixes both zones.
Do I need to replace the clamps, or can I reuse the old ones?
Reuse the original clamps unless they're bent or corroded. They're designed to last through multiple element changes. Just make sure those alignment spikes are intact — if they've broken off, order new clamps. The spikes are what keep the element from shifting under the glass, which could cause cracking or uneven heating.
What temperature rating should replacement heat shrink tubing have?
Use heat shrink rated for at least 400°F, though 600°F is better for peace of mind. The area under your cooktop gets seriously hot during use. One repair person noted that "whatever was there didn't cut it" after finding melted insulation. Spend the extra two bucks on high-temp tubing — it's cheap insurance against another connector failure.
Line up the clamp alignment spikes with the holes in the element body before pressing the clamps into place — misalignment can crack the element or glass during operation.
Need the part for this repair?
WB30T10130 · In Stock · Ships next business day