
How to Replace W10846539 Refrigerator Evaporator Fan Motor on Whirlpool Fridge — Step-by-Step
Always unplug the refrigerator completely before starting this repair. Working near evaporator coils and electrical connections while powered can cause shock or damage to the control board.
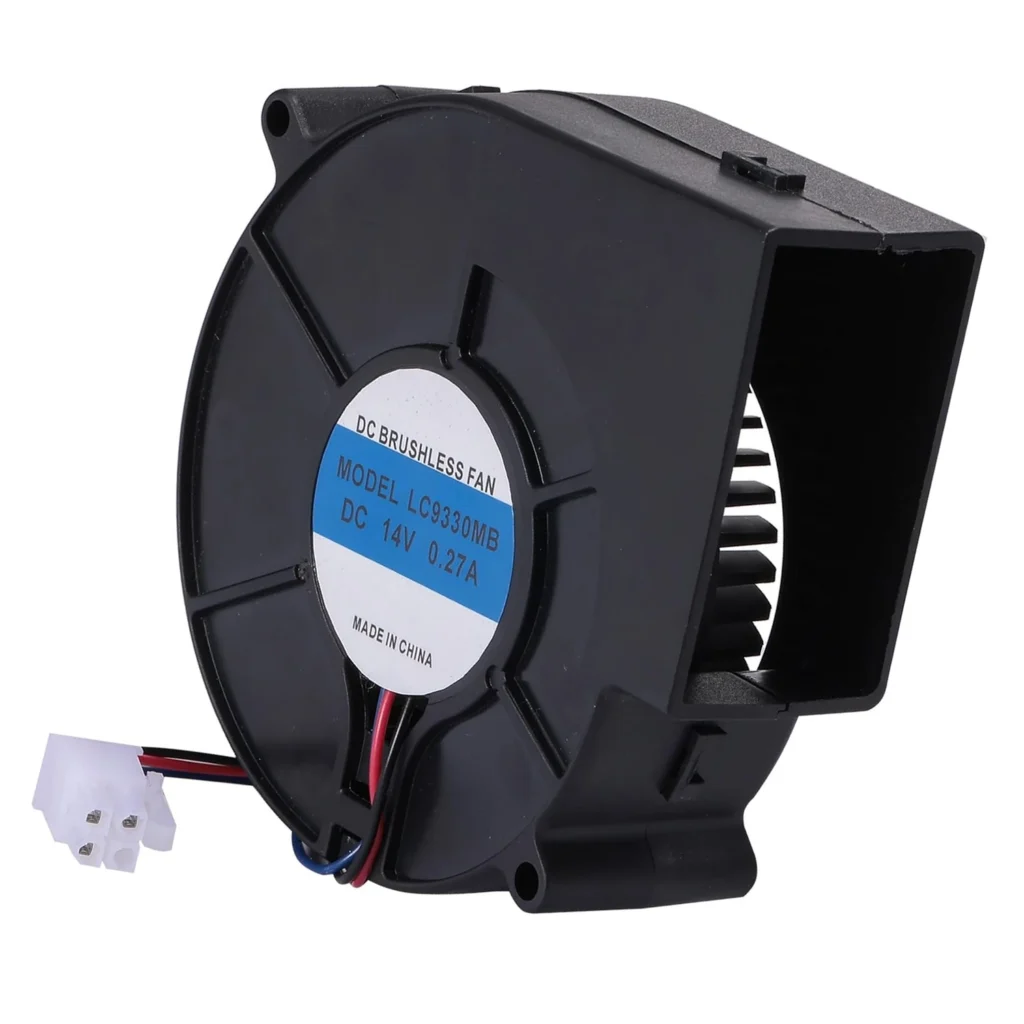
Your refrigerator's running constantly, making a grinding noise that won't quit, and the freezer section's barely keeping food frozen. You've probably got a failing evaporator fan motor — and if you've got a Whirlpool, KitchenAid, or Maytag French door model from the last decade, the W10846539 is your replacement part.
This motor circulates cold air from the evaporator coils throughout both compartments. When it fails, you'll notice warm spots in the fridge, ice buildup on the back wall, or complete cooling failure in one section while the other works fine. It's a common failure point on models like the WRF757SDHV and similar French door units.
What You Need Before Starting
This repair takes about 45 minutes to an hour, depending on how much frozen food you need to relocate. You'll need:
- 1/4-inch nut driver or socket set
- Phillips head screwdriver
- Flathead screwdriver for panel clips
- Towels (for any frost melt)
- Cooler for frozen food storage
- Flashlight or headlamp
Repair Time: 45-60 minutes
Difficulty: Moderate — requires removing freezer panels and working in tight spaces
Safety First
Unplug the refrigerator completely before starting. Don't just turn off the internal controls — you're working near wiring and the compressor system. If your freezer has heavy frost buildup, let it thaw for 30 minutes with the door open and towels underneath. Working around ice makes this repair twice as hard and you risk cracking plastic components.
Step 1: Empty the Freezer and Remove Shelving
Pull out all the wire shelves, ice bins, and drawers from the freezer compartment. You need complete access to the back wall. On French door models, there's usually an ice maker assembly on the left side — you don't need to remove it, but lift it slightly out of the way if needed. Set everything in your cooler with ice packs.
Step 2: Remove the Evaporator Cover Panel
The back wall of your freezer isn't solid — it's a plastic cover hiding the evaporator coils and fan. You'll see 6-8 Phillips screws around the perimeter, usually along the top and sides. Remove these screws and set them aside. Some models also have plastic clips at the bottom — gently pry these with a flathead screwdriver. Pull the panel forward from the top, then lift it up and out. It's lightweight but awkward in the confined space.
Step 3: Disconnect and Remove the Old Fan Motor
You'll now see the evaporator coils (silver tubes) and the fan motor mounted on a bracket in the center. The fan blade sits directly on the motor shaft. First, unplug the wire harness — it's a white plastic connector usually clipped to the side. Pull the connector, not the wires. Next, remove the fan blade by pulling it straight off the shaft (some have a small set screw you'll need to loosen first). The motor itself is held by two or three screws on a metal mounting bracket. Remove these screws and lift the motor assembly out.
Step 4: Install the W10846539 Replacement Motor
Position your new W10846539 motor on the same mounting bracket, aligning the screw holes. Thread the screws in, but don't fully tighten yet — you might need to adjust alignment once the fan blade's on. Slide the fan blade onto the motor shaft (the flat side of the shaft should match the flat side in the blade hub). Make sure it's seated fully. Spin it by hand — it should rotate freely without hitting the coils or housing. Now tighten the mounting screws and plug in the wire harness until it clicks.
Step 5: Reassemble and Test
Before you put the cover panel back, plug the fridge in temporarily and listen. The fan should start spinning immediately, moving air smoothly without wobbling or grinding. If it's silent, check that the wire harness is fully connected. Once confirmed working, unplug again, reinstall the evaporator cover panel with all screws and clips, replace your shelves and food, then plug back in permanently.
Testing After Installation
Give it 4-6 hours to reach proper temperature. Check that cold air is flowing from the vents at the top of the fridge section. Your freezer should hit 0°F within 8 hours. Listen for smooth, quiet operation — no grinding, squealing, or clicking. If the fan runs intermittently, that's normal — it cycles with the compressor. If it doesn't run at all after 30 minutes, recheck your wire connection.
Frequently Asked Questions
Will this motor fit my KitchenAid or Maytag fridge?
Yes, the W10846539 crosses multiple brands under the Whirlpool family. It replaces part numbers W10460280, W10667566, and W10833801. Check your model number against the compatibility list — it fits most French door models from 2012-2020, including Jenn-Air and Kenmore Elite units built by Whirlpool.
Why does my freezer have frost buildup but the fridge is warm?
That's the classic symptom of evaporator fan failure. The compressor and evaporator coils are still working (creating cold air and frost), but without the fan circulating that air, it stays trapped in the freezer section. The fridge compartment depends entirely on fan-driven airflow from the freezer, so when the fan dies, the fridge warms up while the freezer over-cools and ices over.
Do I need to defrost the freezer completely before replacing the fan?
Not completely, but heavy ice buildup makes the job miserable. If you've got more than a quarter-inch of frost on the evaporator coils, let it thaw for 20-30 minutes with the door open before starting. You don't need bone-dry conditions, just enough clearance to work without ice chunks falling on you and blocking access to the mounting screws.
How long should a refrigerator evaporator fan motor last?
Typically 8-12 years under normal conditions. Failure happens faster if you live in a humid climate (more frost cycling), leave the door open frequently (overworks the motor), or if the defrost system isn't functioning properly (excessive ice causes the fan to labor and burn out prematurely).
Before reassembling everything, spin the new fan blade by hand to check clearance. It should rotate freely without scraping coils or housing — adjusting now saves you from disassembling again later.
Need the part for this repair?
W10846539 · In Stock · Ships next business day