
How to Replace W10199989 Washer Control Timer on Whirlpool & Estate Washers — Step-by-Step
Unplug washer completely before working on electrical components. Timer connects to 120V household current.
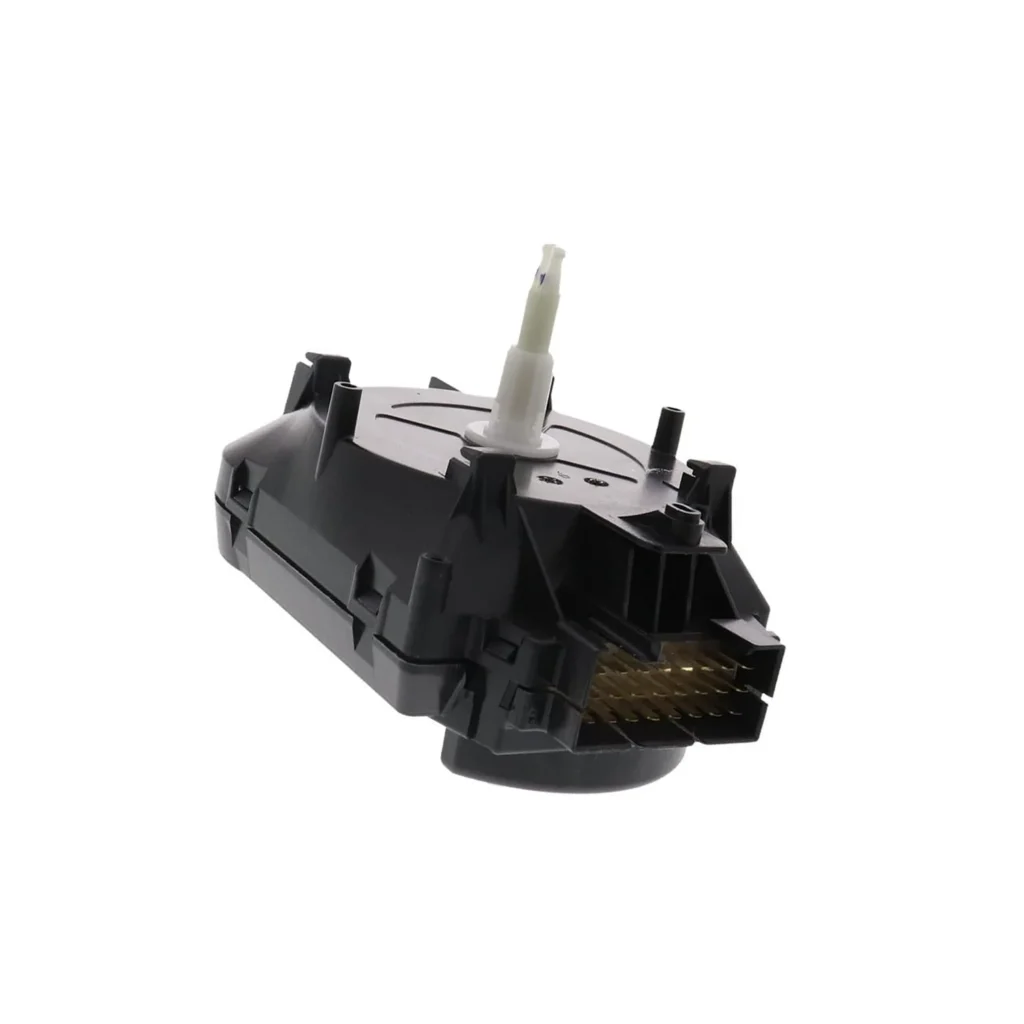
Your Estate ETW4400WQ1 starts filling but never advances to the wash cycle. Or maybe your Roper RTW4440VQ1 keeps running through cycles without stopping, flooding your laundry room floor. Nine times out of ten, that's a failed control timer — the brain that tells your washer when to fill, agitate, drain, and spin.
The W10199989 timer is the original equipment part used across Estate, Amana, Admiral, and Roper top-load washers from the mid-2000s through early 2010s. When it fails, you'll notice cycles that won't start, won't advance, or won't stop. Replacing it yourself takes about 45 minutes and saves you $150-200 in service call fees.
What You Need Before Starting
This is a straightforward replacement that requires basic hand tools:
- 1/4" nut driver or socket wrench
- Phillips screwdriver
- Flathead screwdriver (for releasing wire harness clips)
- Phone or camera (to document wire connections)
- Masking tape and marker (optional, for labeling wires)
Estimated Time: 45-60 minutes
Difficulty: Moderate — You'll be working with multiple wire connections behind the control panel
Safety First
Unplug your washer from the wall outlet before starting any work. The timer connects to 120V household current, and you'll be handling multiple live wire terminals. If your washer is hardwired, flip the dedicated breaker at your electrical panel. Water and electricity don't mix — make sure the area around your washer is dry before you begin.
Step 1: Remove the Control Console
The timer sits behind your washer's control panel. Pop open the end caps on both sides of the console (they usually pull straight off or pry with a flathead). You'll find two or three screws holding the console to the washer cabinet — typically 1/4" hex head screws. Remove these screws and tilt the console back. It's hinged at the bottom, so it'll swing toward you like opening a car hood. Some models have plastic clips instead of hinges — lift straight up if it doesn't pivot.
Step 2: Document Your Wire Connections
This is the most critical step. The W10199989 timer has 8-12 wire terminals, and they must go back exactly where they came from. Take clear photos from multiple angles before touching anything. Better yet, use masking tape to label each wire with its terminal number (they're usually stamped on the timer body). The main harness connector has a locking tab — press it and pull straight out. Individual spade connectors pull straight off with gentle wiggling.
Step 3: Remove the Timer Dial and Mounting Hardware
Pull the timer knob straight off the shaft (it's friction-fit, no screw). Behind it, you'll find a small screw or clip holding a trim ring — remove that. The timer itself mounts to the console with two screws or a metal bracket. On Estate ETW4400 series models, it's two Phillips screws through the front of the panel. On Roper RTW4440 models, there's a metal mounting bracket held by two screws from behind. Remove the mounting hardware and the old timer will come free.
Step 4: Install the New W10199989 Timer
Position your new timer in the mounting holes and secure it with the original screws. Don't overtighten — you're threading into plastic. Reinstall the trim ring and push the dial onto the shaft until it clicks (the flat side of the shaft matches the flat inside the knob). Now reconnect your wires using your photos as reference. The main harness connector will click when properly seated. Individual spade terminals should slide on firmly — if one feels loose, give the terminal a slight squeeze with needle-nose pliers before connecting.
Step 5: Reassemble and Test
Swing the console back into position and replace the mounting screws. Snap the end caps back on. Plug in your washer and turn the timer dial to a short cycle (like Spin Only or Drain & Spin). The washer should respond immediately. Run through a complete Normal cycle with no clothes to verify all functions — fill, agitate, drain, and spin. If the timer advances but the washer doesn't respond, double-check your wire connections against your photos.
Testing After Installation
Set the timer to the start of a Normal cycle and listen for the fill valve to open within 5 seconds. Let it fill for a minute, then advance the dial manually through the cycle. You should hear the motor engage for agitation, the pump activate for drain, and the motor shift to high speed for spin. If any function is missing, you've got a wire on the wrong terminal. The timer itself includes a built-in click mechanism — you should feel distinct detents as you rotate the dial.
Frequently Asked Questions
Will this timer work on my Whirlpool washer even though it says Estate/Amana?
Yes — Whirlpool owns Estate, Amana, Admiral, and Roper. The W10199989 is the same timer used across all these brands for specific model series from the mid-2000s. Check your model number against the compatibility list. Models starting with ETW, NTW, ATW, RTW, and ITW from that era typically use this timer. If your original timer was stamped WPW10199989 or had part numbers 1481913 or AP6016888, this is your exact replacement.
My washer runs but the timer doesn't advance — is the timer definitely bad?
Not necessarily. If the timer motor isn't running, check for 120V at the timer motor terminals during a cycle (you'll need a multimeter). No voltage means you've got a wiring problem or a bad lid switch cutting power to the timer. If you have voltage but the timer doesn't advance, then yes, the timer motor inside the W10199989 assembly has failed. Also check that nothing is binding the timer dial mechanically — sometimes detergent buildup can gum up the works.
Can I test the old timer to confirm it's bad before ordering?
You can do a basic continuity test with a multimeter, but it won't tell you much. Timers are complex — they're essentially a series of cams and switches that open and close at specific points in the cycle. A timer can show perfect continuity on your bench but still fail to sequence properly under load. The most reliable test is substitution. If your washer has cycle problems, the timer is original (10+ years old), and you've ruled out simpler issues like a bad lid switch or clogged pressure switch, replacing the W10199989 timer solves the problem 90% of the time.
Photograph wire connections from multiple angles before disconnecting anything. Label wires with masking tape if your photos aren't clear.
Need the part for this repair?
W10199989 · In Stock · Ships next business day