
How to Replace DC97-16984A Washer Clutch Assembly on Samsung Top-Load Washers — Step-by-Step
Unplug washer completely before starting repair. Use caution when tilting unit — get help if working alone. Wear gloves to protect hands from sharp edges and grease.
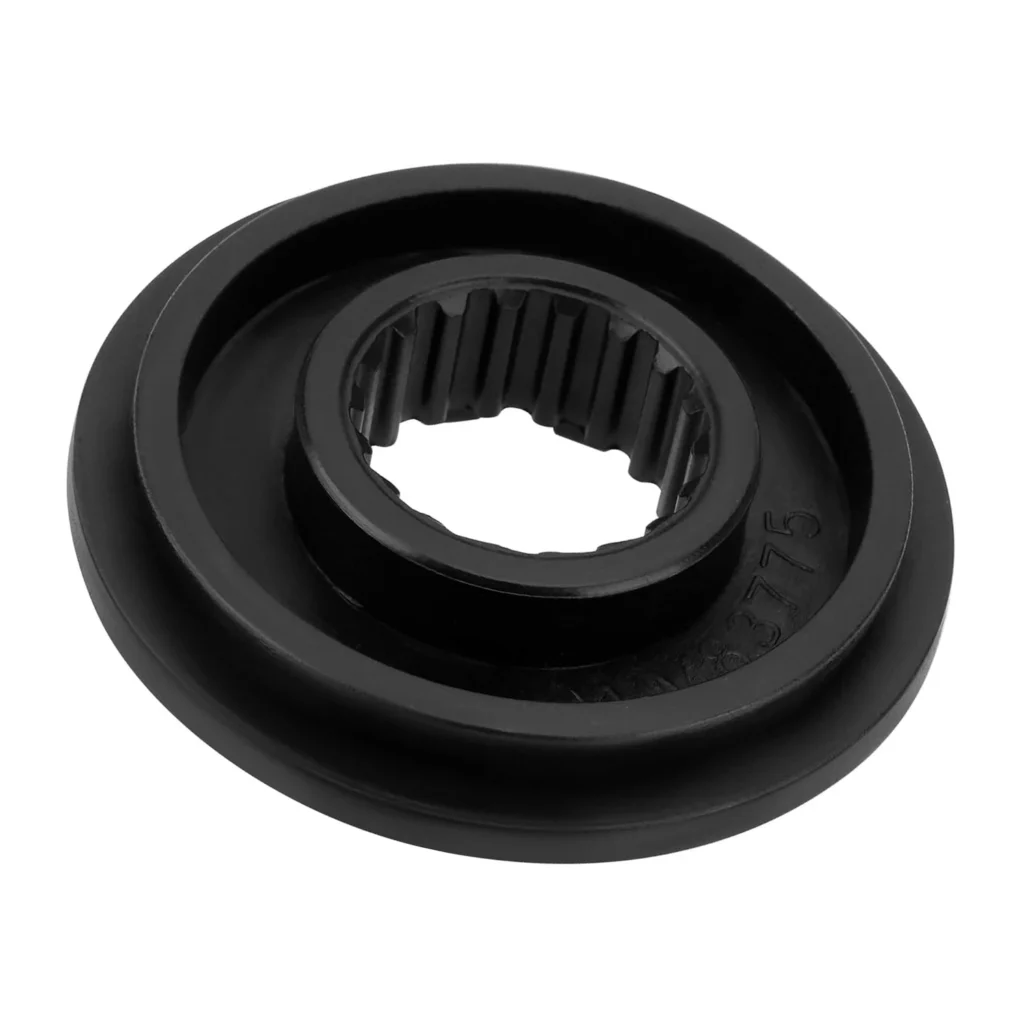
Your Samsung washer sounds like it's trying to launch itself into orbit during the spin cycle. That loud rattling noise coming from underneath isn't normal, and if you've noticed your clothes are still soaking wet after a complete wash cycle, you're dealing with a failing clutch assembly. The DC97-16984A clutch gear coupling is the mechanical link between your washer's motor and the drum — when it wears out, you lose the power transfer needed for proper spinning and agitation.
What You Need Before Starting
This is a moderately challenging repair that requires disassembling the lower half of your washer. Set aside a full afternoon and make sure you've got these tools ready:
- Socket set (10mm, 12mm, and 14mm sockets most common)
- Phillips and flathead screwdrivers
- Adjustable wrench or clutch removal tool
- Shop towels (expect some residual water)
- Work gloves
- Digital camera or phone (to document wire connections)
Estimated Time: 2-3 hours for first-time repair
Difficulty: Moderate — requires patience and some mechanical aptitude
Safety First
Unplug your washer from the wall outlet completely. Don't just flip the circuit breaker — physically disconnect it. These top-load Samsung washers are heavy and awkward to work on, so if you're working alone, take your time when tilting or moving the unit. Water may drain from the pump area when you access the clutch, so have towels ready. Wear gloves when handling the old clutch assembly, as the coupling grease can be messy and the metal edges are sharp.
Step 1: Access the Lower Cabinet
Slide the washer away from the wall to give yourself working room. Remove the three or four screws securing the rear access panel — these are typically along the top edge and sides. On models like the WA45H7000AW and WA456DRHDWR, you'll need to tip the washer back against the wall at about a 45-degree angle to access the bottom components. Have someone help you with this, or prop it securely. The clutch assembly sits directly below the wash basket, connected to the motor.
Step 2: Disconnect the Motor and Drive Components
Take photos of all wire harness connections before disconnecting anything. Locate the motor mounting bolts (usually three 10mm bolts) and remove them. The motor will still be connected by wires — you don't need to fully remove it, just create enough slack to access the clutch. Disconnect the wire harness from the rotor position sensor if your model has one. On the WA45K7100AW and newer models, there's a white plastic shield covering the clutch that needs to come off first.
Step 3: Remove the Old Clutch Assembly
The clutch assembly is held by a large center nut that threads onto the transmission shaft. This nut is tight — really tight. Use your socket wrench or adjustable wrench to turn it counterclockwise. You may need to wedge a piece of wood against the clutch to prevent the shaft from spinning while you loosen the nut. Once the nut is off, the entire clutch assembly should slide straight up and off the shaft. Inspect the splines on the transmission shaft for any damage or metal shavings — if they're chewed up, you've got bigger problems.
Step 4: Install the New DC97-16984A Clutch
Clean the transmission shaft thoroughly with a shop towel. Slide the new DC97-16984A clutch assembly down onto the shaft, making sure the splines align properly — don't force it. The clutch should seat fully with the mounting surface flush against the transmission housing. Thread the retaining nut back on and tighten it firmly. You want it snug enough that it won't vibrate loose, but don't go crazy with the torque. Reconnect the motor to its mounting points and reattach all wire harnesses exactly as you photographed them.
Step 5: Reassemble and Test
Lower the washer back to its normal position carefully. Replace the rear access panel and secure all screws. Before pushing the washer back into place, plug it in and run a test cycle. Start with a small load and select the spin cycle. Listen for that rattling noise — it should be completely gone. The drum should spin up smoothly and reach full speed without hesitation. Check that water is being properly extracted from your test load. If everything sounds and performs normally, you're done.
Testing After Installation
Run a complete wash cycle with a medium-sized load to verify proper operation. The washer should agitate normally during the wash phase — no weak or inconsistent movement. During the spin cycle, the drum should reach full speed within 15-20 seconds and maintain it steadily. Your clothes should come out barely damp, not dripping wet. Listen for any unusual noises during acceleration or deceleration. If you hear grinding or clicking sounds, stop the cycle immediately and recheck your installation.
Frequently Asked Questions
How do I know if my clutch assembly is worn out or if it's a different problem?
A failing clutch assembly creates very specific symptoms. You'll hear loud rattling or banging during the spin cycle that sounds like it's coming from underneath the washer, not from the drum itself. The drum will spin, but weakly — clothes stay soaking wet even after a full spin. During the wash cycle, agitation might be sluggish or inconsistent. If your washer won't spin at all and makes a humming sound, that's more likely a motor or control board issue. The clutch failure is mechanical and progressive — it gets gradually worse over several weeks of use.
Can I use this DC97-16984A clutch on older Samsung washer models?
This clutch assembly works across a wide range of Samsung top-load washers manufactured from approximately 2012 to 2019. It's confirmed compatible with the WA400, WA422, WA456, WA45H, and WA45K series models. It replaces older part numbers AP5653129, PS4276400, and 3282696. Check your model number against the compatibility list — it's usually on a sticker inside the door rim or on the back panel. If your washer is from before 2012, you might need a different clutch assembly, so verify the part number from your existing clutch before ordering.
What causes the clutch assembly to wear out prematurely?
The clutch gear coupling assembly handles enormous mechanical stress every time your washer spins, especially with heavy or unbalanced loads. Regular overloading is the number one cause of premature clutch failure — stuffing too many towels or jeans into a single load forces the clutch to work harder. Frequent unbalanced loads where the washer has to repeatedly start and stop the spin cycle also accelerate wear. Normal lifespan is typically 5-8 years with regular use, but heavy users or large families might see failure in 3-4 years. Once you replace it, avoid overloading and make sure loads are balanced to extend the life of your new clutch.
Take detailed photos of all wire connections before disconnecting anything — this saves huge headaches during reassembly when you can't remember which harness goes where.
Need the part for this repair?
DC97-16984A · In Stock · Ships next business day