
How to Replace DC97-15459G Water Inlet Valve Assembly on Samsung Washer — Step-by-Step
Always unplug the washer and turn off water supply valves before beginning this repair. Residual water will drain from hoses during disconnection.
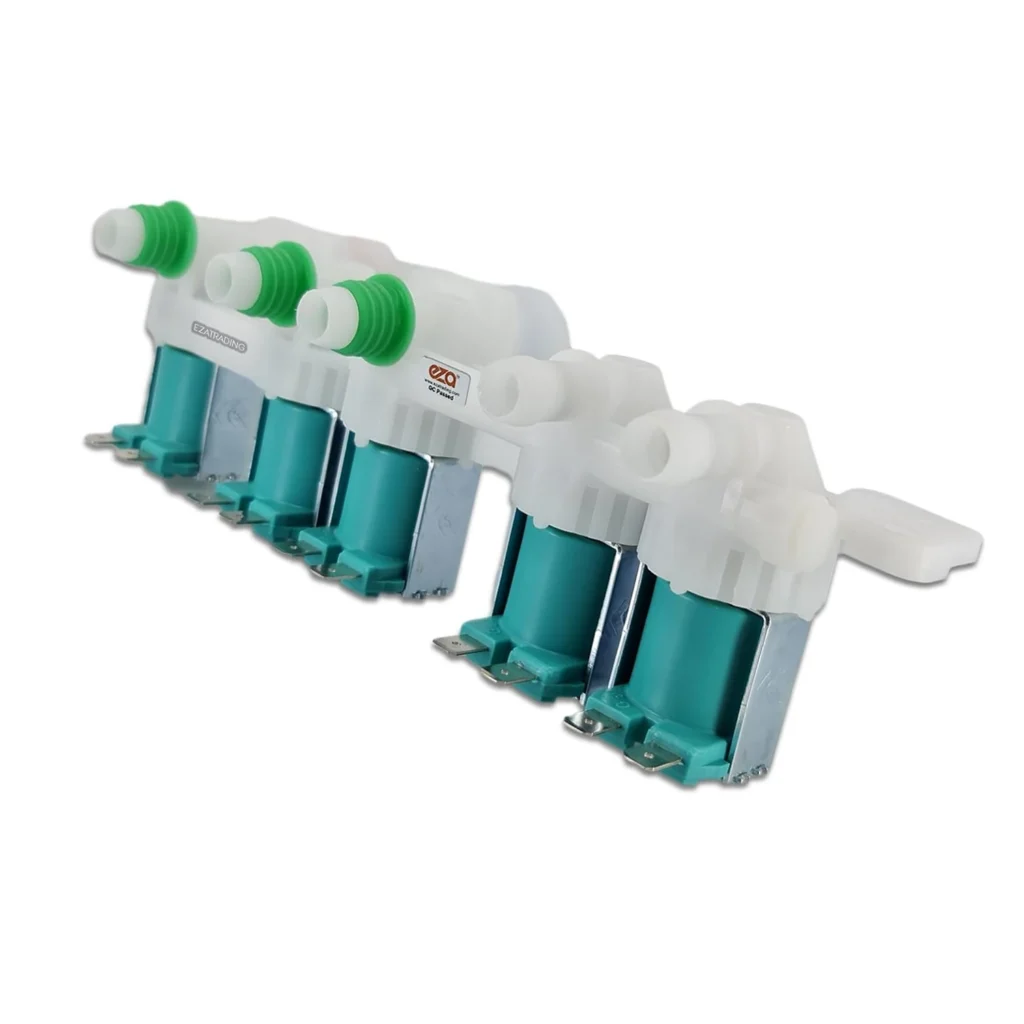
You turn on your Samsung washer and hear water trickling behind the machine. Check the floor — yep, there's a puddle forming. Or maybe your washer drum sits there bone-dry even though you hit start five minutes ago. Both scenarios point to the same culprit: a failed water inlet valve assembly. The DC97-15459G is the replacement part that controls water flow into your washer, and when it fails, you'll know it immediately.
What You Need Before Starting
This repair takes about 45 minutes if you're working methodically. Here's what you'll need:
- Phillips head screwdriver
- Flat head screwdriver
- Quarter-inch nut driver or socket wrench
- Towels or shallow pan (for water spillage)
- Work gloves
- Flashlight or headlamp
Difficulty: Moderate — You'll need to access the back panel and work with water connections.
Time Required: 45-60 minutes
Safety First
Unplug your washer from the wall outlet before starting any repair work. Even though you're working with a water valve, there are electrical connections that need to be disconnected. Turn off both hot and cold water supply valves behind your washer — you'll find them where the fill hoses connect to your home's plumbing. Keep towels handy because residual water in the lines will drip out when you disconnect the hoses.
Step 1: Pull the Washer Out and Access the Back Panel
Move your Samsung washer away from the wall so you can work comfortably behind it. You'll need at least two feet of clearance. The water inlet valve assembly is mounted on the back panel where the fill hoses connect. On models like the WA45H7200AW/A2 and WA48H7400AP/A2, you may need to remove a small access panel, but many Samsung top-loaders have the valve exposed once you remove the back screws.
Step 2: Disconnect Water Supply Hoses
Use your adjustable pliers to loosen the hot and cold water hoses from the inlet valve ports. Turn counterclockwise. Water will drain from these hoses, so position your towels or pan underneath before loosening them completely. Once disconnected, inspect the rubber washers inside each hose fitting — if they're cracked or flattened, replace them while you're at it. Keep track of which hose goes where (hot is typically on the left, cold on the right).
Step 3: Remove Internal Hose Connections and Electrical Harness
Inside the washer cabinet, you'll see rubber hoses connecting the inlet valve to the dispenser system and tub. Use your flat head screwdriver to carefully release the spring clamps holding these hoses in place. Slide the clamps back along the hose, then twist and pull each hose off the valve barbs. Now locate the electrical connector — it's usually a multi-wire harness with a locking tab. Press the release tab and pull the connector straight off. Don't yank on the wires themselves.
Step 4: Remove the Old Valve Assembly
The DC97-15459G inlet valve is held in place by two or three mounting screws. Use your nut driver or Phillips screwdriver to remove these fasteners completely. On the WA456DRHDSU/AA and similar models, the valve bracket may have small tabs that hook into slots — you'll need to lift up slightly while pulling the valve away from the cabinet. Once the screws are out and any tabs are released, the entire valve assembly should come free. Watch for any additional small hoses or clips you might have missed.
Step 5: Install the New DC97-15459G Valve
Position your new inlet valve exactly where the old one sat. Line up the mounting holes and thread in the screws finger-tight first to make sure everything's aligned properly. Once you're confident it's positioned correctly, tighten the screws firmly but don't over-torque them — you're threading into plastic housing. Reconnect the internal rubber hoses to the valve barbs, making sure each hose goes onto the correct port. Slide the spring clamps back into position. Snap the electrical harness connector back on until you hear it click.
Step 6: Reconnect External Water Supply
Thread the hot and cold water hoses back onto the inlet valve ports. Hand-tighten them first, then use your pliers to snug them down another quarter-turn. Don't over-tighten — you'll crack the plastic valve body. Make absolutely certain hot connects to hot and cold to cold. Turn the water supply valves back on and immediately check for leaks around all connections. If you see water seeping, turn off the supply and tighten that connection a bit more.
Testing After Installation
Plug your washer back in and push it partially back into place — but leave enough room to still see the back panel. Run a small test cycle and watch the inlet valve as it fills. You should hear the solenoids clicking as they open and close. Check every connection point for leaks: the external hose fittings, the internal hose connections, and the valve body itself. No drips? You're good. Let the cycle complete and verify normal water filling behavior. If water pressure seems weak, check that you fully opened the supply valves.
Frequently Asked Questions
How do I know if my inlet valve is bad or if it's a different problem?
If water won't enter the washer at all, first check that your supply valves are open and hoses aren't kinked. If those are fine, test your valve with a multimeter — each solenoid coil should read between 500 and 1500 ohms. No continuity means the valve is electrically dead. Leaking from the valve body itself is a guaranteed sign it needs replacement. Water filling too slowly even with good pressure? The valve's internal screens are likely clogged, and replacement is easier than attempting to clean them.
Will this DC97-15459G valve work on my specific Samsung model?
This valve assembly fits a wide range of Samsung top-load washers including the WA45K7600AW series, WA48J7700AW/A2, WA50F9A6DSW, and dozens of others. Cross-reference your model number (found inside the door rim or on the back panel) with the compatibility list. It replaces part numbers AP5623056, PS4220861, and 3276197, so if your original valve has any of those numbers, you're good to go.
Can I repair the old valve instead of replacing it?
Not really. If the valve solenoids have failed electrically or the valve body has cracked, there's no practical repair. Some people try cleaning the internal screens, but by the time symptoms appear, internal components are usually damaged beyond simple cleaning. The valve assembly costs $111.99, which is reasonable considering it includes both hot and cold solenoids, mounting bracket, and all internal flow control components. Spending an hour trying to resurrect a failed valve isn't worth the hassle.
Replace the rubber washers inside your fill hose connections if they look compressed or damaged — they're cheap insurance against future leaks.
Need the part for this repair?
DC97-15459G · In Stock · Ships next business day