
How to Replace DC97-07618A Dryer Drum Felt Seal on Samsung Dryers — Step-by-Step
Unplug dryer completely before starting. For gas dryers, shut off gas supply and disconnect gas line. Drum weighs 30-40 pounds — clear adequate workspace.
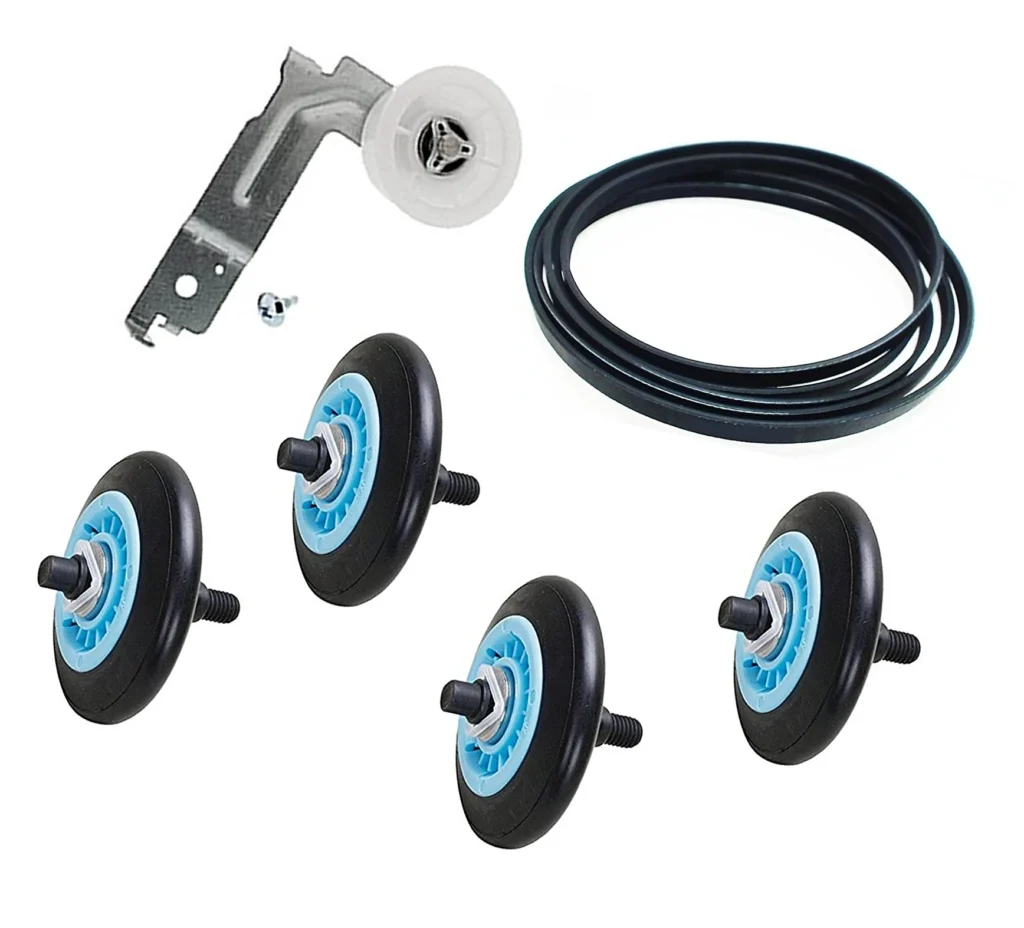
When your Samsung dryer starts making a squealing noise or you notice black marks on your clothes, chances are the drum felt seal is shot. This gasket wraps around the front of the drum and keeps clothes from getting caught between the drum and the front panel. I've replaced hundreds of these on models like the DV42H5200EW/A3 and DV50K8600EV/A3, and it's one of those repairs that sounds harder than it actually is.
What You Need Before Starting
This repair requires basic hand tools and takes about 45-60 minutes once you've done it a couple times. Here's what you'll need:
- Phillips screwdriver
- Putty knife or flat blade screwdriver
- Quarter-inch nut driver or socket set
- Needle-nose pliers
- Work gloves (optional but recommended)
- Shop vacuum (helpful for cleanup)
Difficulty: Moderate — You'll need to remove the front panel and drum, but nothing requires special expertise.
Time Required: 45-75 minutes for first-timers, 30-45 minutes once you know what you're doing.
Safety First
Unplug the dryer completely before starting. If you have a gas dryer, turn off the gas supply valve and disconnect the gas line — this isn't optional. The drum is heavy (30-40 pounds depending on your model), so clear a workspace where you can set it down safely. Wear gloves when handling the old felt seal because it collects lint, dirt, and sometimes sharp debris that's worked its way through.
Step 1: Remove the Dryer Top and Front Panel
Start by removing the lint filter. You'll see two Phillips screws inside the filter housing — take those out. Use your putty knife to release the spring clips along the top front edge of the cabinet, then lift the top up and lean it against the wall. Now remove the screws securing the front panel (usually three along the top edge and one on each side). Disconnect the door switch wire harness, then lift the front panel off and set it aside.
Step 2: Support and Remove the Drum
Before you touch anything, take a picture of how the belt routes around the idler pulley and motor. You'll thank yourself later. Reach underneath and release the belt tension by pushing the idler pulley toward the motor. Slip the belt off the motor pulley. Now lift the front of the drum up and out — it's not attached to anything once the belt is off. This is the heavy part, so get a good grip. Set the drum on a clean towel or blanket.
Step 3: Clean the Seal Channel and Inspect the Glides
The old felt seal is glued into a groove on the dryer's front bulkhead. Pull it out — it usually comes out in pieces if it's worn. Use your shop vacuum to clean out the channel completely. While you're in there, check the drum glides (the white plastic strips on each side of the opening). If they're worn down or cracked, replace them now. You don't want to do this job twice because you skipped the glides.
Step 4: Install the New DC97-07618A Felt Seal
The DC97-07618A seal comes with adhesive backing. Start at the top center and work your way around, pressing firmly into the channel. The felt should face inward toward where the drum sits. Don't stretch it — just follow the curve naturally. When you meet back at the top, trim any overlap with scissors or a utility knife so the ends just touch. Press the entire seal one more time to make sure it's seated properly.
Step 5: Reinstall the Drum and Belt
Lift the drum back into place, lining up the rear shaft with the bearing. Thread the belt around the drum first (ribs facing the drum), then reach underneath and loop it around the motor pulley and idler pulley. Use your reference photo to get the routing right. Rotate the drum by hand a few times — it should spin freely with just a slight resistance from the new seal. If it binds, the belt's probably on wrong.
Step 6: Reassemble and Test
Reattach the front panel, reconnect the door switch, and replace all the screws. Lower the top back down until the clips snap. Plug the dryer back in (reconnect gas if applicable). Run it empty on air fluff for five minutes to make sure everything's quiet and the drum spins smoothly. Then run a small load of old towels to verify no weird noises or vibrations.
Testing After Installation
A properly installed drum felt seal should eliminate squealing and prevent clothes from getting caught. The drum should spin with smooth, even resistance — no grinding or scraping. Check that the seal hasn't shifted by opening the door and visually inspecting the gap between the drum and front panel. You shouldn't see the seal bunched up or pulled out of its channel anywhere.
Frequently Asked Questions
Will this DC97-07618A seal fit my Samsung dryer model?
This seal fits most Samsung front-load dryers manufactured after 2010, including the DV42H, DV45H, DV48H, DV50K, DV52J, and DVE/DVG series. Check your model number against the compatibility list — if you have a DV42H5200EW/A3, DV50K8600EV/A3, or similar model, you're good. If you're unsure, the model number is on a sticker inside the door opening.
How do I know if the drum felt seal needs replacing?
Squealing during operation is the number one sign. You might also notice black streaks or marks on your clothes from the worn felt. If you open the dryer and see visible gaps where the felt is missing or compressed flat, it's time. Another tell is if you can see light between the drum and front panel when the door is open — the seal should fill that gap completely.
Can I replace just the felt seal without replacing the drum glides?
You can, but it's not smart. If your felt seal is worn out, the drum glides are usually in rough shape too since they wear at the same rate. The glides are cheap (usually under $20 for the set) and you're already 90% of the way there with the drum out. Replacing both at once means you won't have to tear the dryer apart again in six months when a glide fails.
Take a photo of the belt routing before removal. Clean the seal channel thoroughly and check drum glides while you have access — replace them if worn to avoid repeating this repair.
Need the part for this repair?
DC97-07618A · In Stock · Ships next business day