
How to Replace DC31-00054A Drain Pump Assembly on Samsung Front Load Washers — Step-by-Step
Unplug washer completely before starting. The plastic pump housing is fragile — work carefully during removal to avoid cracking it.
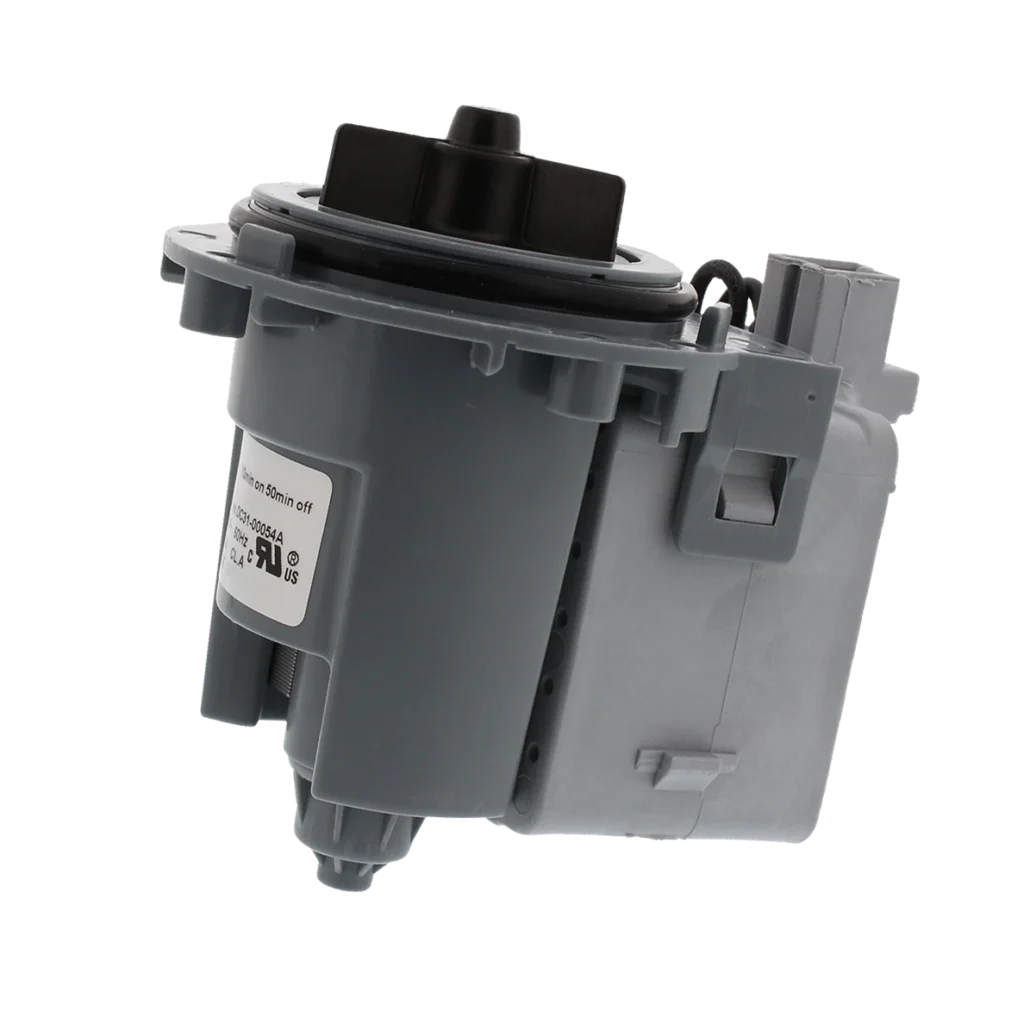
Your Samsung washer won't drain, and when it tries, you hear a grinding noise that sounds like something's dying in there. You peek through the door and see standing water with your clothes floating in it. One frustrated homeowner put it perfectly: "The brushless DC pump motor was flooded and the rotor was cracked on both sides." That's the DC31-00054A drain pump failing, and it's one of the most common repairs on Samsung front-loaders like the WF448AAP, WF419AAW, and WF328AAR.
Here's what catches people off guard: Samsung didn't put this pump at the back where you'd expect it. It's at the front, which means you're taking apart the entire front of your washer to get to it. One user warned, "Good news: this pump is the correct part for the Samsung front loader WF438AAR. Bad news: the instructional video was inaccurate in every possible way." So let's get this right the first time.
What You Need Before Starting
This isn't a quick 15-minute job. You're looking at 30-60 minutes, and you'll be removing the entire front panel assembly. Gather these tools before you start:
- Pliers (for spring clamps and wire connections)
- Phillips and flathead screwdrivers
- Socket set (metric, typically 8mm and 10mm)
- Wrench set
- Towels (for water that'll spill from the pump housing)
- Container to catch residual water
Difficulty: Moderate — You're comfortable with multi-step disassembly, but it's not rocket science.
Time Required: 30-60 minutes depending on your washer model.
Safety First
Unplug the washer completely. Not just turned off — physically unplugged from the wall. There's standing water in the pump housing, so have towels ready and tilt the machine slightly backward to minimize spillage when you disconnect hoses. The plastic housing around the pump is fragile, so you'll need to work carefully to avoid cracking it during removal.
Step 1: Remove the Top and Control Panel
Start by removing the screws along the back edge of the top panel. Slide it backward about an inch, then lift up and off. Next, pull out the soap dispenser drawer completely — there's usually a release tab you press to get it fully out. Behind the dispenser, you'll find screws securing the control panel. Remove those screws, then carefully lift the control panel up and lean it against the wall. Disconnect the wire harnesses (take a photo first so you remember where everything goes).
Step 2: Remove the Front Door Assembly
This is where it gets real. You need to remove the spring retainer that holds the rubber door seal (bellows) to the front panel. It's a wire band clamp — use pliers to find the spring section and pull it off. Once that's loose, peel the rubber seal inward so it's no longer attached to the front panel. Now remove the door latch assembly (two screws) and the door closed sensor switch. You're clearing everything that connects the door area to the front panel.
Step 3: Remove the Entire Front Panel
Look at the bottom of the front panel — there are screws holding it to the base. Remove those. Check the sides of the front panel where it meets the cabinet — more screws there. Once all fasteners are out, carefully pull the front panel forward and set it aside. You'll also need to remove the plastic drain area housing (the small access panel at the bottom front). Now you can finally see the drain pump assembly mounted at the bottom left of the tub.
Step 4: Access and Remove the Old Pump
Here's the trick that saves your sanity: push the entire pump assembly smoothly toward the rear of the washer about an inch, then lift up and out. This gives you access to the mounting screws. Before you pull the pump completely, disconnect the wire harness and use pliers to release the hose clamps on both the inlet and outlet hoses. Have your container ready — water will spill out.
One user noted: "The plastic cover surrounding the pump is difficult. It's fragile, and does not want to let the old pump out, or let the new pump in." If your pump housing is the two-piece design with black plastic flanges, you may need to carefully cut those flanges to separate the halves and slide the old pump out. Work slowly — cracking that housing means buying another part.
Step 5: Install the DC31-00054A Pump
Slide the new DC31-00054A pump into the housing carefully. If you had to separate a two-piece housing, align it properly and snap it back together. Reconnect the inlet and outlet hoses — make sure those clamps are tight or you'll have leaks. Plug in the wire harness. Position the pump assembly back in its mounting location, pull it forward that same inch you pushed it back earlier, and secure it with the mounting screws.
Reassemble in Reverse Order
Reattach the front panel by lining up the mounting points and replacing all screws at the bottom and sides. Reinstall the door latch, door sensor, and that spring retainer on the rubber seal (this is fiddly — use pliers to stretch it back into the groove). Reconnect the control panel, snap it back into place, and reinstall the soap dispenser drawer. Finally, slide the top panel back on from front to back and secure it with the rear screws.
Testing After Installation
Plug the washer back in and run a drain/spin cycle with no clothes. Listen for smooth operation — no grinding, no excessive noise. Check underneath and around the pump area for leaks during the cycle. If water's pumping out properly and you're not hearing that dying-motor sound anymore, you're done. Run a full wash cycle to confirm everything's working normally.
Frequently Asked Questions
Will this pump work on my Samsung washer model?
The DC31-00054A is compatible with dozens of Samsung front-loaders including WF448AAP/XAA, WF419AAW/XAA, WF328AAR/XAA, WF337AAW/XAA, WF218ANW/XAA, and many others. It replaces Samsung part numbers DC31-00016A, AP4202690, and PS4204638. Check your washer's model number (usually on a sticker inside the door frame) against the compatibility list.
Why is my washer still noisy after replacing the pump?
If you're still hearing noise, check that all hose clamps are tight and the pump is properly seated in its housing. Sometimes debris gets stuck in the outlet hose between the pump and the drain — disconnect that hose and check for socks, coins, or other obstructions. Also verify the pump impeller spins freely by hand when disconnected from power.
Do I really have to remove the entire front panel?
Yes, on Samsung front-loaders, you do. The pump is mounted at the front bottom of the tub, and there's no back-panel access route. One repair tech summed it up: "On Samsung front loader WF438AAR, the pump is located at the front of the machine, not the back. Removing the rear cover doesn't help." Budget the time to do this right — rushing through the disassembly is how you break clips and crack that fragile plastic housing.
Push the pump assembly back about an inch before lifting to access mounting screws easily. Take photos of wire connections before disconnecting anything.
Need the part for this repair?
DC31-00054A · In Stock · Ships next business day