
How to Replace 40111201 Dryer Drum Drive Belt on Whirlpool, Maytag & Amana Dryers — Step-by-Step
Always unplug the dryer before starting. The drum is heavy — support it when removing the front panel to prevent it from falling forward.
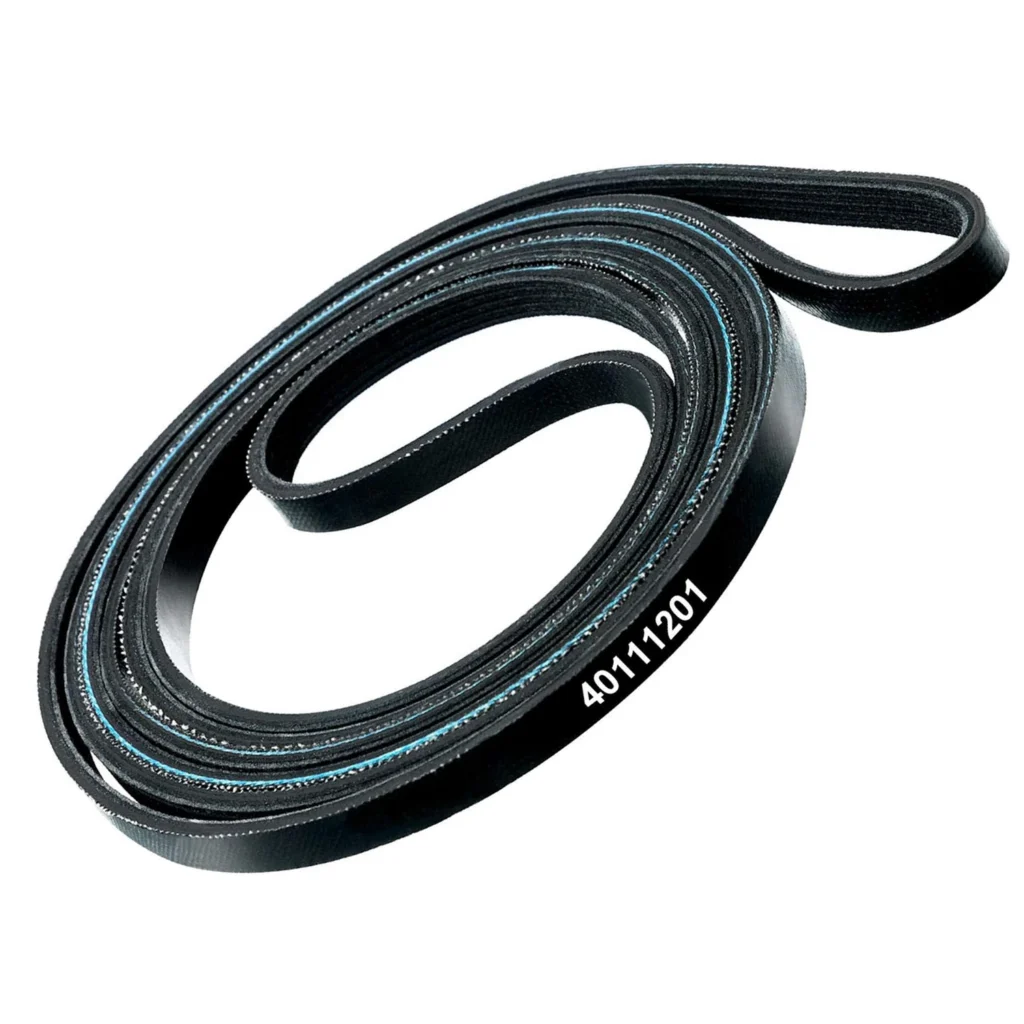
Your Maytag dryer hums but the drum won't turn. You open the door, give it a spin by hand, and it rotates freely — that's the classic sign of a broken drive belt. The 40111201 drum drive belt connects your motor to the drum pulley, and when it snaps or stretches, your clothes just sit there getting warm but never tumbling. This belt replacement works across Whirlpool, Maytag, Amana, Admiral, and Speed Queen models, making it one of the most universal dryer repairs you can tackle yourself.
What You Need Before Starting
This is a straightforward repair that most people complete in 20-30 minutes. Here's what you'll need:
- 40111201 replacement drum drive belt
- 1/4" nut driver or socket wrench
- Putty knife or flat-blade screwdriver
- Flashlight or work light
- Work gloves (optional, but helpful)
Estimated Time: 20-30 minutes
Difficulty: MODERATE — Requires lifting the dryer top and removing the front panel
Safety First
Unplug your dryer from the wall outlet before starting. For gas dryers, you don't need to disconnect the gas line for this repair, but make absolutely sure the dryer is unplugged. The drum is heavy and you'll be working around sharp metal edges, so take your time and wear gloves if you have them. Keep track of screws and clips as you remove panels — a magnetic parts tray helps.
Step 1: Remove the Dryer Top Panel
Slide a putty knife between the top and the front panel, about 2-3 inches from each corner. You'll feel spring clips that hold the top down. Push the clips inward with the putty knife while lifting the top. Once both clips release, tilt the top back against the wall. On most Whirlpool and Maytag models, the top will stay propped open, giving you access to the drum area.
Step 2: Disconnect and Remove the Front Panel
Look inside the door opening — you'll see two screws at the top corners holding the front panel. Remove these with your 1/4" nut driver. Next, reach under the top panel near the front corners and disconnect the door switch wire harness (just pull it straight off). Now lift the entire front panel up slightly and pull it toward you. It'll come off completely. Set it aside carefully to avoid scratching the finish.
Step 3: Release Tension and Remove the Old Belt
With the front panel off, you'll see the drum, the belt wrapped around it, and the idler pulley creating tension at the bottom. Reach underneath the drum from the front and locate the idler pulley — it's spring-loaded and on your right side. Push the idler pulley toward the motor to release tension on the belt. While holding the pulley, slip the old belt off the motor pulley. Now you can pull the belt off the drum and remove it completely. Take a photo of how the belt routes before removing it — you'll thank yourself later.
Step 4: Install the New 40111201 Belt
Loop the new belt around the drum with the ribbed side facing the drum (smooth side out). The belt should sit in the center groove of the drum. Reach underneath and route the belt under the idler pulley, then around the motor pulley. The belt forms a figure-8 pattern: around the drum, under the idler pulley (on the right), and around the motor pulley (on the left). This is where that photo helps — the routing must be exact or the belt will slip off.
Step 5: Rotate the Drum to Seat the Belt
Before reassembling, rotate the drum by hand several times clockwise. You should feel smooth, even resistance. The belt should track straight in the center of the drum without sliding toward the edges. If it feels lumpy or uneven, double-check your routing around the idler pulley. This is your chance to catch installation mistakes before putting panels back on.
Step 6: Reassemble the Dryer
Reconnect the door switch wire harness. Position the front panel so the bottom tabs slide into their slots at the base of the dryer, then swing the top of the panel toward the dryer cabinet. Reinstall the two screws inside the door opening. Lower the top panel and press down firmly at both front corners until you hear the spring clips snap into place. Plug the dryer back in.
Testing After Installation
Run the dryer on air fluff or low heat for 5 minutes with no load. Listen for any squealing, thumping, or grinding noises. The drum should rotate smoothly in both directions when you manually reverse it. If you hear squealing during the first few cycles, that's normal — the new belt needs a break-in period to seat properly on the pulleys. Any grinding noise means you need to check the idler pulley or motor shaft for wear.
Frequently Asked Questions
Will this belt fit my specific Whirlpool or Maytag dryer model?
The 40111201 belt works with most Whirlpool, Maytag, Amana, Admiral, and Speed Queen dryers manufactured in the last 20 years. It replaces part numbers WP40111201, AP6009126, 14218936, and 59174. Compatible models include ADE7005AYW, MDE3706AYW, MDET446AYW, and dozens of others. Check your dryer's model number tag (usually inside the door frame) and compare it to the compatibility list on the product page.
How long should a dryer belt last before needing replacement?
A typical dryer belt lasts 10-15 years with normal use, but high-use households may need replacement every 5-7 years. Belts fail from heat exposure, friction wear, and age-related cracking. If you hear the motor running but the drum doesn't turn, the belt has either broken completely or stretched so much it's slipping. Once a belt shows cracks or fraying, replace it — don't wait for complete failure.
Do I need to replace the idler pulley when changing the belt?
Not necessarily, but inspect it closely. While you have the front panel off, spin the idler pulley by hand. It should rotate smoothly without wobbling or grinding. If it feels rough, squeals, or has visible wear grooves, replace it at the same time. A worn pulley will eat through your new belt prematurely. Most DIYers replace both together if the dryer is 10+ years old — it saves doing this job twice.
Take a photo of the belt routing before removal. The figure-8 pattern around the idler pulley and motor shaft must be exact or the belt will slip off during operation.
Need the part for this repair?
40111201 · In Stock · Ships next business day