
How to Replace 242252603 Water Inlet Valve on Frigidaire Refrigerator — Step-by-Step
Always disconnect both water supply and electrical power before starting. Dispense remaining water to relieve line pressure and prevent spray during disconnection.
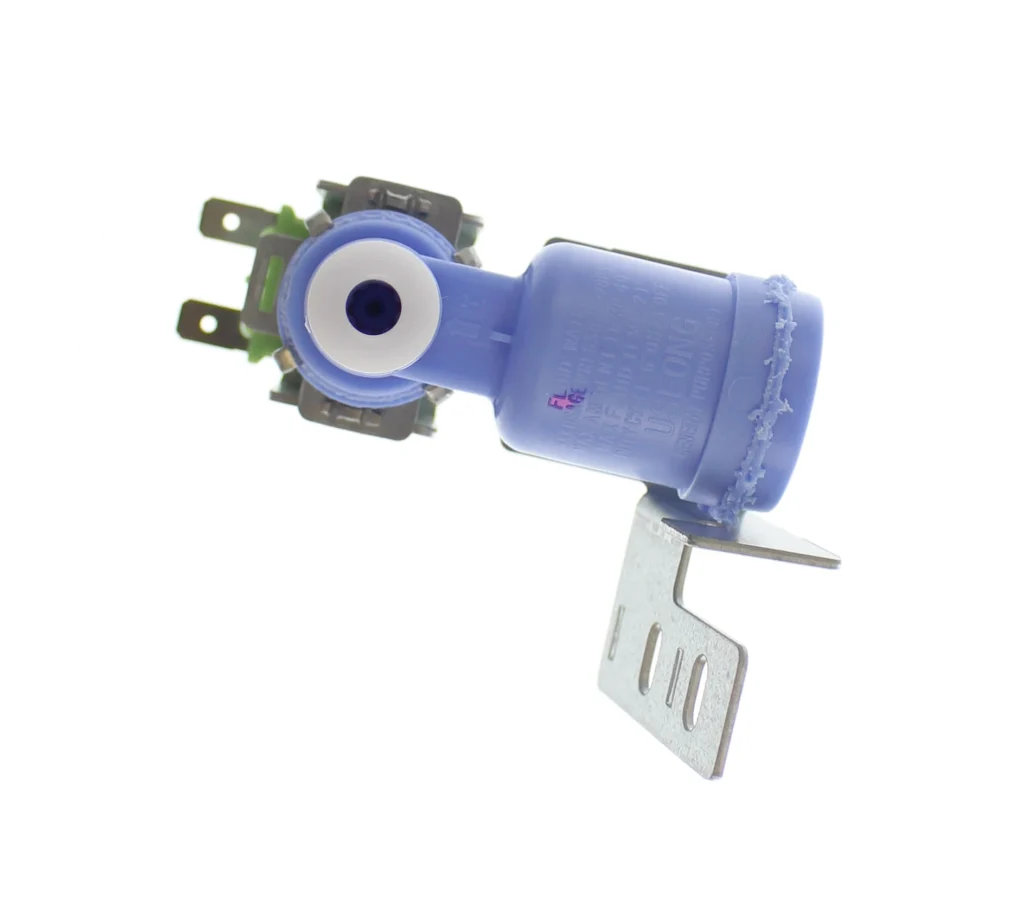
Your Frigidaire stopped making ice three days ago, and now the water dispenser's giving you nothing but a sad clicking sound. Before you call a repair tech charging $200 just to show up, here's what you need to know: that water inlet valve controlling both your ice maker and dispenser is a straightforward 15-minute fix. One user put it perfectly: "This was one of the easiest appliance repairs that I have ever done."
What You Need Before Starting
Tools required:
- Adjustable wrench
- Nut drivers
- Flat-head and Phillips screwdrivers
- Pliers
- Sharp utility knife (for cutting water line flare)
Estimated time: 15-30 minutes
Difficulty: Easy
This repair works for dozens of Frigidaire, Kenmore, Electrolux, and Crosley models including FFHI1817LB0, FFHI1826LS0, and LFHT1817LFA. The 242252603 valve replaces older part numbers AP5671756, 241803703, 241803701, and 218475600.
Safety First
Water and electricity don't mix. Unplug your refrigerator completely before starting — don't just rely on turning off the ice maker. Shut off the water supply valve behind or beneath the fridge, then dispense any remaining water through the door dispenser to relieve pressure. You'll avoid a surprise spray and potential electrical hazard.
Step 1: Access the Water Inlet Valve
Pull your fridge away from the wall — you'll need about three feet of clearance. The water inlet valve sits at the bottom rear of the unit, usually behind a small metal or plastic access panel. Remove the screws holding this panel (typically 2-4 quarter-inch hex head screws). Once the panel's off, you'll see the valve with water lines coming in from your house supply and going out to the ice maker and dispenser.
Step 2: Disconnect the Electrical Connection
Here's where you need to pay attention. Before pulling any wires, note which color wire connects to which terminal on the valve — snap a quick photo with your phone if needed. The electrical connector usually has a tab you press to release it. If your valve has individual wire terminals instead of a plug, mark each wire's position with a piece of tape before removing them. This five-second step saves you from guessing later.
Step 3: Remove the Water Lines
You'll see compression fittings connecting the water lines to the valve. Use your adjustable wrench to loosen the nuts — turn counterclockwise. Here's the trick most people miss: the plastic water line likely has a flared end that won't come out easily. Move the compression nut up the water line, then use your utility knife to slice off the old flare just above where it was compressed. When you reconnect, you'll push the fresh-cut line into the new valve orifice. Push it in firmly — a weak connection here means leaks later.
Step 4: Install the New 242252603 Valve
Remove the mounting bracket screws holding the old valve (usually two screws). The new valve should match the mounting holes exactly. Secure it with the same screws, but don't overtighten — you're threading into plastic housing. Reconnect your water lines by pushing them firmly into the valve ports until you feel resistance, then tighten the compression nuts. Reconnect the electrical connector, matching your earlier notes or photo. Double-check that everything's snug but not gorilla-tight.
Step 5: Test for Leaks and Function
Turn your water supply back on slowly while watching the connections. Any drips? Tighten that fitting another quarter-turn. Plug the refrigerator back in and wait about 30 seconds for the control board to initialize. Press the water dispenser — you might get air sputtering first, then water should flow steadily. Check your ice maker after 2-3 hours. If your model has a test button on the ice maker, press it to force a cycle.
Why This Valve Fails
The water inlet valve contains solenoids (electromagnetic coils) that open and close to control water flow. These solenoids fail over time, especially if your water has high mineral content. Sometimes the valve mechanism freezes if the refrigerator's too cold or if there's a restriction in the water line. When the solenoid sticks closed, you get no ice and no water. When it sticks open or cracks, you get leaking underneath the fridge — usually the first sign something's wrong.
Frequently Asked Questions
Can I replace this valve myself if I've never repaired an appliance before?
Absolutely. As one DIYer reported: "I am a young woman and my husband was impressed that I fixed this all on my own." Another described it as "a simple 5 minute job that anyone can do." If you can use a wrench and follow directions, you've got this. The hardest part is pulling the fridge away from the wall.
My ice maker still isn't working after replacing the valve — what now?
Check three things: First, make sure the ice maker's wire shut-off arm isn't stuck in the up (off) position. Second, verify the small water line from the valve to the ice maker isn't kinked behind the fridge. Third, if your model has a water filter, a clogged filter can restrict flow even with a new valve. Replace filters every six months.
How do I know if it's the valve or something else causing my problem?
If both your ice maker and water dispenser stopped working simultaneously, it's almost certainly the inlet valve — that's the only component controlling both systems. If only the ice maker's dead but water still dispenses, the problem's likely in the ice maker itself or its dedicated water line. If you're getting leaks under the fridge, shine a flashlight back there during a dispenser cycle — you'll see exactly where water's escaping from the valve body.
Take a photo of the wire connections before disconnecting anything. Cut off the old plastic water line flare and push the fresh-cut end firmly into the new valve to prevent leaks.
Need the part for this repair?
242252603 · In Stock · Ships next business day