
How to Replace 12112425 Pump & Drive Belt Kit on Maytag Washers — Step-by-Step
Always unplug the washer before working on belt assemblies. Motors can start unexpectedly if power is connected.
Your Maytag washer just finished the cycle, but when you open the lid, your clothes are soaking wet and covered in soap residue. The drum didn't drain. You might hear the motor running, but nothing's happening. One user described it perfectly: "Washer would not drain water and left clothes soapy and wet." That's the classic sign your pump and drive belt kit has failed.
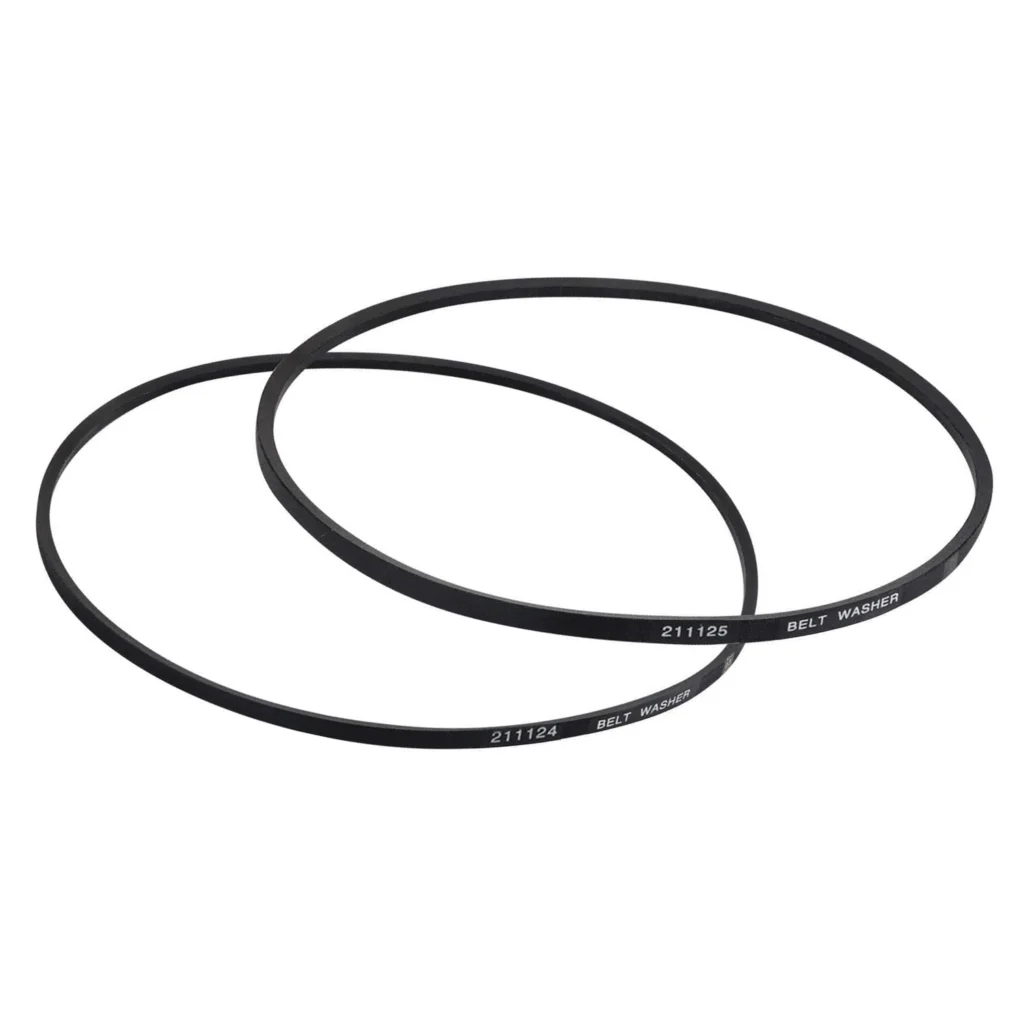
The 12112425 kit includes both the pump belt and the drive belt — the two critical components that make your washer agitate and drain. When either belt stretches, cracks, or snaps, you'll notice spinning issues, slow or no draining, and sometimes that burning rubber smell that tells you something's rubbing wrong. This repair works on dozens of Maytag models including the LAT series (LAT2300, LAT4910, LAT5910) and older LA models like the LA8820 and LA9400.
What You Need Before Starting
- Nutdriver set (1/4" is most common)
- Phillips and flathead screwdrivers
- Socket set (for pump mounting bolts)
- Towels (for water cleanup)
- Small bucket or pan
Repair Time: 30-60 minutes
Difficulty: Moderate
This isn't your first repair rodeo, but you'll need to get comfortable working in tight spaces. The belts wrap around the motor, pump, and transmission in a specific configuration that takes some patience to get right.
Safety First
Unplug the washer completely before you start. These belts connect to motors and pumps that can start unexpectedly if power's still connected. Also, tip the washer back against the wall rather than laying it flat on the floor — it's easier on your back and gives you better access. Expect some residual water to spill out when you remove the pump, so keep those towels handy.
Step 1: Access the Belt Area
Unplug the machine and pull it away from the wall. You'll need to remove the cabinet to access the belts. On most Maytag top-loaders, remove the two screws at the bottom front corners of the cabinet, then lift up and pull the cabinet forward to unhook it from the clips at the top. Set it aside carefully — you don't want to scratch it.
Step 2: Document the Belt Configuration
Before you remove anything, take a photo with your phone. Seriously. The belt routing isn't complicated once you know it, but when you're staring at a motor, pump, and transmission with two belts in your hand, you'll thank yourself. The drive belt wraps around the motor pulley and the transmission pulley. The pump belt connects the motor to the pump pulley. Note which belt goes where.
Step 3: Remove the Old Belts and Pump
Release tension on the drive belt by pushing the motor toward the transmission — this gives you slack to slip the belt off. Do the same for the pump belt. Now remove the pump mounting bolts using your socket set (usually two or three bolts). Disconnect the drain hoses from the pump — water will drip out, so have your bucket ready. The old pump comes out as a unit with the worn belts still attached.
Step 4: Install the New Belts
Start with the drive belt. Loop it around the motor pulley first, then stretch it over the transmission pulley. It should be snug but not overly tight — about 1/2 inch of deflection when you press on it. Next, install the pump belt around the motor pulley and pump pulley. Position the pump back in place and hand-tighten the mounting bolts. Check your photo to confirm everything's routed correctly.
Step 5: Secure and Test Belt Tension
Tighten the pump mounting bolts in a cross pattern to ensure even pressure. The belts should have slight give — if they're too loose, the washer won't agitate properly or will spin slowly. If they're too tight, you'll hear squealing and wear out the bearings prematurely. Spin the pulleys by hand to make sure everything moves freely without binding. Reconnect the drain hoses and secure all clamps.
Step 6: Reassemble and Run a Test Cycle
Replace the cabinet by hooking the top clips first, then pushing down and securing the bottom screws. Plug the washer back in and run a small load on a short cycle. Listen during agitation — it should be smooth and consistent. Watch the drain cycle carefully. If water drains quickly and clothes come out damp (not soaking wet), you've nailed it.
Testing After Installation
Run the washer through a complete cycle and check for these signs of success: normal agitation speed, complete water drainage in under two minutes, proper spin cycle with clothes coming out damp but not dripping, and no burning smell or squealing noises. If you hear squealing, the belts might need slight tension adjustment. If draining is still slow, double-check that the pump belt is seated properly in all pulley grooves.
Frequently Asked Questions
How do I know if I need to replace both belts or just one?
Always replace both when you're in there. If one belt has worn enough to fail, the other isn't far behind. The 12112425 kit includes both the pump belt and drive belt for this exact reason — it's preventive maintenance that saves you from doing this job twice. As one user put it: "Easy preventive maintenance."
Why does my washer smell like burning rubber even with new belts?
That burning smell usually means the belts are either too tight or misaligned in the pulley grooves. Check that each belt sits centered in its pulley — if it's riding on the edge, it'll create friction and heat. Also verify the motor and pump spin freely without resistance. A seized bearing will cause belts to slip and burn.
Can I replace just the pump belt if the drive belt looks okay?
You can, but it's not recommended. Getting to these belts requires removing the cabinet and pump anyway — you're already 80% done with the full job. Plus, if the pump belt failed from age and wear, the drive belt experienced the same conditions. Replace both now or you'll likely be back inside the washer in a few months when the drive belt gives out.
Take a photo of the belt routing before removal — it'll save you 15 minutes of frustration during reassembly.
Need the part for this repair?
12112425 · In Stock · Ships next business day