
How to Replace 49621 Dryer Leveling Leg Foot on Whirlpool, Maytag & Kenmore — Step-by-Step
Have someone help lift the dryer. On gas models, don't pull the unit away from the wall—just tilt it enough to access the legs without stressing the gas line.
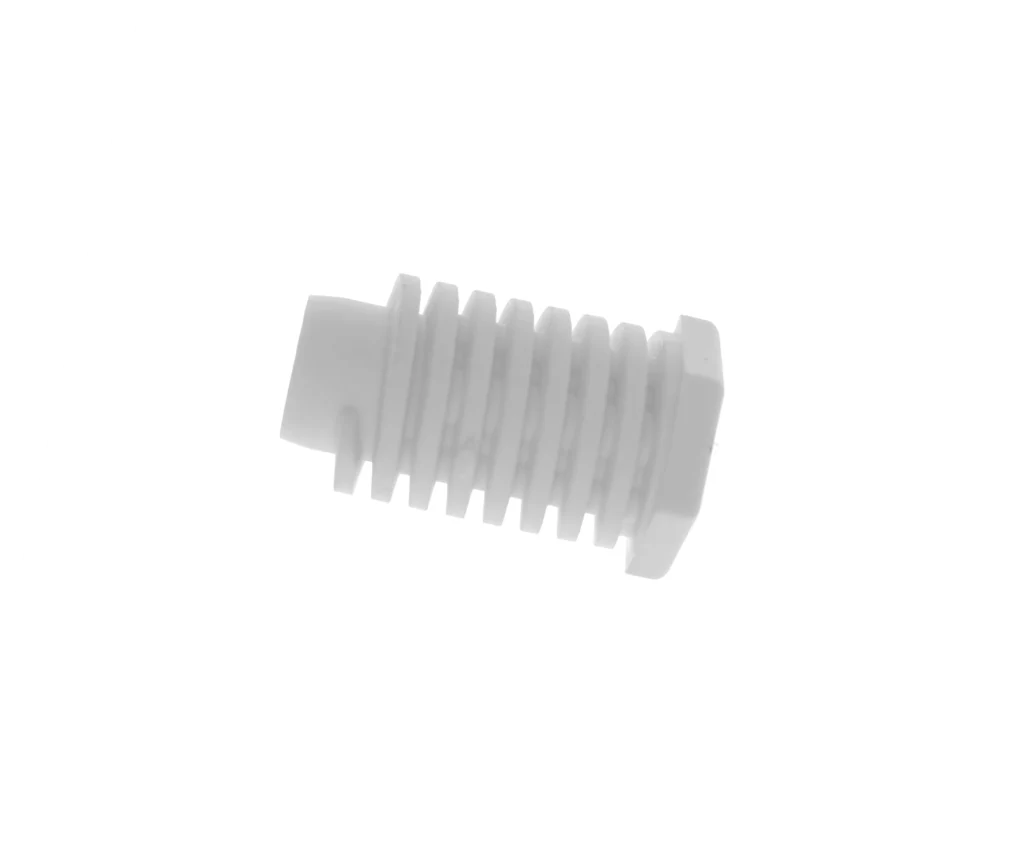
You've noticed your Whirlpool WED8300SW0 sounds like it's tap-dancing across the laundry room floor during the spin cycle. Or maybe your Maytag MEDC465HW rocks back and forth like a boat in choppy water. Nine times out of ten, the culprit isn't a broken drum bearing or shot suspension spring—it's a worn-out leveling leg foot that's cracked, missing, or compressed from years of supporting a 150-pound dryer.
The good news? Replacing these feet is one of the easiest dryer repairs you'll ever tackle. No need to pull the dryer apart or disconnect anything electrical. You'll literally be done in ten minutes, and your dryer will sit rock-solid again.
What You Need Before Starting
Repair time: 10-15 minutes per foot
Difficulty: EASY
Tools required:
- Adjustable wrench or 7/16" socket
- Work gloves (optional, for grip)
- Carpenter's level
- A friend or furniture dolly (to tilt the dryer)
Part number 49621 replaces AP4295805, PS1609293, 279810, WP279810, and W10823505. It fits dozens of Whirlpool, Maytag, Kenmore, KitchenAid, and Amana models including the WED4815EW, MEDB850WL, IGD4100SQ, and WED9050XW.
Safety First
You don't need to unplug the dryer for this repair, but you'll be tilting it up. Make absolutely sure the dryer is empty and the drum isn't hot from a recent cycle. If you have a gas dryer, don't yank it forward—just tilt it enough to access the leg. The gas line has some flex, but you don't want to test its limits. Have someone help you lift if the dryer's in a tight space or if you have back issues.
Step 1: Check Which Legs Need Replacing
Before you start, figure out which foot is actually the problem. Rock the dryer gently from corner to corner. The wobbly corner is your culprit. Get down on the floor with a flashlight and look at each foot—you're checking for cracks in the plastic, missing rubber pads, or feet that have compressed so much the metal leg is touching the floor. Sometimes just one foot is bad, but if the dryer's more than five years old, replace all four while you're at it. Saves you from doing this job again in six months.
Step 2: Tilt the Dryer to Access the Leg
Have your helper tilt the dryer back slightly—just enough to take weight off the front legs if you're replacing those, or forward if you're doing the rear ones. You can also slide a furniture dolly underneath and tip it onto that. The goal is to get the leg you're replacing completely unweighted. On models like the Maytag MGDE400XW or Whirlpool MGDZ600TW, the legs thread directly into the dryer base with a 7/16" hex nut at the top of the threaded post.
Step 3: Remove the Old Leveling Leg
Grab your adjustable wrench and loosen the locknut at the top of the leg where it threads into the dryer cabinet. Turn counterclockwise. Once the locknut is loose, you can usually spin the entire leg assembly out by hand—it unscrews like a big bolt. If it's been there for ten years and won't budge, hit it with some penetrating oil and give it five minutes. Don't force it so hard you crack the base plate. The whole assembly comes out as one piece—the threaded rod and the plastic foot.
Step 4: Install the New 49621 Leg Foot
Thread the new leg assembly into the same hole. Screw it in by hand until it's snug against the base, then back it out about two full turns—this gives you adjustment room for leveling. Tighten the locknut finger-tight for now. Lower the dryer back down onto all four feet and check level with your carpenter's level, front-to-back and side-to-side. Adjust the leg height by turning it clockwise to raise or counterclockwise to lower. Once it's level, tighten that locknut down with the wrench to lock everything in place.
Step 5: Test and Fine-Tune
Run your dryer on an empty cycle and listen. No more thumping or walking across the floor. If it still rocks slightly, double-check your level—sometimes laundry room floors aren't perfectly flat, and you might need to adjust one leg a quarter-turn more. On models like the Whirlpool WED5000DW2 or Amana NED4655EW, proper leveling also prevents drum wear and belt misalignment down the road.
Testing After Installation
Put a handful of heavy towels in the dryer and run a ten-minute cycle. Walk away and listen from the next room. You shouldn't hear any banging, and the dryer shouldn't migrate toward the wall. Check that all four feet are making solid contact with the floor—no wobbling when you push on the corners. If everything's solid and quiet, you're done. If you still hear noise, the issue might not be the feet—could be worn drum rollers or a loose blower wheel, but at least you've ruled out the easiest fix first.
Frequently Asked Questions
How do I know if my dryer needs new leveling feet or if the problem is something else?
Easy test: grab the top corners of the dryer and try to rock it diagonally. If it wobbles like a table with a short leg, it's the feet. If it's solid but still noisy during operation, you're looking at internal components like drum rollers, idler pulleys, or blower wheels. Leveling feet cause intermittent thumping that matches the drum rotation—internal parts make constant squealing or rumbling.
Can I just replace one foot, or do I need to do all four at once?
You can absolutely replace just the bad one. But here's the reality: if one foot failed after eight years, the other three aren't far behind. The plastic degrades from floor cleaner exposure, the rubber compresses from constant weight, and thermal cycling makes them brittle. Spending forty bucks to do all four now beats doing this job three more times over the next year. Your call, though—one foot will get you stable again immediately.
Will replacing the leveling feet stop my dryer from walking across the floor?
If worn feet are the cause, yes. But dryers walk for other reasons too—overloading, unbalanced loads, or a floor that's too smooth. After installing new feet, make sure the dryer is level in all directions. If it still walks on laminate or tile, stick rubber anti-vibration pads under the feet. On models like the Whirlpool WED9200SQ0 or Maytag MEDX655DW, proper leveling also keeps the door seal aligned and prevents clothes from bunching on one side of the drum.
If your dryer is more than five years old, replace all four feet at once. They wear at similar rates, and you'll save yourself from repeating this repair every few months.
Need the part for this repair?
49621 · In Stock · Ships next business day