
How to Replace W11565030 Washer Door Latch Assembly on Whirlpool and Maytag Washers — Step-by-Step
Unplug washer completely before starting. Machine may tip if on pedestal — work carefully near front edge.
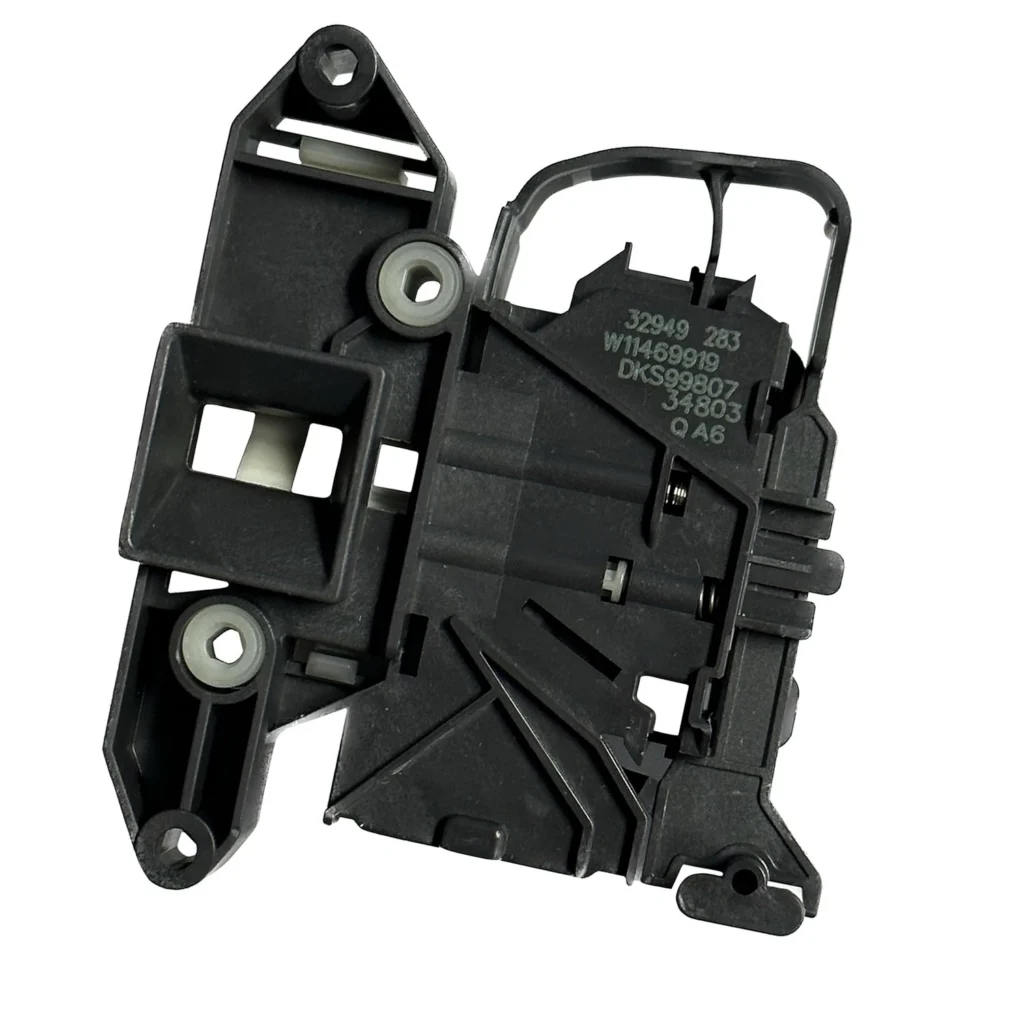
Your Whirlpool WFW5620HW won't start, and when you push on the door, you hear a faint click but nothing happens. The control panel lights up, clothes are loaded, detergent's ready — but the machine refuses to begin the cycle. Nine times out of ten, this is your door latch assembly failing to signal the control board that the door is secured. The W11565030 latch is the electronic gatekeeper that tells your washer it's safe to fill with water and start spinning.
This latch assembly handles both the physical locking mechanism and the electronic switch that communicates with your washer's brain. When it fails, you'll typically see one of three symptoms: the door won't latch at all, it latches but won't lock during the cycle, or the washer thinks the door is open even when it's firmly closed. The W11565030 replaces older part numbers W11316250, W10804741, and AP7175877, so if you've got any of those written down from previous repairs, this is your updated replacement.
What You Need Before Starting
This repair requires minimal tools and takes about 20-30 minutes once you understand the process:
- T20 Torx driver (most common for these models)
- Flathead screwdriver for trim clips
- Needle-nose pliers (helpful but not essential)
- Towel to protect the floor
- Phone camera (to document wire connections)
Repair Time: 20-30 minutes
Difficulty: Easy — No special skills required, just careful attention to wire positions
Safety First
Unplug your washer completely before starting. Don't just flip the breaker — actually pull the plug from the wall. Front-load washers can be heavy, and you'll be working near the front edge where the machine could tip if you're pulling hard on something. If your washer is on a pedestal, you might want someone nearby in case you need help steadying it. There's no high voltage risk here, but the latch mechanism has small springs that can pop out if you're not paying attention during removal.
Step 1: Access the Door Boot Band
Open the washer door fully. Look at where the rubber door boot (the bellows seal) meets the front panel — you'll see a wire band clamp holding it in place. This band typically has a spring mechanism at the bottom. Use your flathead screwdriver to pry the spring section forward and work the band off the boot. You don't need to remove the entire boot, just pull the front edge away from the opening enough to access the latch assembly behind it. On models like the WFW6620HW0 and MHW5630HW0, this band comes off easier if you start at the 6 o'clock position and work upward.
Step 2: Remove the Old Latch Assembly
Fold the boot seal inward to expose the latch assembly mounted to the washer's front panel. Take a photo of the wire harness connections before touching anything — there are usually two connectors, and while they're keyed differently, it saves troubleshooting time later. Remove the two or three Torx screws holding the latch assembly to the front panel. The assembly will pull straight back into the washer cabinet. Disconnect both wire harnesses by pressing the locking tabs and pulling straight out. The latch assembly is now free.
Step 3: Install the New W11565030 Latch
Position the new W11565030 latch assembly where the old one came out. The mounting holes should align perfectly — if they don't, you've got it rotated 180 degrees. Connect both wire harnesses until you hear a distinct click. Give each connector a gentle tug to confirm it's seated. Install the mounting screws and tighten them snug but not gorilla-tight — you're screwing into plastic, and over-torquing will strip the threads. The latch should sit flush against the front panel with no gaps.
Step 4: Reinstall the Door Boot Band
Pull the door boot back over the front panel edge, making sure it's seated evenly all the way around. Work the wire band clamp back into the groove in the boot. Start at the top and work your way down both sides until you reach the spring section at the bottom. Use your screwdriver to stretch the spring and hook it into place. Walk around the entire boot perimeter and press firmly to ensure the band is fully seated — if it's partially out of the groove, you'll get water leaks.
Step 5: Test the Door Latch Function
Plug the washer back in. Close the door and listen for the electronic lock engaging — you should hear a solid click and possibly a low hum as the lock solenoid energizes. Open the door and make sure it releases smoothly. Start a rinse cycle and confirm the door locks within a few seconds. On Whirlpool models like the WFW5620HW1 and WFW8620HW0, the door should lock before you hear the water inlet valves open. If the machine starts immediately without locking, recheck your wire connections — you might have them reversed.
Testing After Installation
Run a short cycle completely through to verify everything works correctly. The door should lock at the start, remain locked during the cycle, and unlock immediately when the cycle completes. Try opening the door mid-cycle — the washer should stop and drain before allowing the door to open. If you hear clicking but the door doesn't lock, the latch assembly might not be aligned properly with the striker on the door itself. Loosen the mounting screws, adjust the position slightly, and retighten.
Frequently Asked Questions
Will this latch work if my washer door won't stay closed?
It depends on what's causing the problem. If the door pops open or won't catch at all, check the striker plate on the door itself first — that's the plastic piece the latch grabs. If the striker is broken or loose, a new latch won't help. But if the door closes and catches but won't lock electronically, or if the washer displays a door error even with the door closed, the W11565030 latch assembly will solve it. The latch includes both the mechanical catch mechanism and the electronic lock switch.
Do I need to remove the entire front panel to replace this part?
No, and that's what makes this repair straightforward. You only need to peel back the door boot seal far enough to access the latch mounting screws. The whole job happens through the door opening. You don't touch the top panel, service panel, or rear access — everything you need is right there once you move the boot seal out of the way. This is a 20-minute repair specifically because you don't have to disassemble the cabinet.
My washer is making a buzzing sound when I close the door — is that the latch?
Probably. The door latch assembly contains a small solenoid that energizes to throw the lock bolt. When the solenoid starts to fail, it'll buzz or hum but won't have enough power to fully engage the lock. You might hear the noise, but the cycle won't start because the control board isn't receiving the "door locked" signal. This buzzing usually happens for a few days or weeks before the latch stops working entirely, so you're catching it at the perfect time to replace it before you're stuck with a washer full of wet clothes.
Take a photo of wire harness connections before disconnecting anything. The connectors are keyed differently, but a reference photo eliminates any guesswork during reassembly.
Need the part for this repair?
W11565030 · In Stock · Ships next business day