
How to Replace 40113801 High Limit Thermal Fuse on Whirlpool Maytag Dryer — Step-by-Step
Always unplug the dryer before starting any repair. Thermal fuses blow for a reason — find and fix the root cause (usually vent clogs) or the new fuse will fail immediately.
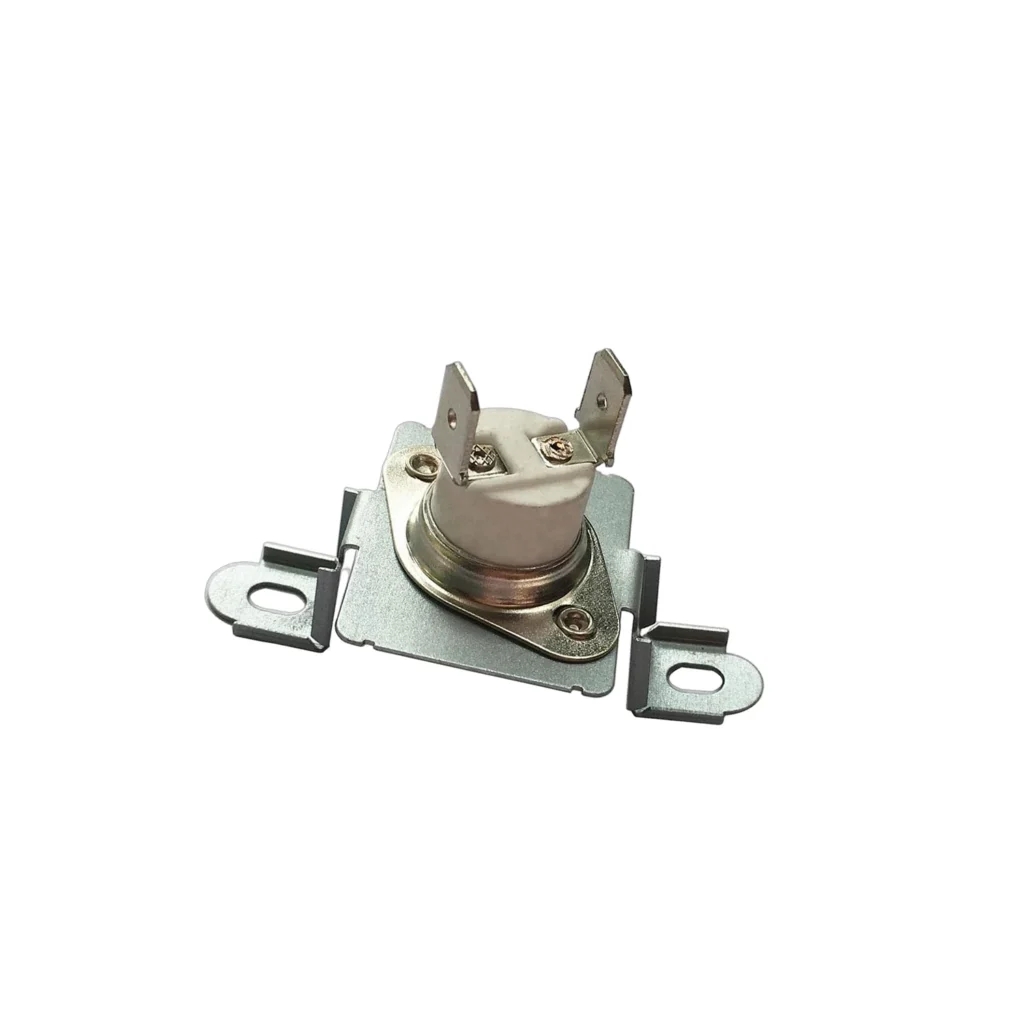
Your Maytag MEDC400VW0 won't start at all, or maybe it runs but doesn't heat anymore. You've checked the basics — the door closes properly, the lint trap is clean, the breaker hasn't tripped. What you're dealing with is likely a blown thermal fuse, and here's the thing: this isn't a fuse you can reset. Once the 40113801 high limit thermal fuse trips, it's done. It sacrificed itself to prevent your dryer from overheating into a serious fire hazard.
The good news? This is one of the most straightforward dryer repairs you can tackle yourself. The fuse is mounted on the blower housing, and you don't need to disassemble half the machine to reach it. Let's walk through exactly how to test it, remove it, and install the replacement.
What You Need Before Starting
Gather these items before you begin:
- Phillips head screwdriver
- 1/4" nut driver or socket set
- Multimeter (to test the old fuse)
- Flashlight or work light
- Work gloves (metal edges can be sharp)
Estimated Time: 30-45 minutes for first-timers, 15-20 minutes once you know what you're doing
Difficulty: Easy to Moderate — requires removing panels but no specialized knowledge
Safety First
Unplug the dryer completely from the wall outlet. If you have a gas dryer, turn off the gas supply valve as well — you won't be working near the burner assembly, but it's better to be safe. Thermal fuses blow for a reason, usually because of restricted airflow or a failing heating element. Before you replace this fuse, you need to figure out why it blew, or the new one will fail just as quickly. Check your vent system for clogs and make sure the heating element doesn't have any breaks or shorts.
Step 1: Access the Blower Housing
On most Whirlpool, Maytag, and Amana dryers (including models like MDE208DAYW, MEDC215EW1, and SDG3606AWW), you'll need to remove the lower front panel. Pop open the door and locate two screws at the bottom of the door opening — remove these. Then lift the top panel slightly and reach underneath to release the clips holding the lower panel. Some models have screws along the bottom edge instead of clips.
Step 2: Locate the Thermal Fuse
Look for the blower housing on the lower left side of the dryer cavity. The 40113801 thermal fuse is a small rectangular component, usually white or cream-colored, mounted directly on the housing with two wire terminals. It'll have two wires connected to it with slip-on connectors. Before you remove anything, use your multimeter set to continuity mode and test the fuse — touch one probe to each terminal. If it's blown, you'll get no reading. A good fuse shows continuity (the meter beeps or shows near-zero resistance).
Step 3: Remove the Failed Fuse
Pull the wire connectors straight off the fuse terminals — they should slide off with gentle pressure. If they're stuck, wiggle them side to side while pulling. The fuse itself is held to the blower housing with either a single mounting screw or a spring clip bracket. Remove the screw (usually a 1/4" hex head), then pull the fuse away from the housing. Some versions like WP40113801 or AP6009129 have slightly different mounting styles but they're all interchangeable.
Step 4: Install the New 40113801 Fuse
Position your new fuse exactly where the old one sat, making sure it's flush against the blower housing for proper heat sensing. Reinstall the mounting screw but don't overtighten — you're threading into plastic housing, and if you strip it, you'll have a much bigger problem. Push the wire connectors onto the new fuse terminals until they click into place. Give each wire a gentle tug to confirm they're secure.
Step 5: Reassemble and Address the Root Cause
Before you button everything back up, this is critical: find out why the fuse blew. Check your entire vent run from the dryer to the outside vent cap. Pull the dryer out and disconnect the vent hose — is it kinked, crushed, or packed with lint? Feel inside the vent outlet on the back of the dryer for obstructions. A clogged vent is the number one reason thermal fuses fail on models like PDET910AYW and MDGT446AWW. Replace the lower panel, restore power, and run a test cycle.
Testing After Installation
Plug the dryer back in and run it on high heat with nothing inside for about 10 minutes. It should heat up within 3-5 minutes. Feel the exhaust coming out of your exterior vent — it should be warm and have strong airflow. If it heats properly, throw in a load of damp towels and run a normal cycle. The dryer should complete the cycle and shut off automatically when the clothes are dry. If it doesn't heat or trips again immediately, you've got a secondary issue like a grounded heating element or a bad cycling thermostat that needs attention.
Frequently Asked Questions
Why did my thermal fuse blow on my Maytag dryer?
The thermal fuse acts as a safety device that permanently opens the circuit when temperatures exceed safe limits (usually around 280-300°F). Common causes include clogged vent lines restricting airflow, a failing blower wheel that's not moving enough air across the heating element, or a shorted heating element itself. On models like ADE7005AYW and MDE2706AYW, crushed or kinked vent hoses are the usual culprits.
Can I bypass the thermal fuse temporarily to test my dryer?
Never bypass a thermal fuse, even for testing. This fuse prevents house fires by cutting power when your dryer overheats. Bypassing it removes your only safety protection against runaway heat. If you need to test whether the fuse is the problem, use a multimeter to check for continuity — it takes 30 seconds and doesn't create a fire hazard.
Will this 40113801 fuse work on my Admiral dryer model ADE9005AGW?
Yes, Admiral dryers like the ADE9005AGW and ADE7005AKW use the exact same thermal fuse as Whirlpool, Maytag, and Amana models. These brands share the same parent company and use identical parts across their dryer lines. The 40113801 replaces original part numbers WP40113801, AP6009129, 14218937, 62600, and 915698 — they're all the same component with different manufacturer codes.
Before reassembling everything, vacuum out the entire blower housing area and check that the blower wheel spins freely. Years of lint buildup reduce airflow and cause unnecessary fuse failures.
Need the part for this repair?
40113801 · In Stock · Ships next business day