
How to Replace 12002773 Washer Suspension Spring Kit on Whirlpool & Maytag Washers — Step-by-Step
Springs are under high tension and can cause injury if released improperly. Wear safety glasses and gloves throughout installation.
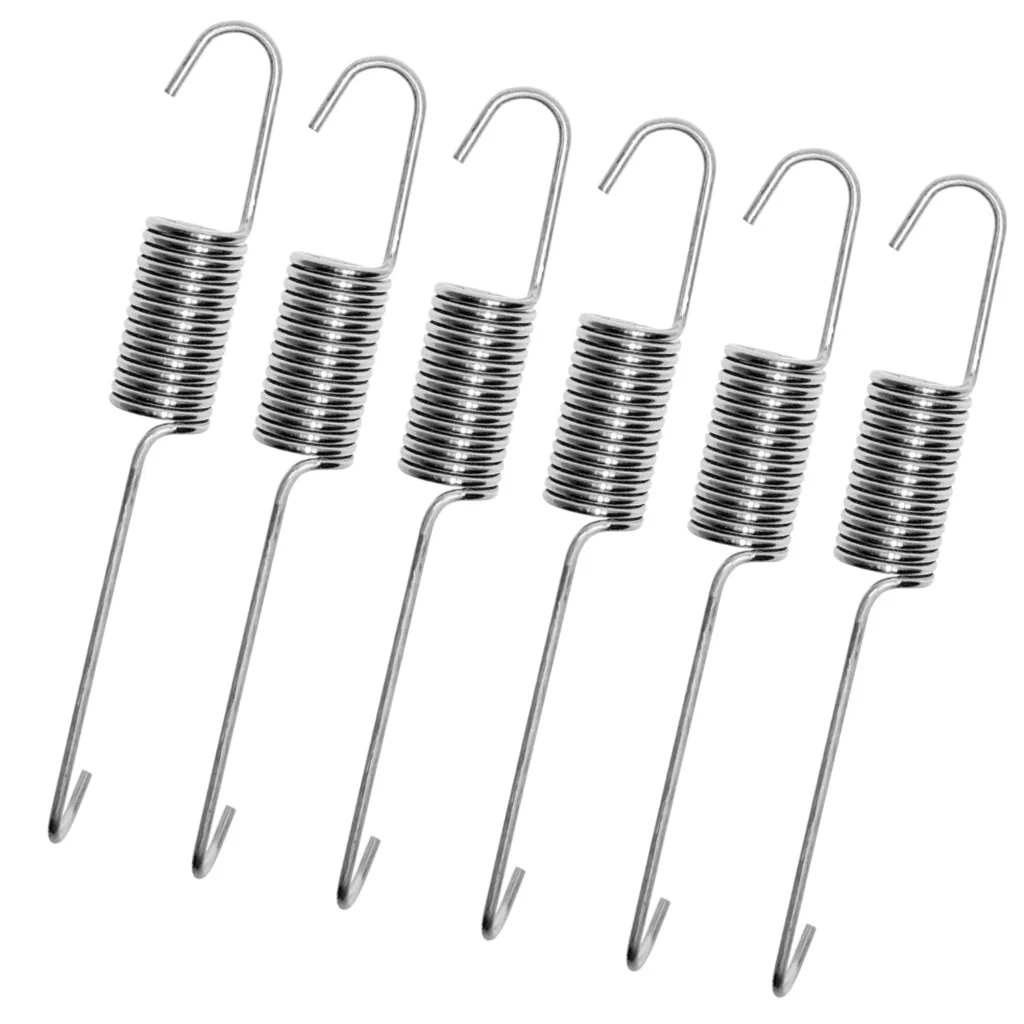
Your Maytag LAT1000AAE is walking across the laundry room during the spin cycle, and the banging noise is loud enough to hear from the next room. The culprit? Worn suspension springs that can no longer keep the drum stable. When suspension springs stretch out or break — usually after 8-10 years of regular use — the washer tub loses its support system, causing violent shaking and excessive noise during high-speed spins.
The 12002773 suspension spring kit includes all six springs you need to restore your washer's stability. This kit works across multiple brands — Whirlpool, Maytag, Admiral, and Amana — and replaces several older part numbers including AP4009656, 12002102, and 21001903. If you've got a top-load washer that's shaking itself apart, replacing these springs will bring it back to life.
What You Need Before Starting
This repair requires getting underneath and inside your washer cabinet. Here's what you'll need:
- Socket wrench set (3/8" and 1/4" drive)
- Needle-nose pliers
- Flathead screwdriver
- Work gloves (springs are under tension)
- Flashlight or headlamp
- Towels or cardboard to protect your floor
Estimated repair time: 45-60 minutes
Difficulty level: Moderate — requires careful handling of tensioned springs
Safety First
Unplug your washer completely before starting. These suspension springs are under significant tension when installed, and they can snap back with considerable force if not handled properly. Wear safety glasses and work gloves throughout this repair. The springs can pinch fingers during installation, and the metal edges are sharp enough to cut skin. If you're working alone, take your time — rushing this job increases injury risk.
Step 1: Access the Washer Cabinet
Remove the two screws securing the rear panel at the bottom. Most Whirlpool and Maytag models have these screws visible without moving the machine. Slide the top panel back about an inch, then lift it up and off. You'll now see the springs attached between the tub and the outer cabinet frame — three on each side in most configurations.
Step 2: Remove the Old Springs
Start with the springs on one side. Each spring has a hook on both ends — one attached to the tub bracket and one to the cabinet frame. Use needle-nose pliers to carefully unhook the top connection first, maintaining control so the spring doesn't fly loose. The spring will still be under some tension even after one end is free. Unhook the bottom connection and remove the spring completely. Repeat for all six springs, working methodically around the tub.
Step 3: Install the New Springs
Here's where patience pays off. Hook the bottom end of the new spring to the cabinet bracket first — this is the easier connection to make. Now pull the spring up to reach the tub bracket. You'll need to stretch it slightly, which is why gloves matter. The hook should seat firmly in the bracket hole. Double-check that both ends are fully engaged, not just resting on the edge of the bracket. A partially-hooked spring will fail immediately when the washer spins.
Step 4: Balance the Spring Installation
After installing all six springs, check that the tub sits level and centered in the cabinet. Push down gently on each side of the tub — it should have equal resistance all around. If one corner feels loose or sags lower, recheck those springs. Uneven spring tension will cause the same shaking problem you're trying to fix. The tub should have about 1-2 inches of movement in all directions when you push on it.
Step 5: Reassemble and Test
Replace the top panel by setting it down and sliding it forward until it clicks. Reinstall the rear panel screws. Plug the washer back in and run a test cycle without any clothes. Choose a spin cycle and watch for the first few minutes. The tub should spin smoothly without the cabinet shaking or walking. If you hear rattling, stop immediately and recheck your spring connections.
Testing After Installation
Run a full wash cycle with a medium load of towels — this gives the springs a realistic test under normal conditions. Stand nearby for the first spin cycle to confirm everything sounds right. You should hear the motor and water sounds, but not the banging or grinding that warned you the springs were failing. The washer should stay planted in one spot, even during the fastest spin speeds. If it walks more than an inch or two, you may have a secondary issue like unbalanced load distribution or a worn shock absorber.
Frequently Asked Questions
Do I need to replace all six springs even if only one is broken?
Yes, replace all six as a set. If one spring has failed, the others have experienced the same wear and stress. Installing just one new spring creates uneven tension that'll damage your tub bearings and cause premature failure of the remaining old springs. The 12002773 kit includes all six springs specifically because they should always be replaced together.
Will this kit work on front-load washers?
No, this kit is designed for top-load washers made by Whirlpool, Maytag, Admiral, and Amana. Front-load washers use a completely different suspension system with shock absorbers and stabilizer springs. Check your washer's model number against the compatibility list — models like LAT1000AAE and the W10 series Whirlpool washers are confirmed compatible.
How long do suspension springs typically last?
Expect 8-12 years from suspension springs under normal use conditions. If you regularly wash heavy items like comforters or if you consistently overload the washer, the springs will wear out faster. You'll know they're failing when the washer starts shaking violently during spin cycles or when you notice the tub sitting lower on one side than the other inside the cabinet.
Hook the bottom bracket first, then stretch the spring up to the top connection — this gives you better leverage and control during installation.
Need the part for this repair?
12002773 · In Stock · Ships next business day