
How to Replace WB44X173 Broil Element on GE Hotpoint RCA Kenmore Ovens — Step-by-Step
Unplug your range or flip the dedicated breaker before starting — broil elements run on 240 volts
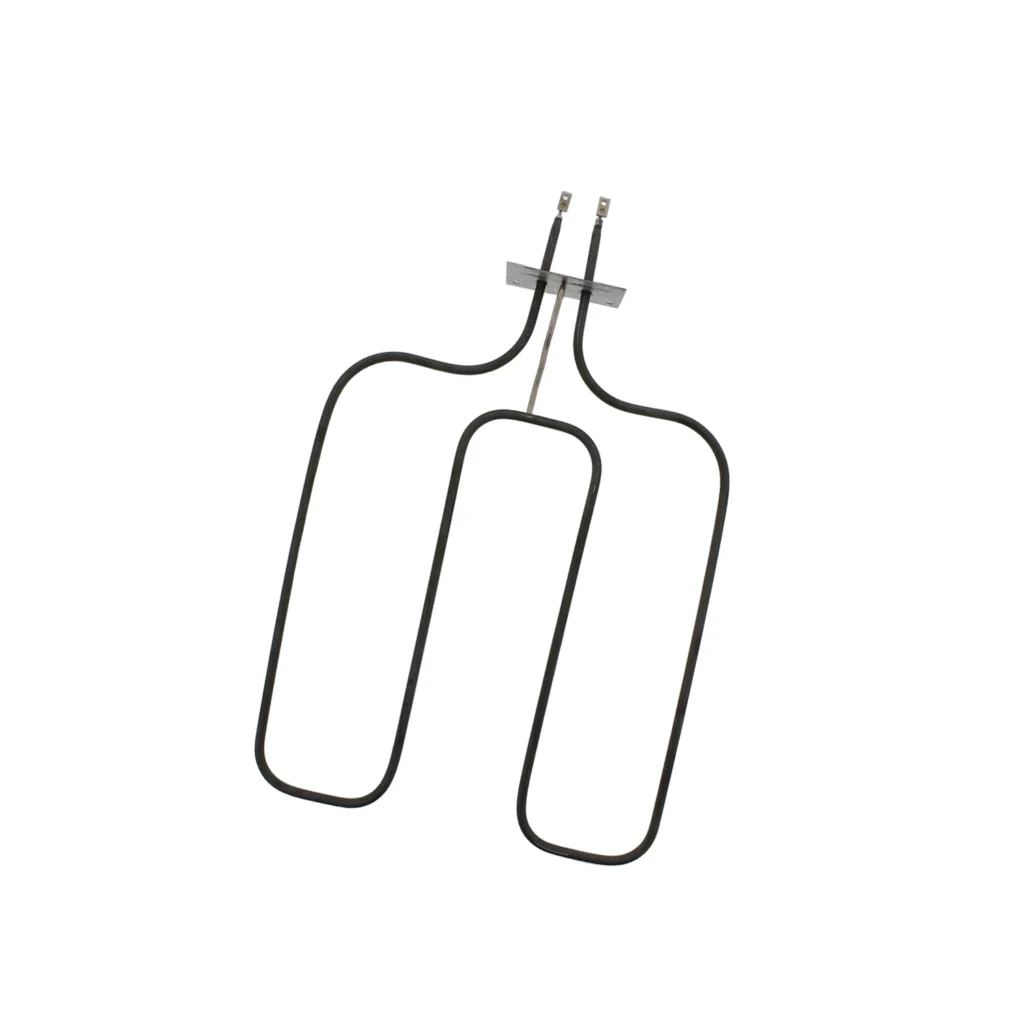
You turn on the broiler, wait five minutes, and nothing happens. The element just sits there, cold and useless, while your steaks remain pale and sad on the rack below. This is the classic sign your broil element has burned out — and if you've got a GE, Hotpoint, RCA, or Kenmore range, the WB44X173 is likely your replacement part.
The good news? Replacing a broil element is one of the most straightforward oven repairs you can tackle. It's literally held in by two screws and two wire connections. Most folks finish this repair in under 20 minutes, even if they've never opened an oven before.
What You Need Before Starting
This repair requires minimal tools and about 15-20 minutes of your time. Here's what you'll need:
- 1/4-inch nut driver or socket wrench
- Flathead screwdriver (for wire terminals)
- Work gloves (element edges can be sharp)
- Flashlight or headlamp
Difficulty: Easy | Estimated Time: 15-20 minutes
Important note: The WB44X173 does NOT include the mounting bracket. You'll reuse your existing bracket, which stays attached to the oven.
Safety First
Before you touch anything, unplug your range or flip the dedicated breaker in your electrical panel. Broil elements run on 240 volts — that's enough to seriously hurt you. Don't just turn off the oven controls; kill the power at the source. Use a non-contact voltage tester on the wire terminals if you want to be extra sure, especially on older installations where wiring can be unpredictable.
Step 1: Remove the Oven Racks and Access the Element
Pull out all your oven racks to give yourself working room. The broil element is the coiled metal component at the top of the oven cavity. You'll see two screws holding it to the back wall — these are usually 1/4-inch hex heads. On some GE models like the JKP36 and JBP24 series, there's a metal bracket behind those screws that the element attaches to.
Step 2: Disconnect the Mounting Screws
Using your nut driver, remove both mounting screws. Support the element with your other hand as you back out the second screw — it'll want to drop forward. Once the screws are out, gently pull the element forward about 3-4 inches. You'll see two wire terminals protruding from the back. The terminals on the WB44X173 are spaced 1-1/4 inches apart and extend 2-3/4 inches deep, which matches the factory setup on compatible GE and Hotpoint models.
Step 3: Disconnect the Wire Terminals
The wires are connected with either slip-on terminals or screw terminals, depending on your model. If they're slip-ons, grip the metal connector (not the wire) and pull straight back. If they're screw terminals, use your flathead screwdriver to loosen them. Take a quick photo with your phone before disconnecting — it'll help during reassembly, though the terminals are typically interchangeable on heating elements.
Step 4: Install the New WB44X173 Element
Push the wire connectors onto the new element's terminals until they're fully seated. You should feel them click into place. Position the element against the back wall, lining up the mounting holes with your existing bracket. Thread in both screws by hand first, then tighten them with your nut driver. Don't overtighten — you're just securing it firmly, not crushing anything.
Step 5: Test the Element
Replace your oven racks, restore power at the breaker, and turn on the broiler. The element should start glowing red within 60-90 seconds. It won't glow evenly at first — it'll start at the terminals and spread outward. Let it run for 2-3 minutes to make sure it heats across the entire coil. If you've got uneven heating or dark spots that won't glow, you might have a loose connection at one of the terminals.
Testing After Installation
Once the element glows evenly, turn off the broiler and let it cool for 10 minutes. Then run a full broil cycle with an actual food item (frozen pizza works great for this). Check that the top browns properly — if you're still getting weak performance, the issue might be your oven's temperature sensor or control board rather than the element itself.
Frequently Asked Questions
Will the WB44X173 work in my Kenmore oven even though it says GE?
Yes. Many Kenmore ranges built from the 1990s through the 2010s were actually manufactured by GE, so they use identical parts. Check your model number against the compatibility list — models like the Kenmore 790 series typically take this element. The terminal spacing is the key measurement that matters.
My new element glows in some spots but not others — is it defective?
Not necessarily. Check your wire connections first — a loose terminal will cause partial heating. If the connections are tight and you've still got cold spots, then yes, the element is likely defective. This happens occasionally with aftermarket parts. Most suppliers will replace it if you catch it within the first week of use.
Can I use this element as a bake element if mine goes out?
No. Broil elements and bake elements have different wattage ratings and terminal configurations. The WB44X173 is designed specifically for broiling at the top of the oven. Your bake element (the one at the bottom) requires a different part number. Installing the wrong element can create a fire hazard or trip your breaker repeatedly.
Take a photo of the wire connections before disconnecting to make reassembly easier
Need the part for this repair?
WB44X173 · In Stock · Ships next business day