
How to Extend Your GE Dryer Control Knob Life — Maintenance Guide
Always disconnect power before removing control knobs for inspection to avoid accidental dryer activation
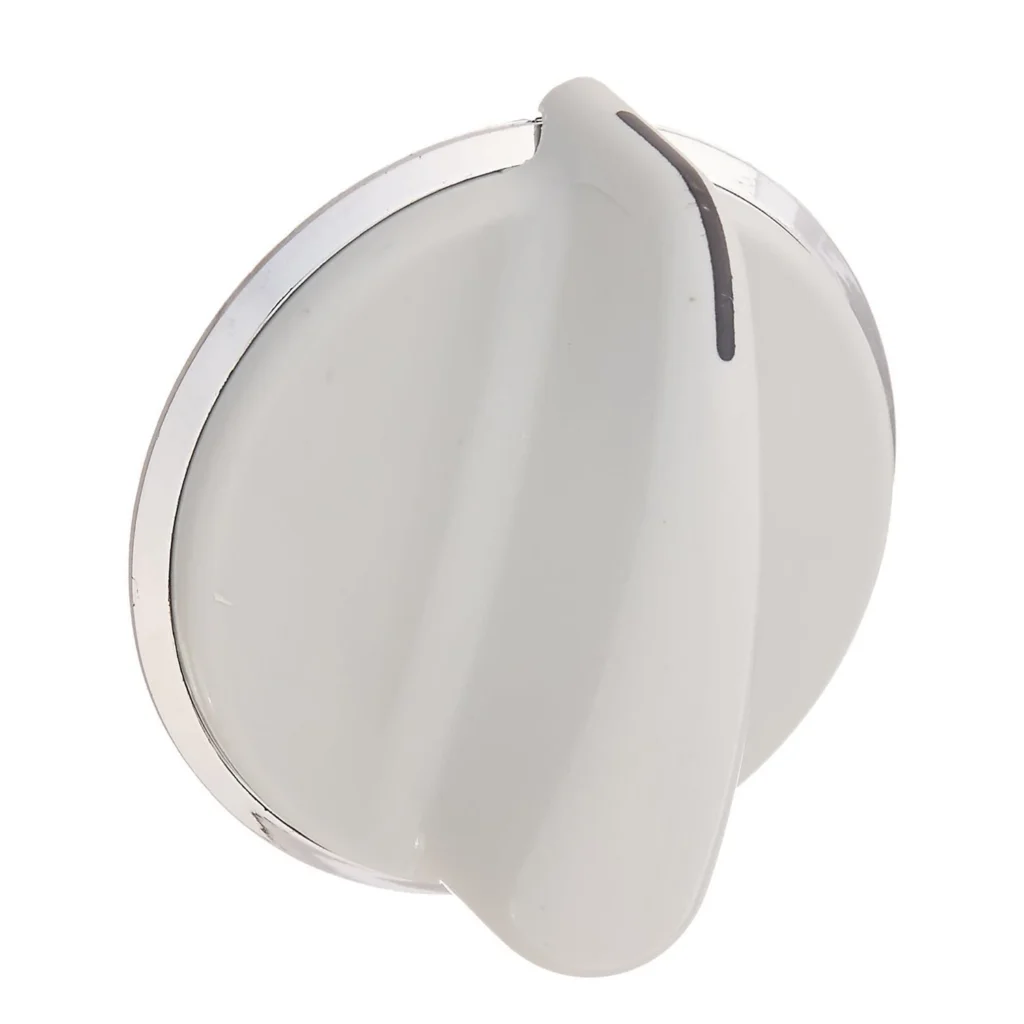
Most dryer control knobs should last the lifetime of your appliance, but I've replaced the WE01X20380 on dozens of GE dryers where the knob failed in just 3-5 years. The culprit? Usually not the knob itself, but how it's being used. A $17.99 replacement part every few years adds up — let's talk about making yours last.
How Long Should It Last?
Under normal conditions, this grey control knob should last 10-15 years or more. It's a simple ABS plastic component with a metal D-shaft insert that interfaces with your dryer's timer or cycle selector mechanism.
The lifespan gets cut short by three main factors: excessive force when turning, exposure to cleaning chemicals that degrade the plastic, and heat stress from nearby venting issues. I've seen knobs on GTDP490ED series models last 20+ years with gentle use, and others crack within 18 months when kids yank them or someone sprays harsh cleaners directly on the control panel.
The internal D-shaft connector is the weak point. It's designed for rotational movement, not pulling force. Once that connection loosens or the shaft strips, you'll turn the knob without actually changing settings.
Signs It's Wearing Out
Catch these warning signs early and you can often prevent complete failure:
Loose or Wobbly Feel
When you turn the knob, it should feel firm with distinct clicks at each setting. If there's play in the knob — you can wiggle it back and forth or pull it slightly away from the panel — the internal D-shaft connector is wearing out. This happens gradually, so check it every few months by gently trying to pull the knob straight out while the dryer is off.
Cracks Around the Base
Small hairline cracks near where the knob meets the control panel are your early warning system. These usually start from over-tightening when someone pushed the knob back on after cleaning or from impact damage. Run your fingernail around the base — if you catch on any splits or rough edges, the structural integrity is compromised. It'll break completely within a few weeks of heavy use.
Faded or Worn Markings
While cosmetic, worn-off temperature or cycle markings indicate the knob has seen heavy use and the plastic is aging. The same UV exposure and heat that fades the labels also makes the plastic brittle. If your markings are 50% gone, the knob material has likely lost flexibility and is more prone to cracking.
Doesn't Engage Settings Properly
You turn the knob to "Permanent Press" but the dryer starts on "Normal" — or doesn't start at all. This means the D-shaft connection is slipping. The knob turns, but it's not rotating the actual selector shaft underneath. At this point, you're days away from complete failure.
Daily Habits That Kill Control Knobs Early
Here's what I tell every customer: treat your dryer knob like a light switch, not a door handle.
Don't pull while turning. I can't stress this enough. The knob should never experience outward force. If you're gripping it and pulling as you rotate, you're separating the D-shaft from its socket. Use two fingers on opposite sides and turn with just rotational movement.
Never spray cleaners directly on it. Wipe down the control panel around the knob, but don't let liquid pool where the knob meets the panel. Moisture seeps inside and can corrode the metal shaft or make plastic swell and crack. Use a barely-damp cloth for the knob itself — that's it.
Don't force it past the stop point. Every cycle selector has end stops. When you feel resistance at the end of the dial's rotation, stop. Forcing it further stresses the internal mechanism and can snap the plastic detent tabs that give you those satisfying clicks between settings.
When to Replace vs Maintain
If your knob is already cracked, has a completely stripped D-shaft socket, or the markings are unreadable, replace it. There's no fixing those issues — the WE01X20380 is a $17.99 part that takes 30 seconds to swap.
But if you're catching early wear — slight looseness, minor surface scratches, barely visible hairline cracks — you can extend its life significantly. Remove the knob monthly (pull straight off), clean both the knob and the exposed shaft with a dry cloth, check for debris in the socket, and reinstall firmly but not forcefully. That simple routine can buy you several more years.
One thing to check before replacing: make sure the actual selector shaft behind the knob isn't damaged. Remove your current knob and inspect the D-shaped metal shaft. If it's rounded off or corroded, replacing just the knob won't help. You'd need the selector switch mechanism replaced, which is a different repair entirely.
Frequently Asked Questions
How do I remove the control knob for cleaning?
Pull straight out firmly but steadily. Don't wiggle or rock it — that can damage the shaft. If it's really stuck, wrap it with a thin cloth for grip and pull directly away from the panel. Never pry with tools or twist while pulling. Once off, clean the D-shaft socket with a dry cotton swab, wipe the metal shaft on the dryer with a barely-damp cloth, and let everything dry completely before reinstalling.
Why does my control knob keep falling off?
The D-shaped socket inside the knob has worn smooth, or the metal shaft it connects to has been rounded from repeated slipping. This happens after years of the knob being loose and someone continuing to use it. At this point, the knob won't grip anymore. You need a new WE01X20380 — the current one is toast. If the new knob also fits loosely, the selector shaft itself is worn and needs replacement by a technician.
Can I replace a grey control knob with a different color?
Technically yes if the D-shaft dimensions match, but I don't recommend it for this part. GE designed the WE01X20380 specifically for models like the GTDP490ED and GTDX400 series with precise shaft sizing. Using an incorrect knob might fit initially but can damage the selector mechanism over time if the tolerances are slightly off. Stick with the exact replacement part number to ensure proper fit and function.
Element showing wear?
WE01X20380 · Replace before it fully fails