
How to Extend Your Whirlpool Oven Temperature Sensor Life — Maintenance Guide
Always disconnect power before touching the sensor probe. On gas models, shut off the gas supply valve. The probe remains hot for 30+ minutes after oven use.
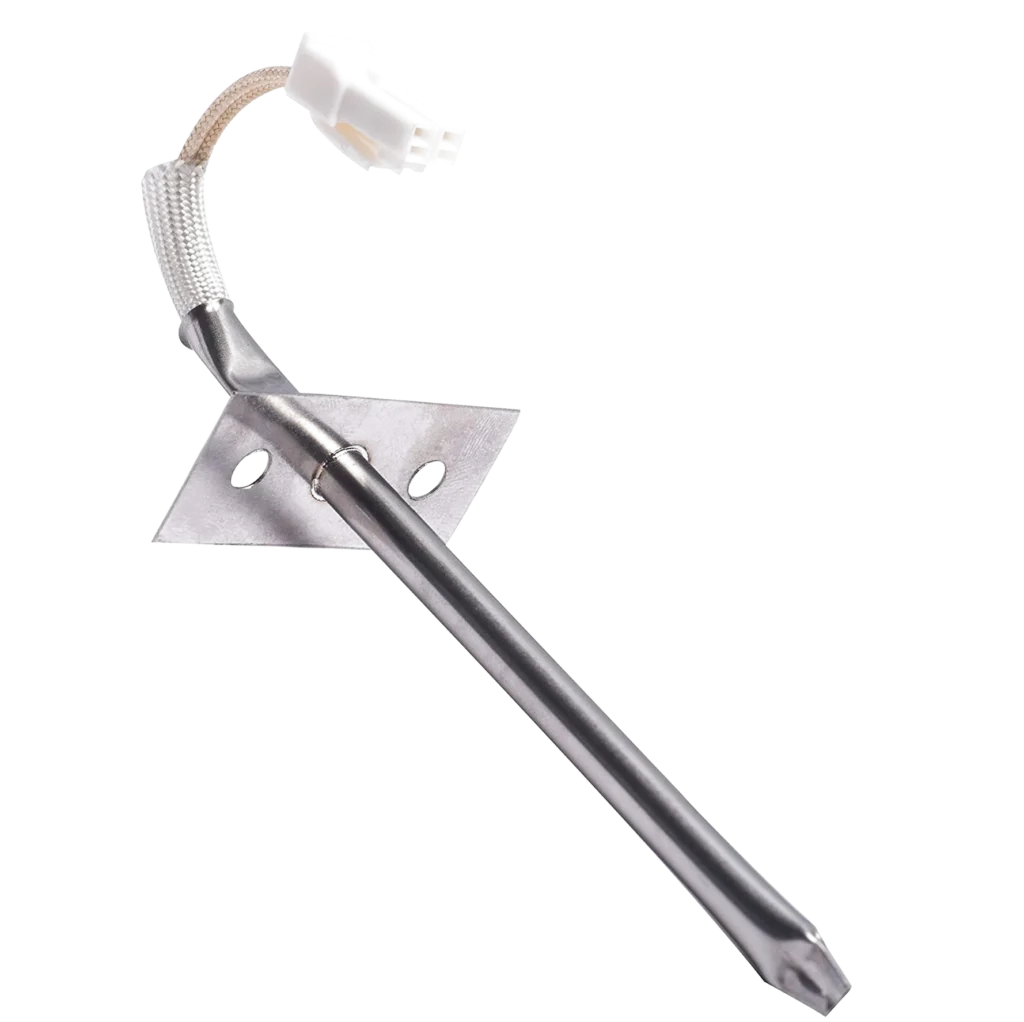
Here's something most people don't realize: that oven temperature sensor you never think about? It's constantly cycling through temperature extremes — from stone cold to 550°F and back — multiple times a week. The average W10131825 sensor sees about 8,000 heating cycles before it starts drifting out of spec. That's roughly 4-5 years for most households, but I've seen them fail in 18 months when certain conditions accelerate wear.
The sensor probe in models like the KEBC208KSS04, KEMS308SSS05, and KDRP467KSS0 sits right in the oven cavity where it's exposed to everything — grease splatter, self-cleaning cycles that hit 900°F, and thermal shock from opening the door mid-bake. Each of these things quietly degrades the sensor's accuracy until one day your cookies burn or your bread won't rise.
How Long Should It Last?
Under normal conditions, the W10131825 temperature sensor should give you 5-7 years of accurate readings. But that's in a perfect world. Reality looks different.
What actually affects lifespan:
- Self-cleaning frequency — Every self-clean cycle ages the sensor by about 6 months of normal use. That 900°F temperature puts extreme stress on the probe.
- Grease buildup — The sensor probe isn't sealed. Grease vapor can work its way into the connection point and create resistance issues.
- Temperature swings — Opening the oven door repeatedly during cooking causes rapid temperature changes. The probe expands and contracts, and over thousands of cycles, this can crack the protective sheath.
- Moisture exposure — Steam from covered dishes or water dripping during cleaning can corrode the sensor mounting bracket on models like the KEBS208SSS04.
With proper care, you can push that lifespan to 8-10 years. The key is reducing thermal stress and keeping the probe clean.
Signs It's Wearing Out
Temperature sensors don't just stop working overnight. They drift. You'll notice the problems before the sensor completely fails.
Oven Is Too Hot
Set it to 350°F but everything comes out like it was baked at 400°F? That's the classic sign of a failing sensor. As the probe ages, its resistance changes — it tells the control board it's cooler than it actually is, so the oven keeps heating. I've seen casseroles bubble over and crusts blacken because the sensor was reading 75°F low. If you're suddenly burning things you've made a hundred times, check the sensor first.
Little to No Heat When Baking
The opposite happens too. The sensor reads high, the control board thinks it's hot enough, and the heating element barely turns on. Your oven sits at 250°F when you set 375°F. Bread won't rise. Chicken stays pink in the middle. This failure mode is less common but more dangerous — you can't tell by looking that food isn't cooking properly.
Oven Not Heating Evenly
When the sensor response time slows down (usually from grease buildup or internal corrosion), the oven overshoots and undershoots the target temperature. The element cycles too aggressively. Front of the pan burns, back stays pale. The temperature swings 50-75°F instead of staying within 15°F of setpoint. Models like the KESS907SSS02 are particularly sensitive to this because of their convection systems — uneven heating gets amplified.
When to Replace vs Maintain
Here's the honest truth: once a temperature sensor starts reading inaccurately, you can't fix it. There's no calibration adjustment. No amount of cleaning will restore a probe that's developed internal resistance issues.
But you can prevent it from failing prematurely. Think of maintenance as extending the accurate lifespan, not repairing accuracy once it's gone.
Replace immediately if:
- Your oven temperature is off by more than 50°F (verify with an oven thermometer first)
- The sensor probe is visibly corroded or has a white/green buildup at the mounting point
- The ceramic insulator is cracked or chipped
- You get an F1, F3, or F10 error code (depending on your model) indicating sensor circuit problems
Maintain if:
- The oven is still hitting temperatures within 25°F of setpoint
- The sensor probe looks clean and intact
- You haven't noticed significant changes in cooking performance
Use an oven thermometer to check accuracy every 6 months. If you're within spec, keep maintaining. Once you're outside that 25°F window, order the W10131825 replacement. Don't wait for a complete failure — inaccurate temperature ruins food and wastes energy.
Frequently Asked Questions
Can I clean the temperature sensor probe?
Yes, but gently. Turn off power to the oven. Once it's completely cool, wipe the probe with a damp cloth — no abrasives, no chemicals. Just water. If there's baked-on grease, use a tiny bit of dish soap, then wipe thoroughly with clean water. Never scrub the probe or bend it. The protective sheath is thin metal, and scratching it can expose the internal thermistor to moisture. On models like the KEBS107SSS04 where the probe is in a tight corner, you might need a flexible cleaning brush to reach behind it.
How often should I avoid self-cleaning to protect the sensor?
Limit self-clean cycles to 3-4 times per year maximum. Every time you run that cycle, you're exposing the sensor to temperatures it wasn't really designed for — the oven cavity hits 900°F, and while the sensor can handle it, the thermal shock ages it fast. If you're religious about wiping up spills right after cooking (while the oven's still warm but not hot), you can probably get away with self-cleaning twice a year. Manual cleaning with oven cleaner is easier on the sensor, even though it's harder on you.
Does the sensor position matter for longevity?
Absolutely. The W10131825 should sit roughly in the center of the back wall, usually 2-3 inches from the top of the cavity. If it's been bumped or bent downward toward the bottom element, it'll read hotter than the actual oven temperature and fail faster from direct radiant heat exposure. After removing oven racks for cleaning, check that the probe is still angled slightly upward or horizontal — not pointing down. On double oven models like the KESK901SSS06, the upper oven sensor is more vulnerable to bumps because the cavity is smaller.
Element showing wear?
W10131825 · Replace before it fully fails