
How to Extend Your Whirlpool Dishwasher Food Chopper Life — Maintenance Guide
Disconnect power before removing chopper assembly. Sharp blades — handle carefully. Check for small items like toothpicks or glass that could cut you.
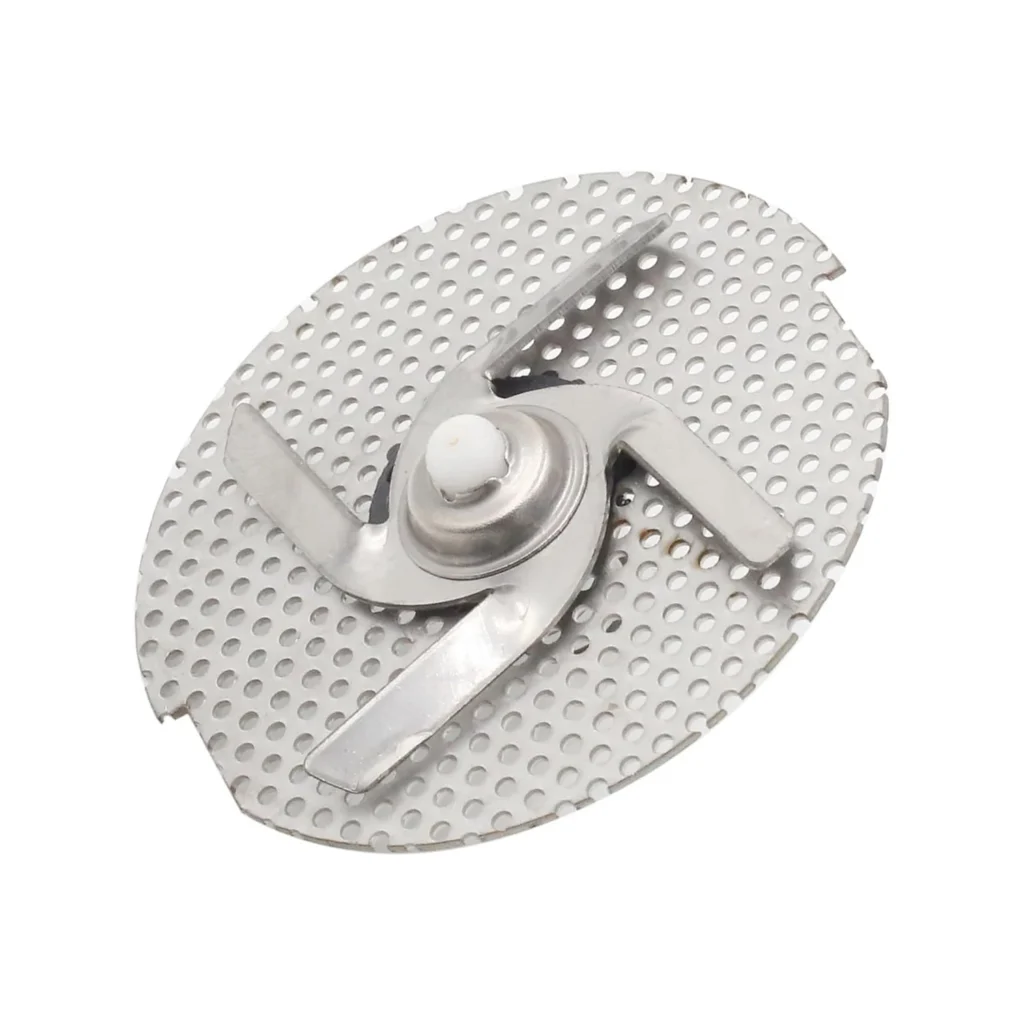
Most dishwasher food choppers fail around the 5-year mark, but the 8268383 assembly in Whirlpool, KitchenAid, and Kenmore models should last 8-10 years. The difference? How well you keep food particles from jamming the chopper blades and clogging the pump underneath.
I've replaced hundreds of these choppers, and here's the thing — about 70% of them didn't actually need replacing. They just needed a proper cleaning and maybe a quick check of the spring tension. Let's walk through what actually kills this part and how to keep yours running.
How Long Should It Last?
The 8268383 food chopper assembly is built to handle 8-10 years of regular use — that's roughly 3,000 wash cycles. But most fail between years 4 and 6 because of preventable clogs.
What affects lifespan:
- Hard water buildup: Mineral deposits gum up the chopper blades and spring mechanism
- Large food particles: Bones, fruit pits, and hard chunks jam the blades
- Grease accumulation: Creates a sticky film that slows blade rotation
- Cleaning frequency: Units cleaned monthly last 3x longer than neglected ones
With proper maintenance, you'll hit that 10-year mark. Without it, you're looking at replacement around year 5.
Signs It's Wearing Out
The chopper doesn't just die overnight. It gives you warnings, and if you catch them early, a cleaning session might save you $40-60 on a replacement.
Not Cleaning Dishes Properly
When the chopper can't break down food particles, those chunks recirculate and redeposit on your dishes. You'll notice bits of food stuck to glasses and plates even after a full cycle. This is your first warning — the chopper blades are either clogged or the spring isn't creating enough pressure.
Unusual Grinding or Rattling Noise
A healthy chopper makes a low hum during the wash cycle. When you hear grinding, clicking, or rattling, something's jamming the blades. Could be a popcorn kernel, a twist tie, or buildup on the blade edges. Don't ignore this — it means the motor is working harder and wearing faster.
Standing Water After Cycle
If water's pooling at the bottom after the drain cycle, the chopper might be clogged and preventing proper pump operation. Food debris blocks the chopper, which blocks the pump intake, which stops drainage. Check the chopper before you start tearing into the drain pump.
Monthly Maintenance Routine
Here's what keeps choppers alive past their expected lifespan:
Remove and inspect the chopper: On models like the 7DU1100XTSQ0 and KUDS01DJSS0, you'll need to remove the lower spray arm and the screen assembly first. The chopper sits right under that screen. Pull it out and look for hair, twist ties, or chunks wedged in the blades.
Clean the blade assembly: Use an old toothbrush and hot soapy water. Scrub between the blades where grease and mineral deposits hide. If there's white scale buildup, soak it in white vinegar for 20 minutes.
Check the spring tension: The spring underneath should push the chopper assembly up firmly. If it feels weak or compressed, that's your cue for replacement. A weak spring means inconsistent chopping and faster wear on the motor.
Clear the pump intake: While you've got the chopper out, shine a flashlight into the pump area below. Remove any visible debris. This is where small items collect and eventually jam the chopper from underneath.
When to Replace vs Maintain
Sometimes cleaning isn't enough. Replace the 8268383 chopper if:
- The blades are visibly worn or chipped
- The spring has lost tension and won't compress properly
- You're seeing leaks from the chopper housing seal
- It's still noisy after thorough cleaning
- The dishwasher won't start (sometimes a seized chopper triggers safety switches)
One customer put it perfectly: "Re assembled the other parts and dishwasher cleans like new." That's what a fresh chopper does — brings back that factory performance.
When installing a new one, use the 1/2 inch wrench trick. Compress the spring from the front, drop the chopper in, remove the wrench. It'll lock right into place. No need to fight with it.
Prevention Tips
The best maintenance is prevention:
- Scrape plates first: You don't need to rinse, but remove bones, seeds, and large chunks
- Run hot water before starting: Gets grease moving instead of letting it solidify on the chopper
- Use rinse aid: Reduces mineral deposits throughout the system, including the chopper area
- Monthly vinegar rinse: Empty dishwasher, cup of white vinegar in the bottom, run hot cycle
Frequently Asked Questions
How often should I clean the food chopper assembly?
Monthly for normal use, every 2-3 weeks if you've got hard water or run 2+ cycles daily. Takes 10 minutes and prevents that $60 emergency replacement.
Can a clogged chopper cause the dishwasher to not drain?
Absolutely. The chopper sits right above the pump intake. When it's clogged, water can't reach the drain pump efficiently. Before you replace the pump, pull and clean the chopper — fixes the problem 60% of the time.
What's that grinding noise during the wash cycle?
Usually something caught in the chopper blades — check for popcorn kernels, small bones, twist ties, or fruit pits. If the chopper's clean and it's still grinding, the blades themselves might be worn and hitting the housing wrong. Time for a replacement.
Element showing wear?
8268383 · Replace before it fully fails