
How to Replace Y54414 Dryer Idler Pulley on Whirlpool & Maytag Dryers — Step-by-Step
Unplug dryer completely before starting repair. Shut off gas supply if applicable. Wear gloves when handling sheet metal panels.
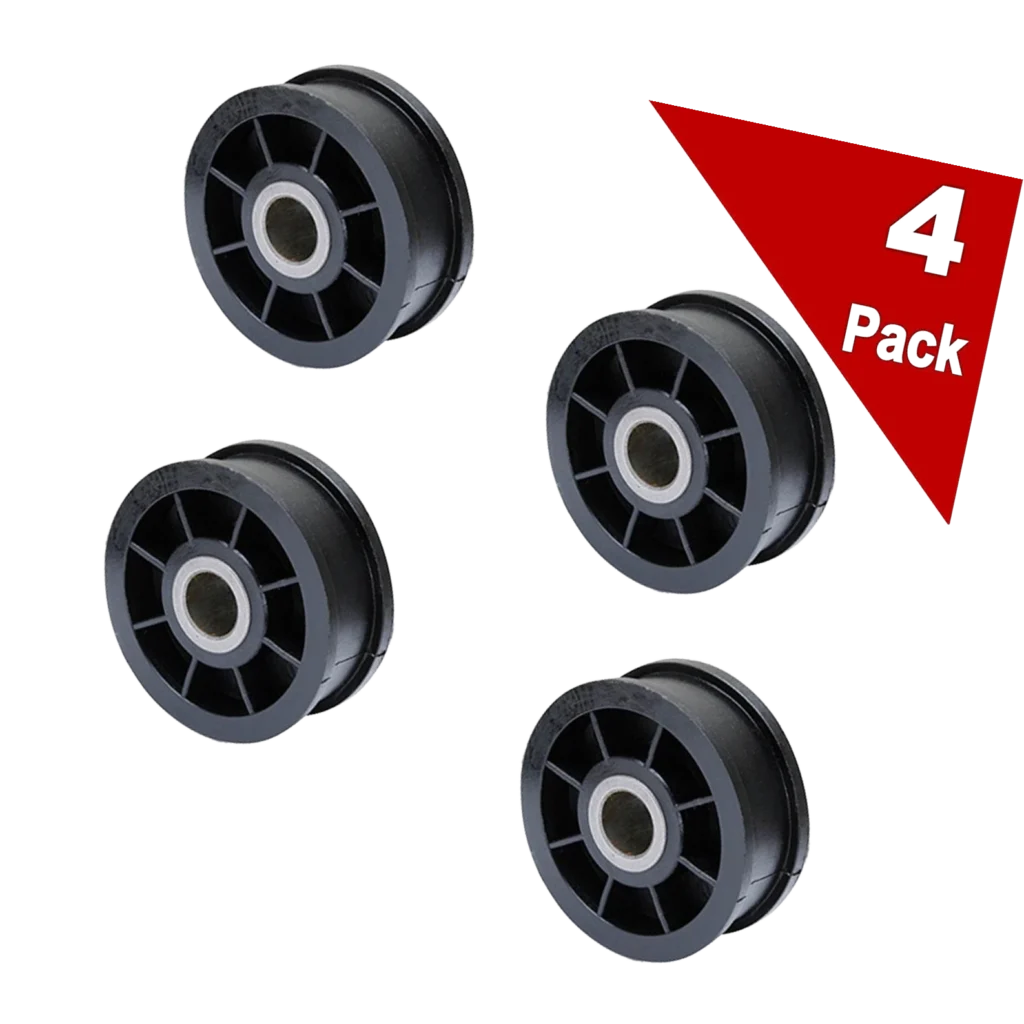
Your Maytag dryer starts making a rhythmic squealing sound that gets worse with every load. Then one day, you open the door and the drum won't spin at all — the motor's running, but nothing's moving. Nine times out of ten, that's your idler pulley seized up or the bearing worn through. The Y54414 idler pulley keeps tension on your dryer belt, and when it fails, everything stops.
This replacement works across multiple brands using the same drum design. I've swapped this pulley on dozens of Whirlpool LER5636EQ3, Maytag MEDC400VW0, and even older Kenmore 110-series dryers. Same part, same process.
What You Need Before Starting
- 1/4" nut driver or socket set
- Flat-head screwdriver
- Work gloves (sheet metal edges are sharp)
- Flashlight or headlamp
- Replacement Y54414 pulley assembly
Time Required: 30-45 minutes
Difficulty: Moderate — You'll need to access the inside of the cabinet, but the actual swap is straightforward.
Safety First
Unplug the dryer completely before you start. Don't just flip the breaker — physically disconnect it. If you've got a gas dryer, shut off the gas supply valve behind the unit. You'll be working near the motor and drum, and you don't want anything starting up while your hands are inside. Wear gloves when handling sheet metal panels — those edges will slice your knuckles faster than you'd think.
Step 1: Remove the Front Panel or Access the Rear
Most Whirlpool and Maytag dryers let you access the idler pulley from the front. Remove the two screws holding the lint filter housing, then lift the top panel (it usually hinges up). You'll see screws along the top inside edge of the front panel — remove those, then lift the panel up and off its bottom clips. On some Amana models like the AED4475TQ1, you'll need to go through the lower access panel at the front instead. Check your model's layout first.
Step 2: Release Belt Tension and Locate the Pulley
Once you've got the front off, you'll see the drum with the belt wrapped around it. Follow the belt down to the motor pulley at the bottom — the idler pulley sits between the drum and motor, keeping that belt tight. Push the idler arm toward the motor to release tension on the belt. You'll feel spring pressure fighting you. Mark the belt routing with your phone camera if you're worried about forgetting how it threads back.
Step 3: Remove the Old Idler Pulley
The pulley wheel sits on a shaft that's held by a bracket bolted to the dryer frame. Remove the single mounting bolt (usually 1/4" hex head) holding the bracket. Slide the old pulley assembly out — wheel, bearing, and bracket all come out together. If you hear grinding or see metal shavings around the bearing, that's what killed it. The bearing seizes, the wheel stops spinning freely, and friction does the rest.
Step 4: Install the Y54414 Replacement
Slide the new Y54414 assembly into position, making sure the pulley wheel sits in the belt groove properly. The wheel should spin freely on the bearing — give it a test spin before you bolt it down. Secure the mounting bracket with the bolt you removed earlier. Don't overtighten — snug is enough. The spring-loaded arm needs to move freely to maintain belt tension.
Step 5: Re-thread the Belt and Reassemble
Loop the belt back around the drum, then down around the motor pulley and through the idler pulley groove. Pull the idler arm toward the motor again to create slack, slip the belt into place, then release. The spring tension should pull everything tight. Manually rotate the drum a few full turns — the belt should track smoothly without riding up or slipping off. Reinstall your front panel, reconnect power, and run a test cycle with no clothes.
Testing After Installation
Run the dryer empty for 5 minutes on air fluff. Listen for squealing, grinding, or any noise that wasn't there before. The drum should spin smoothly in both directions (some models reverse during cooldown). If you hear new noises, you might have the belt twisted or the pulley not seated properly in the belt groove. Also check that the dryer's sitting level — a tilted machine can throw off belt alignment and wear out your new pulley faster.
Frequently Asked Questions
How do I know if my idler pulley is bad or if it's the belt?
Spin the pulley wheel by hand before you remove anything. It should rotate smoothly and quietly. If it's stiff, gritty, or makes noise, the bearing's shot. If the pulley spins fine but you've got squealing, check the belt for cracks, glazing, or frayed edges. Often both parts fail around the same time — the pulley seizes, which burns the belt, or the belt stretches, which overworks the pulley bearing.
Will this Y54414 pulley fit my Kenmore dryer?
If your Kenmore starts with 110., it's probably built by Whirlpool and uses this pulley. Models like the 110.96273100 and 110.67082601 are confirmed matches. Cross-reference your model number with the compatibility list — Sears rebranded a lot of Whirlpool and Maytag machines, so the guts are identical even though the nameplates differ.
Can I just replace the wheel without replacing the whole assembly?
Not with this design. The Y54414 is a sealed bearing assembly — the wheel, bearing, and shaft are one unit. You could technically press out the old bearing and install a new one if you've got a machine shop, but a new complete assembly costs $19 and takes 30 minutes to swap. Don't overthink it. Replace the whole thing and move on.
Take a photo of the belt routing before removal — it'll save you 10 minutes of confusion during reassembly.
Need the part for this repair?
Y54414 · In Stock · Ships next business day