
How to Replace WR60X35365 Evaporator Fan Motor on GE and Hotpoint Freezers — Step-by-Step
Unplug freezer completely before starting. Allow frost to melt before removing panels to avoid cracking plastic or damaging evaporator coils.
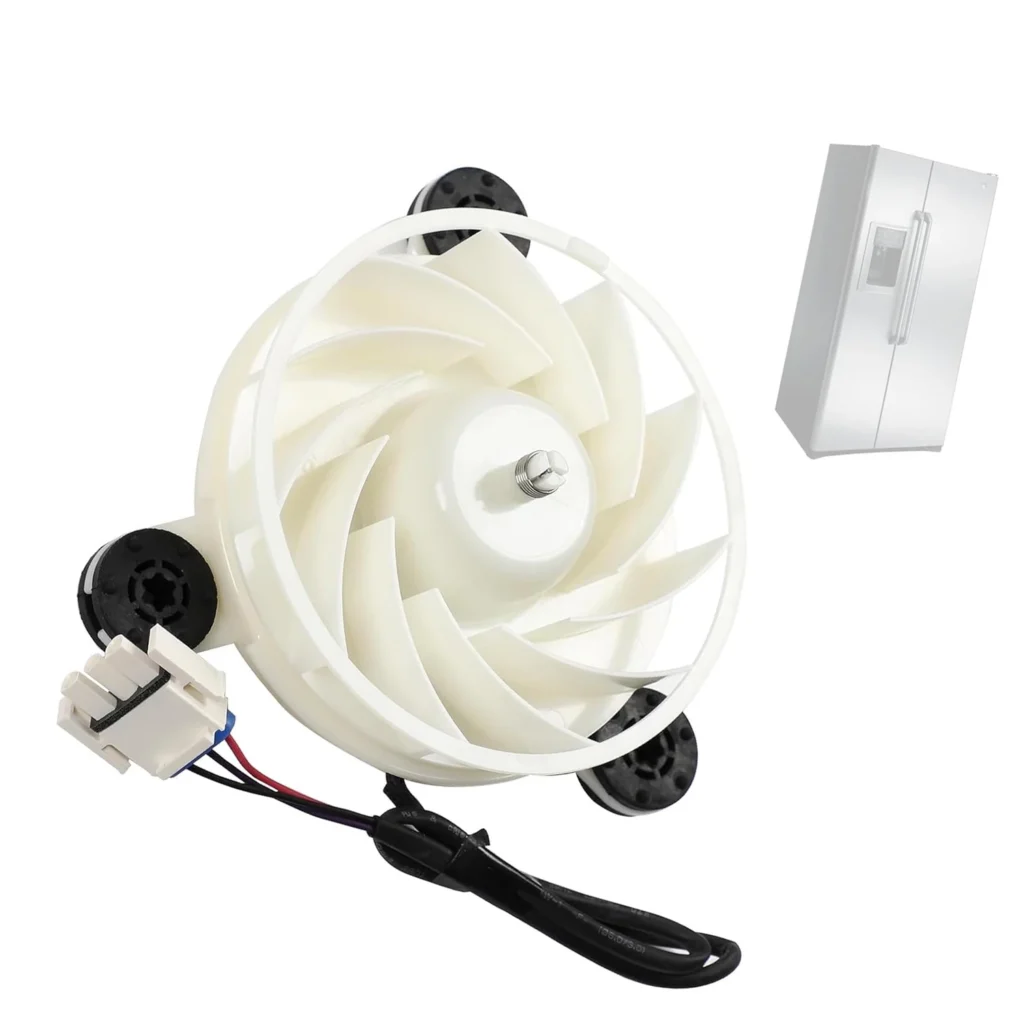
Your GE freezer is running, but the back wall's covered in frost and nothing's freezing properly. You can hear the compressor humming away, but open the door and there's no air movement from the back panel. That's your evaporator fan motor calling it quits — and on models like the FUF14DLRAWW or FUF17SMRCWW, this WR60X35365 motor replacement is one of the most common repairs after 5-7 years of daily use.
The evaporator fan circulates cold air from the evaporator coils throughout your freezer compartment. When it fails, cold air stays trapped behind the panel while your food slowly thaws. You'll notice excessive frost buildup on the back wall, warmer temps in the freezer section, and complete silence when you'd normally hear that steady fan hum. This replacement typically takes under an hour and doesn't require any refrigerant work.
What You Need Before Starting
Gather these tools before you unplug anything:
- 1/4" nut driver or socket
- Phillips screwdriver
- Flat-head screwdriver (for panel clips)
- Needle-nose pliers
- Work gloves (metal edges can be sharp)
- Towels (for frost melt-off)
- Flashlight or headlamp
Estimated Time: 45-60 minutes
Difficulty: Moderate — Requires removing interior panels and working in a tight frozen space
Safety First
Unplug the freezer completely before starting — this motor connects directly to 120V power. Empty the freezer contents into coolers with ice packs, because you'll need at least 30 minutes for frost to soften on the evaporator panel. Never force frozen panels off; you'll crack the plastic or damage the evaporator coils behind them. If your freezer has significant frost buildup, let it defrost for 2-3 hours or use a hairdryer on low to speed things up. Working with sharp metal fan blades in a confined space means gloves aren't optional here.
Step 1: Access the Evaporator Compartment
Remove all shelves and bins from the freezer interior. Locate the back panel — it's the white plastic cover running the full height of the freezer compartment. You'll see 4-6 screws around the perimeter, typically Phillips head. Remove these screws and set them aside. On most GE uprights like the FUF14SMRDWW, there are also plastic clips along the top edge. Gently pull the bottom of the panel toward you first, then lift up to release the top clips. If frost has sealed the panel in place, wait another 15 minutes for more melt-off. Behind this panel, you'll see the evaporator coils and the fan assembly mounted at the top.
Step 2: Disconnect the Old Fan Motor
The fan motor sits in a bracket at the top of the evaporator coils. Locate the wire harness connector — it's usually a white 2-pin connector attached to the motor. Pull the connector apart (don't yank the wires). Now remove the fan blade itself. Most GE models use a spring clip on the motor shaft. Use needle-nose pliers to carefully slide the clip off, then pull the fan blade straight off the shaft. Watch your fingers — these blades have sharp edges. Next, remove the mounting screws holding the motor bracket to the evaporator housing. On the WR60X35365, there are typically two screws securing the motor bracket. The entire motor assembly should now lift out.
Step 3: Install the New WR60X35365 Motor
Position your new motor in the mounting bracket, making sure the shaft extends through the bracket opening toward where the fan blade will mount. Secure it with the two mounting screws — snug but not overtightened (you're threading into plastic housing). Now slide the fan blade onto the motor shaft. Make sure it's pushed all the way on until it seats against the motor hub. Replace the spring clip to secure the blade. Give the blade a spin by hand — it should rotate freely without wobbling or scraping against anything. If it touches the evaporator coils or housing, reposition the motor slightly.
Step 4: Reconnect and Test
Plug the wire harness connector back onto the new motor terminals. You should hear a positive click when it seats properly. Before reassembling everything, plug the freezer back in for a quick test. Within 30 seconds, you should hear the new motor start up and feel air movement. If nothing happens, unplug immediately and verify the wire harness connection is secure. Once confirmed working, unplug again to finish reassembly.
Step 5: Reassemble the Evaporator Panel
Position the back panel by hooking the top clips first, then pushing the bottom flush against the freezer wall. Replace all the perimeter screws you removed earlier. Don't overtighten — these screws thread into plastic and strip easily. Reinstall your shelves and bins. Plug the freezer back in and let it run for 15-20 minutes. Open the door and listen — you should hear steady fan operation and feel cold air circulating. Check the temperature after 2-3 hours; it should be dropping back toward 0°F.
Testing After Installation
Let the freezer run for at least 4 hours before reloading food. Monitor the temperature with a freezer thermometer — it should reach and maintain 0°F or below. Listen for any unusual noises like grinding, clicking, or excessive rattling, which might indicate the fan blade wasn't seated properly on the shaft. Open the door periodically during the first 24 hours to check for air circulation and verify frost isn't immediately reforming on the back panel. If frost returns quickly, you may have an underlying defrost system issue beyond just the fan motor.
Frequently Asked Questions
Will this WR60X35365 motor work in my refrigerator section too?
This specific motor is designed for the freezer evaporator only. GE refrigerator sections typically use a different fan motor with different mounting dimensions and voltage specs. Check your model's parts diagram to confirm which motor your refrigerator section uses — it's usually a different part number entirely.
The new motor runs but my freezer still isn't cold enough — what else could it be?
If the fan's working but temps stay high, check the defrost system next. A failed defrost heater or defrost thermostat will cause ice buildup on the evaporator coils, blocking airflow even though the fan spins. You might also have a sealed system issue like low refrigerant, but start with the simpler defrost components first.
How long should this evaporator fan motor last?
Most GE evaporator fan motors run 5-8 years under normal conditions. If yours failed sooner, check that the freezer door seals properly — a leaky seal makes the motor work overtime, shortening its lifespan. Also verify the defrost system cycles correctly; excessive frost makes the motor work harder and can cause premature bearing failure.
Spin the fan blade by hand after installation to check for clearance issues before reassembling panels — much easier to adjust now than after everything's buttoned up.
Need the part for this repair?
WR60X35365 · In Stock · Ships next business day