
How to Replace WPW10207398 Hidden Bake Element on Whirlpool & KitchenAid Ovens — Step-by-Step
Disconnect power at the circuit breaker before starting. This element operates at 240 volts. Wear a dust mask when cutting through insulation to avoid inhaling fiberglass particles.
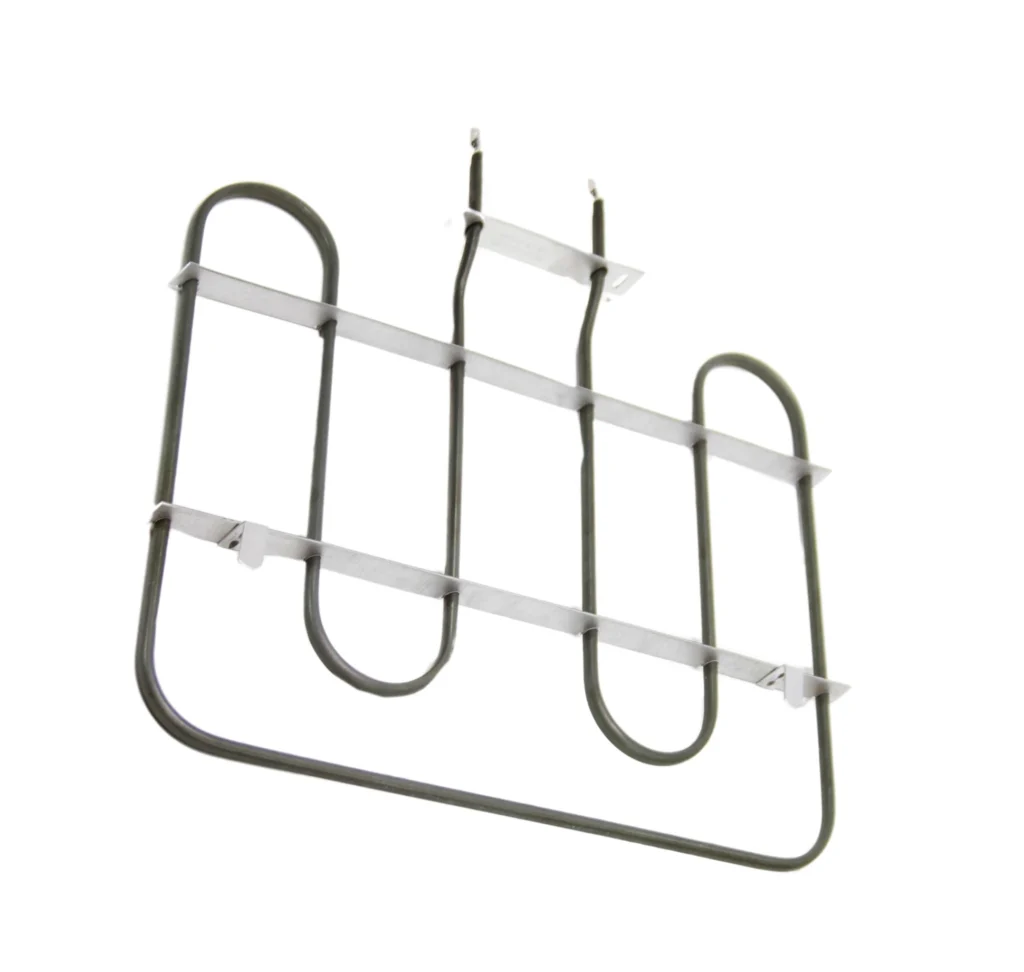
Your KitchenAid KEBU208SSS00 is stuck at 347°F no matter what you set it to. The bottom of the oven stays cold during baking, and preheating takes forever—if it happens at all. One homeowner discovered their hidden bake element was so warped it looked like a twisted pretzel, with zero continuity on the ohm meter. That's the reality of a failed WPW10207398 hidden bake element.
Unlike traditional exposed elements you can easily swap from inside the oven, this hidden element sits beneath the oven cavity. You'll need rear access, which means pulling the oven from the wall. It's not a quick Saturday morning fix, but it's definitely doable if you're comfortable with basic tools and have 1-2 hours to spare.
What You Need Before Starting
This is a moderate-difficulty repair that requires rear access to your oven. Here's what you'll need:
- Nut drivers (various sizes)
- Phillips and flathead screwdrivers
- Socket set with square drive bit
- Pliers
- Putty knife
- Dust mask (insulation fibers)
- Work gloves
- Helper for moving the oven (these units are heavy)
Time commitment: 1-2 hours | Difficulty: Moderate
Safety First
Shut off power at the circuit breaker—not just the oven controls. This element carries 240 volts, and you'll be working near live wiring connections. Let the oven cool completely if it's been used recently. You'll be cutting through insulation during this repair, so wear a dust mask and work in a ventilated area. The fiberglass insulation creates fine debris that you don't want in your lungs.
Step 1: Prep the Oven for Removal
Before pulling the oven out, remove the lower metal trim piece—you don't want to accidentally bend it during the repair. Take off the oven door (lift straight up after opening to 45 degrees), remove all racks, and if you have an overhead microwave, take out the turntable. This reduces weight and prevents damage. Disconnect the power completely at the breaker, then unscrew the mounting brackets and carefully slide the unit forward with help.
Step 2: Access the Hidden Element from the Rear
Here's where it gets tricky. Remove the rear sheet metal panel using your socket set—the panels can be stubborn, so work carefully to avoid bending them. You'll see the oven cavity wrapped in insulation with no pre-cut opening for the element. Using your putty knife, carefully cut a slit in the insulation the width of the element. Keep your dust mask on—this creates a lot of fiber debris. Push the insulation aside to reveal the metal retention plate.
Step 3: Remove the Failed Element
Locate the four screws holding the metal retention plate—they're hidden in the insulation (one far left, two center, one far right). You'll need a square drive bit for these. Disconnect the wire terminals from the old element, noting their positions. Remove the retention plate screws and carefully pull out the old element. Don't be surprised if it's severely warped or broken—that's typical for failed hidden bake elements.
Step 4: Transfer the Retention Plate and Install New Element
Remove the metal retention plate from the back of your old element and attach it to the new WPW10207398. Slide the new element into position through the insulation opening. Here's the frustrating part: lining up those four screw holes through the insulation takes patience. You'll need to keep pushing insulation out of the way while threading each screw. Take your time—rushing this step leads to stripped holes or cross-threaded screws.
Step 5: Reconnect Wiring and Reassemble
Connect the wire terminals to the new element exactly as they were on the old one. Double-check connections are tight—loose terminals cause arcing and failure. Carefully reposition the insulation around the element. Reinstall the rear panel (this is often harder than removing it—patience is key). Slide the oven back into position, reconnect mounting brackets, and reinstall the door, racks, and trim pieces.
Testing After Installation
Restore power at the breaker and set your oven to 350°F in bake mode. Within 10-15 minutes, you should feel significant heat from the bottom of the oven cavity. Let it complete a full preheat cycle—it should reach temperature within 15-20 minutes. Run a bake cycle for 30 minutes and verify the oven maintains consistent temperature. If you have an oven thermometer, confirm it's reading accurately.
Frequently Asked Questions
Why can't I access this element from inside the oven like a regular bake element?
The WPW10207398 is a hidden bake element design used in Whirlpool, KitchenAid, and Jenn-Air models like the GBD279PVB series. It sits beneath the oven floor for a sleek appearance and easier cleaning, but it requires rear access for replacement. There's no way around pulling the oven out for this repair.
How do I know if my bake element has failed?
The bottom of your oven will stay cold during baking, even though the broil element works fine. Your oven won't reach set temperature or takes extremely long to preheat—one user reported their oven maxing out at 347°F. Use an ohm meter on the disconnected element terminals; you should read 15-30 ohms. Zero ohms means it's shorted; infinite resistance means it's open and failed.
Do I really need to cut through the insulation?
Yes, unfortunately. Unlike older models with pre-cut access holes, the insulation on these units wraps completely around the oven cavity. You'll need to carefully cut a slit and move it aside to access the retention plate screws. Wear a dust mask and work carefully—you're not removing the insulation, just creating access.
Before pulling the oven out, remove the lower trim piece and oven door to prevent accidental damage. When reinstalling the retention plate screws, push insulation aside with a putty knife while aligning the holes—it saves significant frustration.
Need the part for this repair?
WPW10207398 · In Stock · Ships next business day