
How to Replace WE1M652 Dryer Timer Knob on GE, Hotpoint, and RCA Dryers — Step-by-Step
Always unplug your dryer before replacing any parts, even simple friction-fit components like timer knobs.
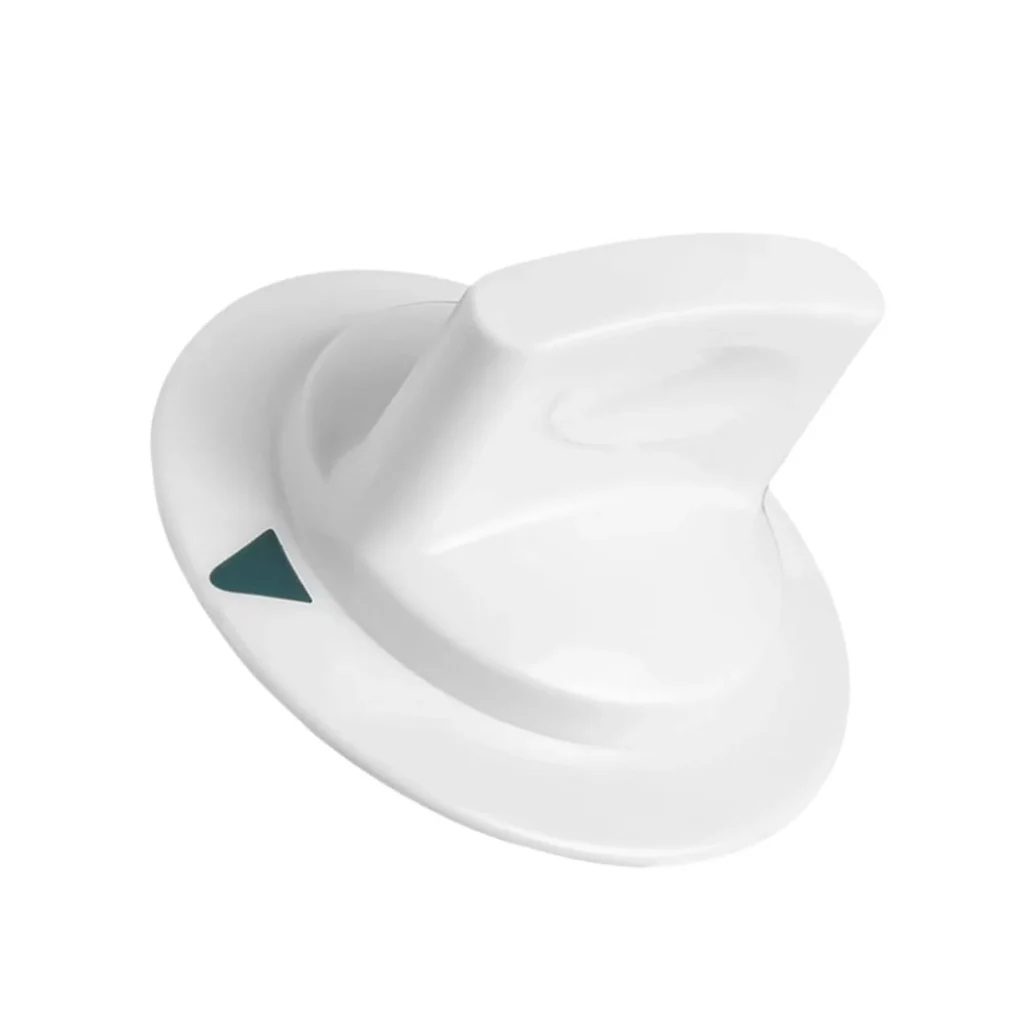
Your Hotpoint HTDP120ED5WW just won't start, or maybe the timer knob spins freely without clicking into place. You turn it to the 60-minute mark, press start, and... nothing. The knob might've cracked around the D-shaped shaft opening, or the internal teeth that grip the timer shaft finally wore down after years of daily use. Either way, you're stuck with wet clothes and a dryer that refuses to cooperate.
The good news? Replacing the WE1M652 timer knob is one of the simplest dryer repairs you'll ever do. No tools required, no panels to remove, and you'll be done in under five minutes. This knob fits most GE, Hotpoint, and RCA dryers manufactured from the early 2000s onward, including the entire HTDP120 and HTDP180 series.
What You Need Before Starting
Tools required: None — this is a hand-only job
Estimated time: 3-5 minutes
Difficulty level: BEGINNER
Before you order, verify your model number matches the compatibility list. Check the white tag inside your dryer door or on the rear panel. Models like HTDP120ED0WW, HTDP120GD6WW, and HTDP180ED0WW all use this exact knob. The WE1M652 replaces several older part numbers including AP3995164, PS1482196, and 1264289.
Safety First
While this repair doesn't involve electrical work, always unplug your dryer before starting any repair. Even simple fixes can go wrong if the machine unexpectedly starts while you're working on it. Takes two seconds to unplug, saves a trip to urgent care.
Step 1: Remove the Old Timer Knob
Grip the existing knob firmly and pull straight out, away from the control panel. It's designed to friction-fit onto the timer shaft — no screws, no clips. If it's stuck, wiggle it gently side-to-side while pulling. Don't twist it; you might damage the timer shaft underneath.
Step 2: Inspect the Timer Shaft
Once the old knob's off, look at the exposed timer shaft. It should be a D-shaped metal post sticking out from the control panel. Check for any debris, lint buildup, or damage. Wipe it clean with a dry cloth if needed. If the shaft itself is broken or missing, you've got a bigger problem — you'll need to replace the entire timer assembly, not just the knob.
Step 3: Align and Install the New WE1M652 Knob
Take your new WE1M652 knob and locate the D-shaped opening on the back. Line it up with the flat side of the timer shaft. The knob only fits one way, so if it's not sliding on easily, rotate it 180 degrees and try again. Push firmly until you feel it seat completely against the control panel. You should hear or feel a subtle click as it locks into position.
Step 4: Test the Timer Function
Before you plug the dryer back in, manually rotate the new knob through its full range. It should click into each time position smoothly without binding. Each cycle setting — Normal, Permanent Press, Delicates — should have a distinct detent. Now plug the dryer back in, load your test towel, and run a short cycle. The timer should advance properly and the dryer should shut off when it reaches the end position.
Testing After Installation
Run a complete timed dry cycle to verify everything works. The knob shouldn't slip when you turn it, and the timer should click steadily as it counts down. If the knob feels loose or the timer doesn't advance, pull the knob back off and reinstall it — sometimes it needs a firmer push to fully engage the internal teeth.
Frequently Asked Questions
Will this knob fit my GE dryer if the old one has a slightly different shape?
The WE1M652 is the universal replacement for most GE and Hotpoint dryers made after 2000. Even if your original knob looked different cosmetically, this one will fit as long as your model number is on the compatibility list. The D-shaped shaft connection is standardized across these models.
My timer knob broke off inside — can I still use this replacement?
If part of the old knob broke off and is stuck on the timer shaft, you'll need to remove those pieces first before installing the new WE1M652. Try gripping the broken piece with needle-nose pliers and pulling straight out. If the shaft itself is damaged, you'll need a complete timer assembly replacement instead of just the knob.
The new knob is on but the dryer still won't start — what's wrong?
A worn timer knob usually causes starting issues, but if replacing it doesn't fix the problem, you're likely dealing with a faulty timer mechanism, a bad door switch, or a blown thermal fuse. The knob itself is just the interface — the actual timer motor or electronic controls might need attention. Start by testing your door switch next since that's the second most common failure point.
Take a photo of your timer settings before removing the old knob so you know where the time markers should align on the new one.
Need the part for this repair?
WE1M652 · In Stock · Ships next business day