
How to Replace WB06X10943 Microwave Handle Support on GE Microwave — Step-by-Step
Unplug the microwave before starting any repair work. Get help stabilizing over-the-range units while working on the door.
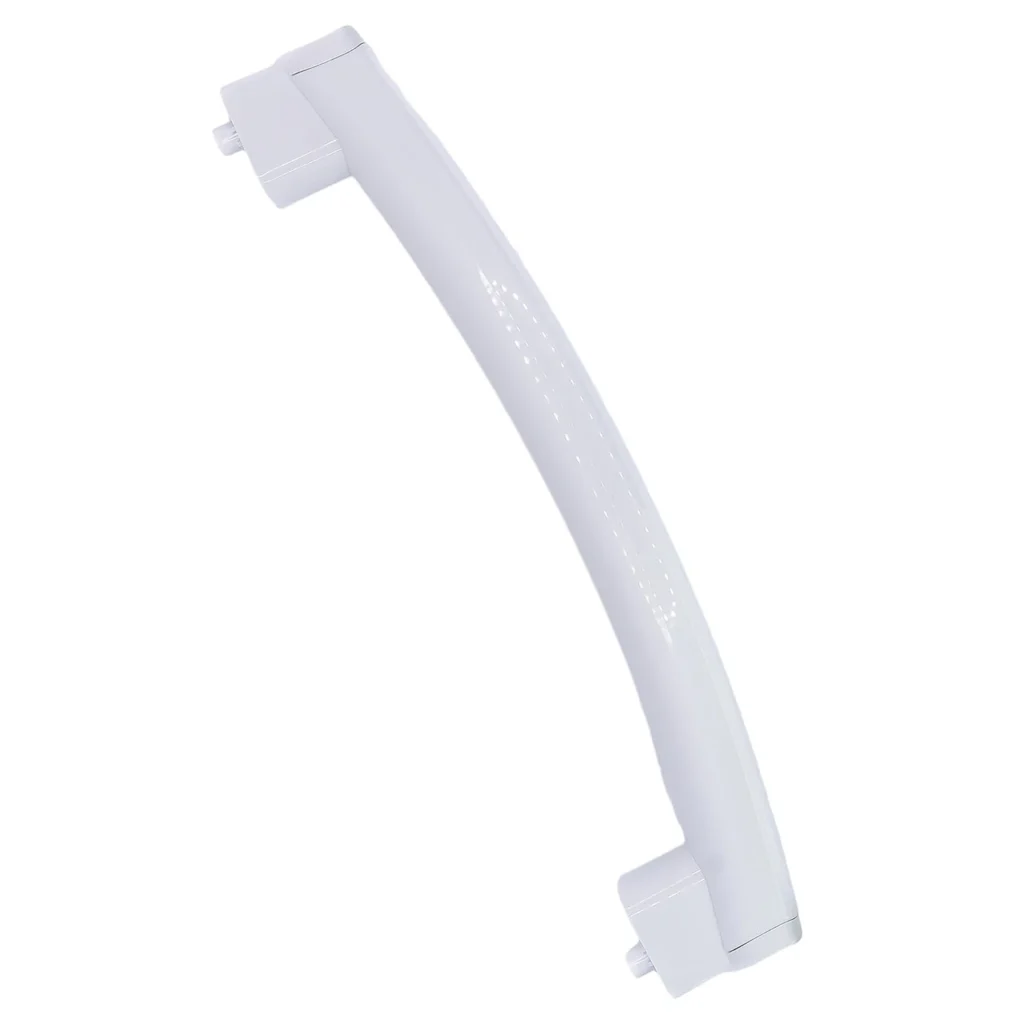
You grab the microwave door handle to heat up leftovers, and instead of a solid pull, you feel it shift sideways. The door opens, but that wiggle isn't normal. If your GE microwave door isn't closing properly or the handle feels loose, the problem is usually the handle support bracket behind it — specifically part WB06X10943. This small metal support does all the work while staying hidden behind the door panel.
Handle supports take constant stress every time someone opens the door. Over months and years, the mounting points can crack or the bracket itself can bend, especially if someone pulls the door too hard. Models like the JVM3160DF1WW, JNM3161DF3WW, and JVM3160DF5WW all use this same support bracket, and they all fail the same way.
What You Need Before Starting
This is a straightforward repair that doesn't require special tools. You'll need:
- Phillips head screwdriver
- Flathead screwdriver (for prying trim if needed)
- Needle-nose pliers (helpful for wire connectors)
- Work gloves (metal edges can be sharp)
Repair Time: 20-30 minutes
Difficulty: MODERATE
Safety First
Unplug the microwave or flip the breaker before you touch anything. Microwaves store high voltage in their capacitors even when unplugged, but you won't be going near those components for this repair. You're only working on the door assembly. Still, kill the power. If your microwave is mounted over the range, you might need someone to help stabilize it while you work on the door — these units are heavy and awkward.
Step 1: Remove the Door Assembly
Open the door fully to about 90 degrees. Look at the hinges on each side where the door meets the microwave body. You'll see spring-loaded hinge pins or clips. Pull these out or lift the door up and off the hinge slots, depending on your model. Some GE microwaves have screws holding the hinges in place — remove those first. Set the door face-down on a padded surface so you don't scratch the front panel.
Step 2: Access the Inner Door Panel
Flip the door over so you're looking at the back side. You'll see screws around the perimeter holding the inner door panel to the outer door frame. Remove all these screws with your Phillips screwdriver. There are usually 8-12 screws depending on the model. Keep track of them — they're easy to lose. Carefully lift the inner panel away. You might need to disconnect a wire harness for the door switches. Note which wires go where before you disconnect anything.
Step 3: Locate and Remove the Old Handle Support
With the inner panel off, you'll see the handle support bracket mounted behind where the handle attaches. It's a metal bracket that connects the handle to the door frame. The old WB06X10943 support will be held in place with screws or clips. Remove these fasteners and pull the old support out. Check the mounting points on the door frame itself — if they're cracked or damaged, you might need to reinforce them with metal epoxy before installing the new part.
Step 4: Install the New WB06X10943 Support
Position the new handle support exactly where the old one sat. The bracket should line up with the handle mounting holes on the outer door. Insert the screws and tighten them evenly — don't crank down one side first or you'll stress the bracket. Tighten just until snug. The handle should feel solid when you test it by hand, with no side-to-side movement. If there's still play, check that all mounting points are tight.
Step 5: Reassemble the Door
Reconnect any wire harnesses you disconnected earlier. Position the inner door panel back onto the door frame, making sure all edges line up properly. Replace all the perimeter screws and tighten them in a cross pattern to distribute pressure evenly. Rehang the door on the microwave body by reversing your removal process — either dropping the hinges into their slots or replacing the hinge screws.
Testing After Installation
Open and close the door several times. It should feel solid and close completely with a tight seal. Press on the handle from different angles to make sure there's no movement in the support bracket. Run a quick 30-second test cycle with a cup of water inside to verify the door switch is engaging properly and the microwave operates normally. If the door doesn't close flush or the microwave won't start, recheck your door panel reassembly — you might have the inner panel slightly misaligned.
Frequently Asked Questions
Will this part fit my JNM3161DF2WW model?
Yes, WB06X10943 is compatible with the entire JNM3161 and JVM3160 series, including the JNM3161DF2WW, JNM3161DF3WW, and JNM3161DF4WW models. It also fits the JVM3160DF1WW through DF5WW series. Check your model number on the sticker inside the door frame to confirm.
Can I fix a loose handle without replacing the support bracket?
Sometimes yes, if the screws have just worked loose. Tighten all the handle mounting screws and see if that fixes the wobble. But if the support bracket itself is bent or cracked, tightening screws won't help — you need to replace the bracket. Handle supports can become loose and damaged over time from repeated stress.
Do I need to recalibrate anything after replacing the handle support?
No. The handle support is purely mechanical — it holds the handle in place and helps transfer force when you pull the door open. There's no electrical component or sensor to calibrate. As long as the door closes properly and the safety interlock switches engage, you're good to go.
Tighten door panel screws in a cross pattern to prevent warping the inner panel and ensure even pressure distribution.
Need the part for this repair?
WB06X10943 · In Stock · Ships next business day