
How to Replace WB06X10610 Microwave Door Latch Housing on GE Microwave — Step-by-Step
Unplug microwave completely. High-voltage capacitor can store dangerous charge even when unplugged. Over-range units require helper for safe removal.
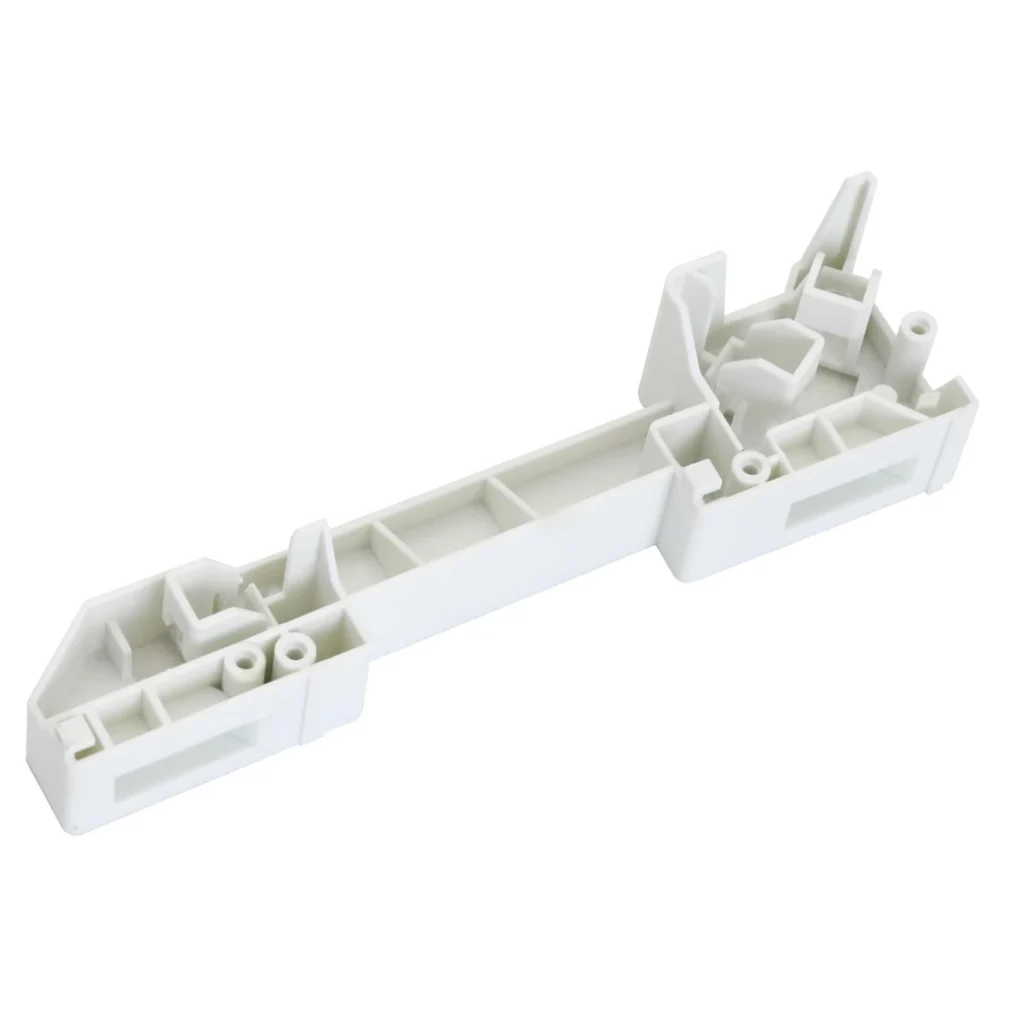
Your GE microwave won't turn on, and you've checked the outlet twice. The display's dark. No beeps, no lights, nothing. Before you call for service or buy a new microwave, check the door latch housing. When this plastic assembly cracks or breaks, your microwave thinks the door's open — and it won't power up as a safety feature. The WB06X10610 door latch housing is the exact fix for this frustrating problem.
What You Need Before Starting
This is a straightforward repair that most people can handle in about 30 minutes. Here's what you'll need:
- Phillips head screwdriver
- Putty knife or flat blade screwdriver
- Work gloves (optional, but helpful)
- Towel or soft cloth to protect your countertop
Estimated Time: 25-35 minutes
Difficulty Level: Easy to Moderate
Safety First
Unplug your microwave completely before starting this repair. If it's mounted over your range, you'll likely need to remove it from the mounting bracket — which means you'll want a helper to support the weight. Never attempt to work on a plugged-in microwave, even if it won't power on. The high-voltage capacitor inside can store a dangerous charge even when unplugged.
Step 1: Access the Control Panel Area
Start by removing the screws that secure the control panel grille. On most GE models like the JVM1630 and JVM3160 series, you'll find these screws along the top edge under the door. There are typically 2-4 screws holding the grille in place. Once removed, gently pull the grille forward and down to release the bottom clips. Set it aside carefully — the control board is still connected, so don't let it dangle.
Step 2: Remove the Old Door Latch Housing
The door latch housing is located on the right side of the door opening (when facing the microwave). You'll see it mounted to the microwave cavity with two screws. Remove these mounting screws and disconnect the wire harness. The connector should pull straight off — don't yank on the wires themselves. Inspect the old housing. You'll likely see stress cracks around the mounting holes or where the door hook engages. That's your culprit.
Step 3: Install the New WB06X10610 Housing
Position the new latch housing exactly where the old one sat. Make sure the door hook mechanism aligns properly with the door opening. Connect the wire harness first — you should hear a definite click. Then secure the housing with the two mounting screws. Don't overtighten these screws. Plastic threads strip easily, and you just need them snug enough to hold the housing firmly in place.
Step 4: Test the Door Switch Operation
Before reassembling everything, test the repair. Close the microwave door and listen for the distinct click of the latch engaging. Open and close it several times. The door should close smoothly and firmly. If it feels loose or doesn't click, recheck the housing alignment. The door hook must fully engage with the latch mechanism for the safety switches to activate.
Step 5: Reassemble and Final Testing
Reattach the control panel grille by engaging the bottom clips first, then pushing the top into place. Install the mounting screws. Plug your microwave back in (or have your helper support it while you reconnect power for over-range models). Close the door and try turning on the microwave. The display should light up immediately. Run a quick 10-second heating test with a cup of water to confirm everything's working properly.
Testing After Installation
Your microwave should power on the moment you close the door. If the display lights up but the turntable won't spin or it won't heat, you may have another issue unrelated to the latch. But if the door latch was your problem, you'll know right away — the microwave will function normally again. Test the door several more times over the next day to ensure the new housing stays secure under repeated use.
Frequently Asked Questions
Will this fit my GE Profile or Hotpoint microwave?
The WB06X10610 is compatible with dozens of GE, Hotpoint, and GE Profile models including the JVM1630, JVM1631, JVM3160, and JNM3160 series. Check your model number on the label inside the door or on the back of the unit to confirm compatibility. This part replaces the older AP3866945 and PS1019899 part numbers.
Why did my door latch housing break in the first place?
These housings are made of plastic and absorb thousands of door closures over the years. Thermal cycling from microwave use causes the plastic to become brittle. Most failures happen around the 5-10 year mark. If someone slammed the door repeatedly or the microwave was mounted slightly out of alignment, that accelerates wear on the latch mechanism.
Can I repair the cracked housing with glue instead of replacing it?
Don't try it. The latch housing holds the door switches that prevent the microwave from operating when the door is open. A glued repair won't hold under the stress of repeated door closures, and it could fail while the microwave is running — creating a serious safety hazard. Spend the $47.99 for the genuine replacement part and do it right.
Don't overtighten the mounting screws — plastic threads strip easily. Test door operation multiple times before final reassembly.
Need the part for this repair?
WB06X10610 · In Stock · Ships next business day