
How to Replace WB03T10329 Burner Control Knob on GE Cafe Series Gas Range — Step-by-Step
Ensure all burners are OFF and cool before removing knobs. If you smell gas during or after installation, shut off gas supply immediately.
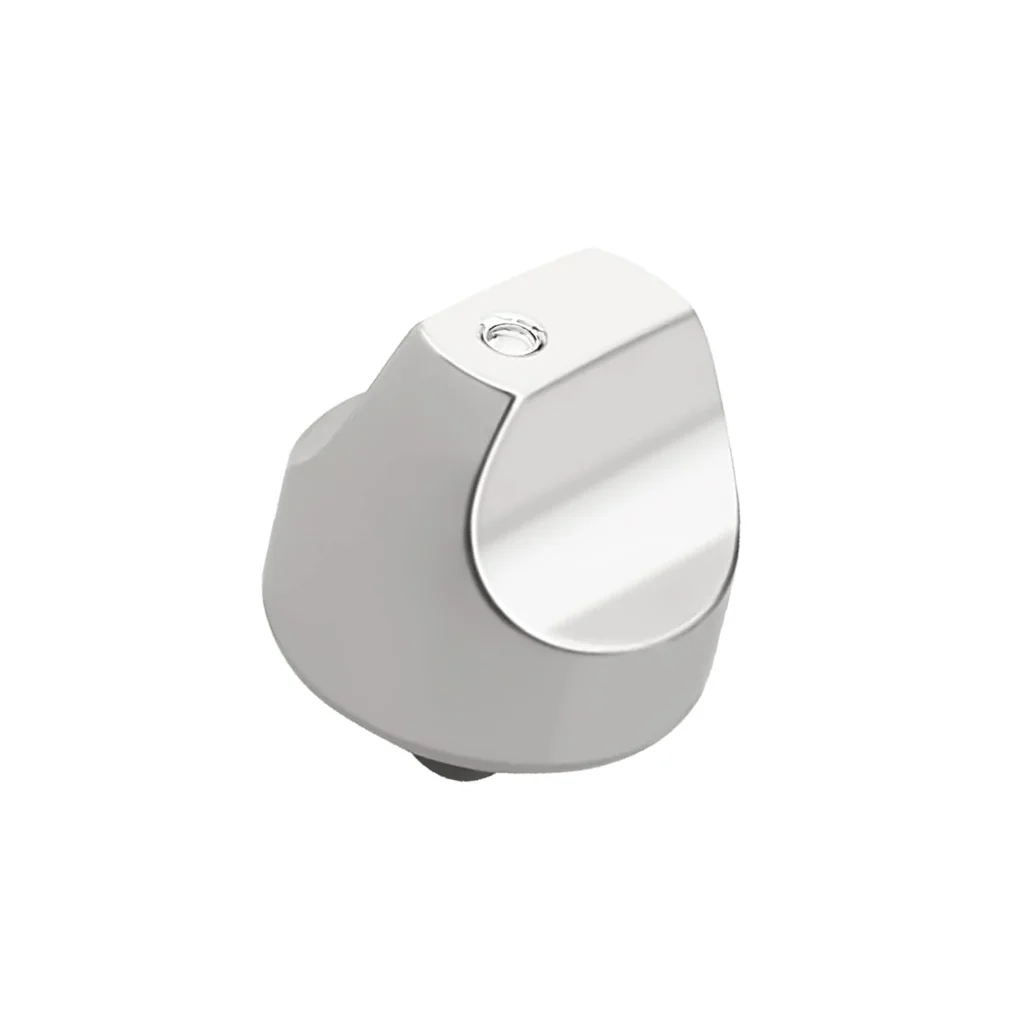
You reach for your GE Cafe range knob to adjust the flame, and it pulls right off in your hand. Or maybe the knob's stripped inside and just spins without changing the burner setting. Either way, your cooking's on hold until you fix it. The good news? This is one of the easiest appliance repairs you'll ever do — no tools required, takes about 30 seconds per knob.
What You Need Before Starting
Tools Required:
- None — this is a hand-installation only
Repair Time: 1-2 minutes per knob
Difficulty: Easy — Perfect for first-time DIYers
Compatible Models: This WB03T10329 knob fits GE Cafe Series ranges including CGP350SET1SS, CGP350SET2SS, CGP350SET3SS, CGP350SET4SS, CGP650SET1SS, CGP650SET2SS, CGP650SET3SS, CGP650SET4SS, CP350ST1SS, CP350ST2SS, CP350ST3SS, CP650ST1SS, CP650ST2SS, and CP650ST3SS. It replaces part numbers WB03X32194, WB03X25889, and AP6837585.
Safety First
Make sure all burners are in the OFF position and completely cool before removing any knobs. While there's no electrical hazard here, you don't want to accidentally turn on a burner while handling the valve stems. If you smell gas at any point during or after replacement, turn off the gas supply at the wall valve immediately and contact a professional.
Step 1: Remove the Old Knob
Grasp the old knob firmly and pull straight out, away from the range surface. Don't twist — just pull. The knob should slide off the D-shaped valve stem. If it's stuck from years of cooking grease buildup, wiggle it gently side-to-side while pulling. If the knob broke off and left part of the stem insert inside the valve, you may need needle-nose pliers to extract the remaining piece.
Step 2: Clean the Valve Stem
With the knob removed, you'll see the D-shaped metal valve stem sticking out from the control panel. Wipe it down with a damp cloth to remove any grease, food residue, or sticky buildup. Check that the stem moves smoothly when you rotate it by hand — it should click into the OFF position and turn freely through all settings. A clean stem ensures your new knob will grip properly and operate smoothly.
Step 3: Install the New WB03T10329 Knob
Look inside the new knob — you'll see a D-shaped opening that matches the valve stem. The flat side of the D must align with the flat side of the stem. With the burner in the OFF position, align the knob so the pointer or indicator line faces the OFF marking on your range. Push the knob straight onto the stem until it seats completely against the control panel. You shouldn't see any gap between the knob base and the panel surface.
Step 4: Test the Knob Operation
Before calling this done, test the knob through its full range of motion. Turn it from OFF to LITE, then through LOW, MEDIUM, and HIGH settings. It should click distinctly into each position without slipping or spinning freely. The knob shouldn't wobble or pull off easily — if it does, remove it and reseat it, making sure the D-shape is fully engaged on the stem. Light the burner briefly at each setting to confirm proper gas flow control.
Testing After Installation
Run through all burner positions one final time. The knob should turn smoothly with defined clicks at each setting. When you release the knob, it should stay in position — if it springs back or drifts, the internal mechanism might not be fully seated. Try the LITE position and verify the igniter clicks and the burner lights. Check that turning to OFF completely stops gas flow and extinguishes the flame. If everything operates correctly, you're done.
Frequently Asked Questions
Why does my new knob feel loose or wobble?
The D-shaped insert inside the knob isn't fully seated on the valve stem. Remove the knob and look at both the stem and the knob's interior opening — make sure the flat edges are aligned and push firmly until the knob base sits flush against the control panel. There should be zero gap.
Can I replace just one knob or do I need to replace all of them?
You can absolutely replace just the damaged knob. However, if your range is several years old, the other knobs might be showing wear too — faded markings, sticky operation, or loose fit. Some people replace all of them at once for a uniform appearance, but it's not required for functionality.
Will this knob work on my GE Profile or standard GE range?
No, the WB03T10329 is specifically designed for GE Cafe Series ranges with the models listed above. GE Profile and standard GE ranges use different knob designs with different stem configurations. Check your model number (inside the oven door or on the back panel) against the compatibility list to confirm this is the right part for your range.
Clean the valve stem before installing the new knob — grease buildup can prevent proper seating and cause slipping.
Need the part for this repair?
WB03T10329 · In Stock · Ships next business day