
How to Replace W11670519 Washer Lid Lock Assembly on Whirlpool & Maytag Top-Load Washers — Step-by-Step
Always unplug the washer before servicing. The lid lock is a safety device — never bypass it permanently or operate the washer with the lock disabled.
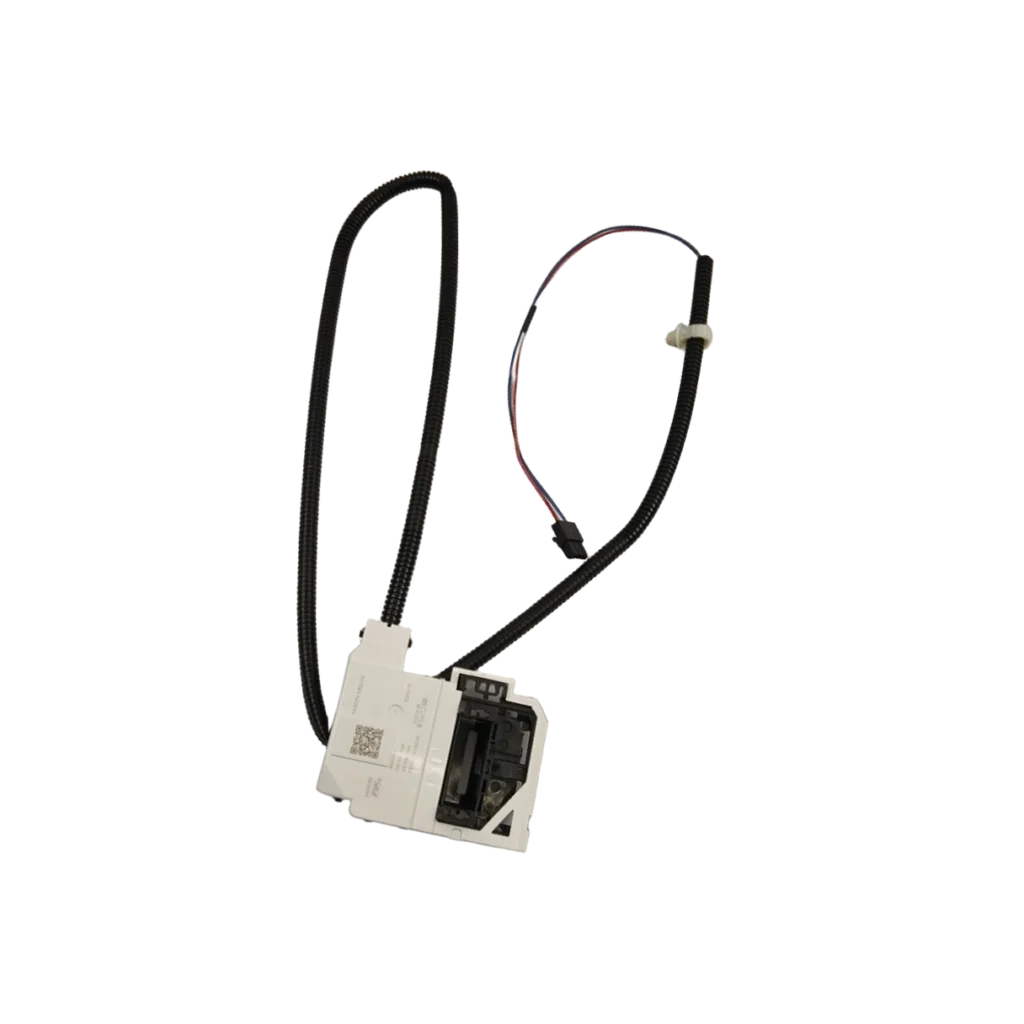
Your Maytag washer won't start. You press the button, hear a click-click-click from the lid area, and nothing happens. The control panel lights up, but the drum just sits there full of wet clothes. That clicking sound is your lid lock assembly failing to engage — a dead giveaway that W11670519 needs replacing.
This lid lock is the safety mechanism that tells your washer it's okay to spin. When it fails, your machine won't drain, won't spin, and definitely won't finish a load. The good news? It's a straightforward fix you can knock out in under an hour.
What You Need Before Starting
Grab these tools before you start:
- Phillips head screwdriver
- Flathead screwdriver (for panel clips)
- Needle-nose pliers
- Towel (to protect the washer top)
- Work gloves (sharp metal edges are common)
Estimated time: 30-45 minutes
Difficulty: Moderate — requires removing the top panel
Safety First
Unplug the washer completely before you touch anything. Don't just turn off the control panel — yank the plug from the wall. If your washer is hard-wired, flip the breaker. Water and electricity don't mix, and you'll be working near wiring harnesses. Also, if there's water in the tub, bail it out or run a drain cycle before starting.
Step 1: Remove the Top Panel
Locate the two or three screws along the back edge of the washer top — they're usually near the corners. Remove them with your Phillips screwdriver. Once the screws are out, slide the entire top panel toward the back of the machine about two inches, then lift up and off. Set it on a towel so you don't scratch the finish.
Step 2: Locate the Lid Lock Assembly
Look down into the top of the washer. The lid lock assembly sits directly under where the lid closes — you'll see a white or gray plastic housing with a wire harness attached. This is W11670519. On most MVW models (like the MVW5035MW2 or MVW5430MW2), it's mounted with two tabs and held by a single screw.
Step 3: Disconnect the Wire Harness
Before you remove anything, take a photo of how the wires connect — trust me on this. Press the release tab on the wire connector and pull it straight off the lock assembly. Don't yank on the wires themselves. If it's stuck, use your flathead screwdriver to gently pry the locking tab while pulling.
Step 4: Remove the Old Lock Assembly
Remove the mounting screw holding the lock in place. Now here's the tricky part: the assembly has plastic tabs that slide into slots. You'll need to press the release tabs (usually on the sides) while pulling the assembly straight up. It might take some wiggling. If it's really stuck, a gentle twist while pulling usually breaks it free.
Step 5: Install the New W11670519 Lock
Line up the new assembly with the mounting slots. The tabs should click into place — you'll feel it seat properly. Install the mounting screw and tighten it snug, but don't overtighten (you can crack the plastic housing). Reconnect the wire harness until you hear the click. Give it a gentle tug to make sure it's locked in.
Testing After Installation
Replace the top panel, plug the washer back in, and run a test. Close the lid and start any cycle. You should hear a single click (not repeated clicking) as the lock engages. The control panel should proceed to fill. If you still hear click-click-click, double-check your wire connection — it might not be fully seated.
Run a complete spin cycle to verify the lid stays locked during high-speed spinning. If the washer stops mid-cycle with an error code, consult your manual — some models need to be reset after a lid lock replacement.
Frequently Asked Questions
Will this lock work on both Whirlpool and Maytag washers?
Yes. W11670519 is the same part used across multiple brands. It fits Maytag MVW models (like MVW5035MW1, MVW5430MW2, MVW5435PW1) and equivalent Whirlpool units. The brands share this part design. Just verify your model number matches the compatibility list.
My washer lid won't close at all — is it the lock or the strike?
If the lid physically won't close or latch, check the strike (the piece on the lid that inserts into the lock). It can crack or come loose. But if the lid closes and you hear clicking without the lock engaging, that's the lock assembly itself. W11670519 replaces the lock, not the strike.
Can I bypass the lid lock to finish a load?
Technically yes, but don't. The lid lock is a safety device that prevents the washer from spinning with the lid open — you could get seriously hurt. If you're in a pinch, some techs will temporarily jumper the wire harness, but this is dangerous and should only be done for diagnostics, not regular use. Just replace the lock.
Take a photo of the wire harness connection before disconnecting anything. If the new lock still clicks repeatedly, the strike on the lid itself may be damaged or misaligned.
Need the part for this repair?
W11670519 · In Stock · Ships next business day