
How to Replace W11537778 Dishwasher Heating Element on Whirlpool KitchenAid Maytag — Step-by-Step
Always disconnect power at the breaker and shut off water supply before starting this repair. Heating element terminals carry 120V when powered.
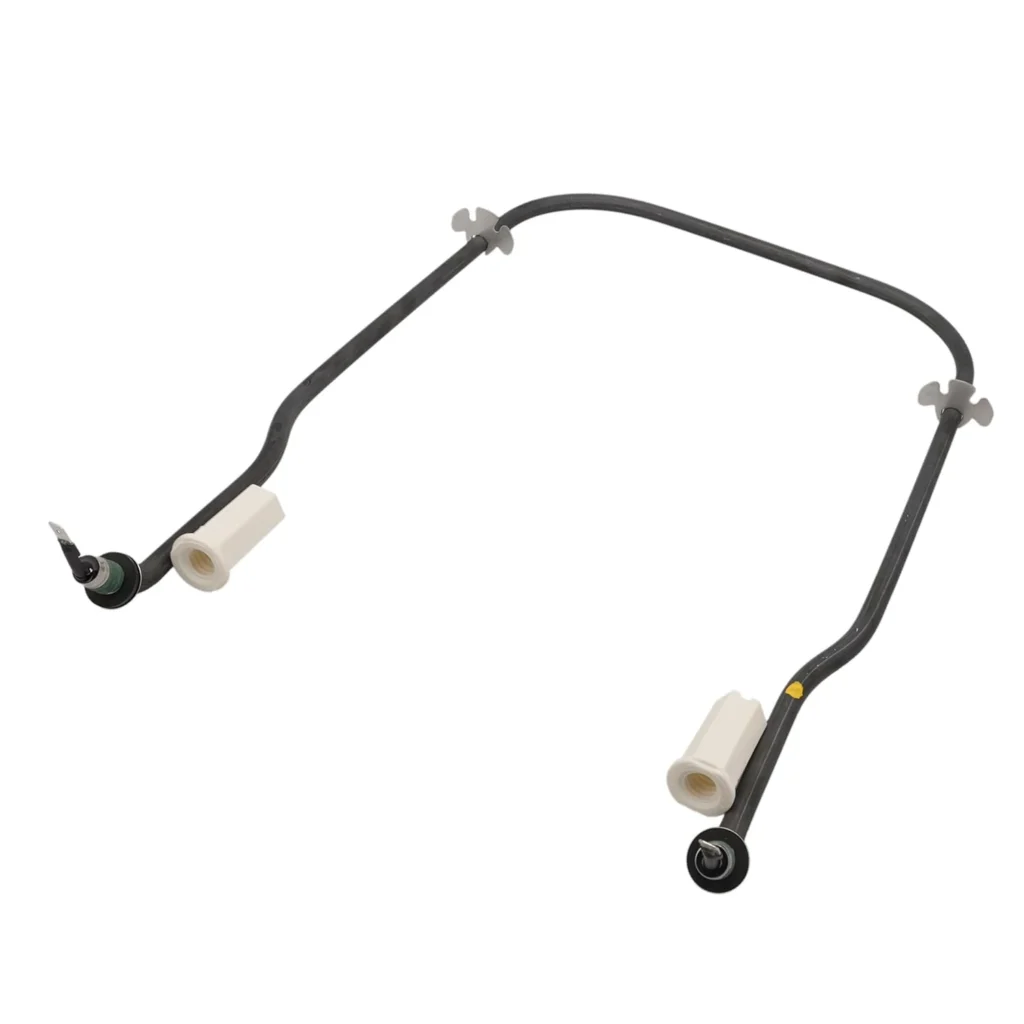
Your dishes come out cold and wet at the end of every cycle. The dry cycle runs, but nothing happens — you open the door to find pools of water on plates and plastic containers still dripping. That's your dishwasher heating element giving up. The W11537778 heating element assembly sits at the bottom of your Whirlpool, KitchenAid, or Maytag dishwasher tub, and when it fails, you're basically running a cold-water rinse cycle with no drying power whatsoever.
This repair takes about 45 minutes if you're methodical. The hardest part? Getting the lower spray arm and filter assembly out of the way without forcing anything. Let's walk through it.
What You Need Before Starting
- Phillips screwdriver
- Flathead screwdriver
- Needle-nose pliers
- Multimeter (for testing the old element)
- Towels (you'll have some residual water)
- Flashlight or work light
Repair Time: 45-60 minutes
Difficulty: Moderate — Requires working in tight spaces and handling electrical connections.
Safety First
Unplug your dishwasher or flip the breaker. Don't assume the controls being off means no power — heating elements pull 120V and you don't want to find out the hard way. Also, turn off the water supply under your sink. There's usually a shutoff valve on the line feeding the dishwasher. You'll have some water left in the tub bottom, so keep towels handy.
Step 1: Clear the Dishwasher Tub
Remove the bottom dish rack completely. Then pull out the lower spray arm — on most Whirlpool models (like the WDT750SAKW3 or KDFE104KPS0), it twists counterclockwise or simply lifts off after you pull up a center cap. Next comes the filter assembly: twist the cylindrical filter counterclockwise about a quarter turn and lift it straight up. You'll see the flat filter screen underneath — pull that out too. Now you've got clear access to the sump area and heating element.
Step 2: Disconnect the Old Heating Element
The heating element sits horizontally across the bottom of the tub. You'll see two wire connectors attached to metal terminals poking up through the tub floor. Take a photo with your phone before you disconnect anything — helps during reassembly. Pull the wire connectors straight off (they're friction-fit spade connectors). If they're corroded or stuck, wiggle them gently with needle-nose pliers. Don't yank on the wires themselves.
Step 3: Remove the Mounting Hardware
Look for the metal bracket or nut securing the element from above. Most W11537778 installations use a metal bracket held by two Phillips screws. Remove those screws and lift the bracket off. Some older models have hex nuts on the terminals instead — use a socket wrench if that's your setup. Once the bracket's off, the element should be free to move. There might be a rubber gasket or seal around the element — don't lose it, though the new element usually includes a fresh one.
Step 4: Extract the Failed Element
Carefully lift the old heating element up and out of the tub. It's a long U-shaped tube, so you'll need to angle it to clear the opening. Watch for any remaining water in the element cavity — it'll drip. Inspect the old element: you're likely to see visible breaks in the coil, white chalky corrosion on the terminals, or burnt insulation. That's what happens when an element draws current through mineral buildup or develops internal shorts.
Step 5: Install the W11537778 Replacement
Position the new W11537778 element into the tub, making sure the terminals align with the holes in the tub floor. The gasket (included with your new element) goes between the element base and the tub — creates a watertight seal. Lower the element into place, then reinstall the mounting bracket and screws. Tighten the screws snug but not gorilla-tight; you're securing plastic and metal that need to seal, not building a car engine. Reconnect the wire terminals to the posts — they should click on firmly. Give each connection a gentle tug to confirm it's seated.
Step 6: Reassemble and Test
Put everything back in reverse order: flat filter screen, cylindrical filter (twist clockwise to lock), lower spray arm, bottom rack. Turn your water supply back on and check for leaks around the element area. Restore power and run a short rinse cycle without dishes. Listen for the element to kick on during the drying phase — you might hear a slight hum or see steam. Open the door carefully after the cycle: if the tub's hot and dry, you're golden.
Testing After Installation
Run a full Normal wash cycle with actual dishes. At the end of the cycle, feel the dishes — they should be hot, not lukewarm. Check plastic items on the top rack: if they're completely dry (or close to it), your heating element's doing its job. If you've got a multimeter, you can test the element for continuity before installation. Should read between 15-30 ohms. Infinite resistance means it's dead; zero ohms means it's shorted.
Frequently Asked Questions
Will this element fit my Kenmore Elite dishwasher?
If your model number starts with 665141 or 665142, yes — those are Whirlpool-built Kenmore units that use the W11537778. Check the compatible models list on the product page or look up your full model number (it's usually on the door frame or inside edge). This element replaces older part numbers W11412298, W11536143, and W11047695, so if your documentation lists any of those, you're good.
My dishes still aren't drying after replacing the element. What else could it be?
Check your rinse aid dispenser — if it's empty, water sheets off dishes instead of beading up, and even a working element can't overcome that. Also verify your vent fan is working (you should hear it during dry cycle) and that the door gasket isn't leaking heat. Finally, make sure you're using the heated dry option, not air dry or energy saver mode.
Can I test the heating element without removing it?
Yes, with the power off. Disconnect the wire terminals and use a multimeter set to ohms. Touch one probe to each terminal. You should get a reading between 15-30 ohms. No reading (infinite resistance) means the element's open. But you've already got the wires off at that point, so you might as well pull it and inspect for physical damage or corrosion that explains the failure.
Take a photo of wire connections before disconnecting anything — makes reassembly foolproof and saves time hunting for correct terminal positions.
Need the part for this repair?
W11537778 · In Stock · Ships next business day