
How to Replace W11091934 Dishwasher Door Latch Assembly on Whirlpool, Maytag & KitchenAid — Step-by-Step
Always disconnect power before replacing the door latch assembly. Water and electrical connections don't mix.
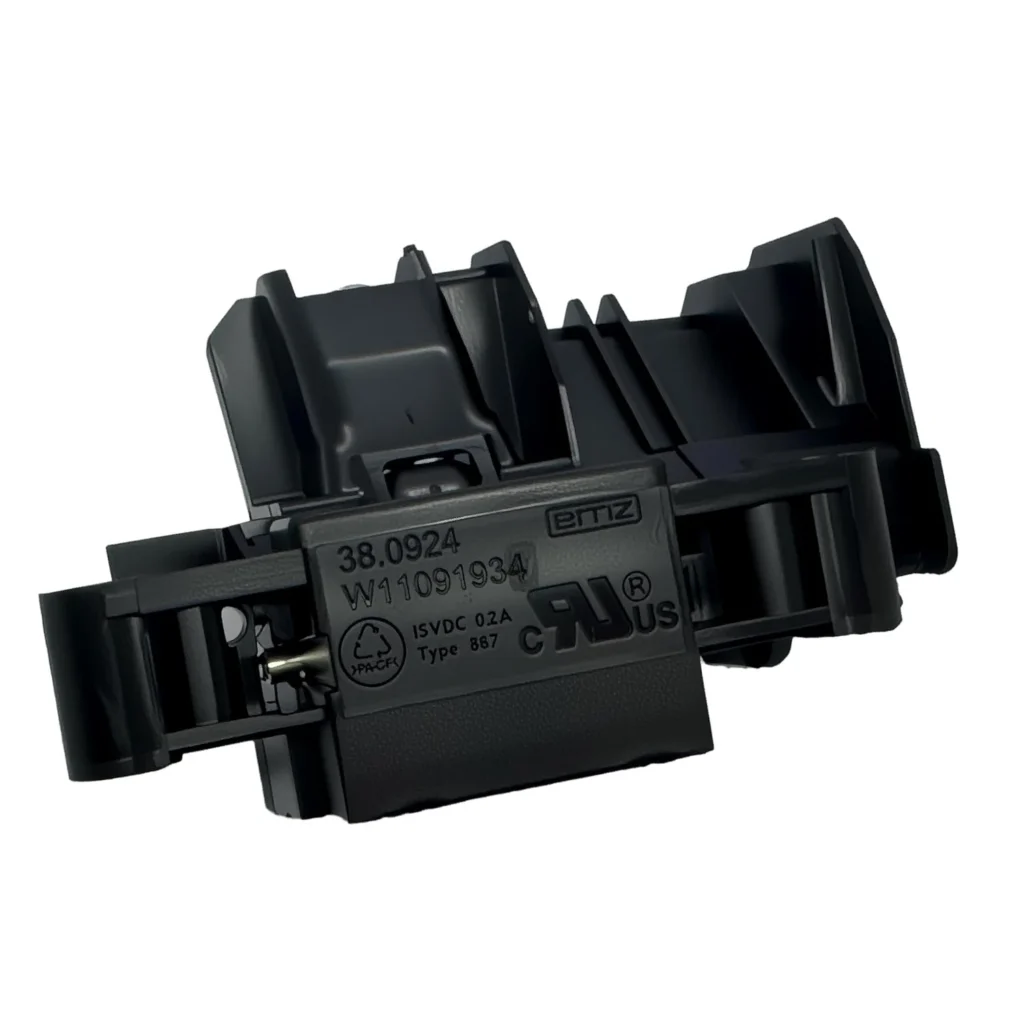
You press start on your dishwasher and... nothing. The control panel lights up, but the cycle won't begin. Or maybe your door won't stay closed during operation, causing the cycle to stop mid-wash. Nine times out of ten, you're dealing with a failed door latch assembly — specifically the W11091934 on newer Whirlpool, Maytag, and KitchenAid models like the MDB4949SKB0, WDTA80SAKZ0, or KDTM804KPS0.
The door latch is what tells your dishwasher's control board that the door is securely closed. When it fails, the safety interlock won't engage, and your dishwasher refuses to start. It's a common wear item that typically lasts 5-7 years before the plastic mechanism wears down or the electronic switch inside stops making proper contact.
What You Need Before Starting
This repair is straightforward and requires minimal tools. Here's what to gather:
- Phillips head screwdriver (#2 size)
- Flathead screwdriver (for prying trim clips)
- Towel or soft cloth (to protect the door finish)
- Your replacement W11091934 latch assembly
Repair Time: 15-25 minutes
Difficulty: EASY
Safety First
Always disconnect power before working on your dishwasher. Unplug the unit from the wall outlet, or flip the breaker dedicated to your dishwasher at your home's electrical panel. Even though this repair doesn't involve direct electrical work, the latch assembly has wire connectors that can short if power is connected. Better safe than sorry — water and electricity don't mix.
Step 1: Remove the Inner Door Panel
Open your dishwasher door fully so it's horizontal. You'll see a series of screws around the perimeter of the inner door panel — typically 8-12 screws depending on your model. Remove all these Phillips head screws and set them aside. On models like the KDFE104KBL0, there may also be a top control panel cover held by clips that you'll need to gently pry loose with a flathead screwdriver. Don't force anything — plastic clips break easily.
Step 2: Separate the Door Panels
With the screws removed, carefully lift the inner door panel up and away from the outer door. You don't need to completely separate them — just create enough gap to access the latch assembly mounted on the outer door panel. The door will want to fall backward when you do this, so work with the door at about a 45-degree angle or have someone support it. Place a towel on your floor just in case.
Step 3: Disconnect and Remove the Old Latch
Locate the door latch assembly — it's mounted on the right side of the door frame on most models. You'll see a wire harness connected to it with a plastic connector. Press the locking tab and pull the connector straight off. Now remove the two mounting screws holding the latch assembly to the door frame. The old latch should lift right out. If you're working on a WDTA50SAKB0 or similar model, note the orientation of the latch before removal — the strike plate faces the door opening.
Step 4: Install the New W11091934 Latch Assembly
Position your new W11091934 latch assembly in the same orientation as the old one. The mounting holes should line up perfectly. Secure it with the two screws you removed earlier — snug them down but don't overtighten or you'll crack the plastic housing. Reconnect the wire harness by pushing the connector firmly until you hear or feel it click into place. Give it a gentle tug to confirm it's seated properly.
Step 5: Reassemble the Door
Lower the inner door panel back into position, making sure it's properly aligned with the outer door. The edges should sit flush all the way around. Reinstall all the perimeter screws in the reverse order you removed them. If you removed a control panel cover, snap it back into place. Open and close the door a few times to make sure everything moves smoothly and the latch engages properly with the strike on the tub opening.
Testing After Installation
Restore power to your dishwasher and close the door firmly. You should hear a definite click when the latch engages. Try starting a wash cycle — the dishwasher should begin filling immediately. If the control panel lights up but nothing happens, double-check that the wire harness is fully connected. On some models like the MDB8959SKZ0, you may need to hold the door closed for 2-3 seconds for the latch to register before pressing start.
Frequently Asked Questions
Will this latch work if my dishwasher door won't stay closed?
Yes, if the door pops open during operation or won't latch at all, this assembly fixes that problem. The latch mechanism wears out over time, causing the hook to not engage properly with the strike plate. The W11091934 replaces the entire assembly including the spring-loaded mechanism.
Do I need to replace both the latch and the strike plate?
Usually not. The strike plate (the part mounted on the tub opening that the latch hooks into) rarely fails. This latch assembly includes everything you need on the door side. Only replace the strike if it's visibly damaged or the metal hook is worn down.
My dishwasher is 10 years old — should I replace other parts while I'm in here?
If you're already inside the door panel, it's smart to inspect the door gasket for cracks or tears and check the door spring tension. But the latch itself is typically the only wear item in this area. If your door feels heavy or doesn't stay open at a horizontal position, you might need door springs — but that's a separate repair.
Take a photo of the wire harness connection before disconnecting it — makes reassembly foolproof if you get interrupted mid-repair.
Need the part for this repair?
W11091934 · In Stock · Ships next business day