
How to Replace W10542314 Dishwasher Door Gasket on Whirlpool & KitchenAid — Step-by-Step
Turn off power to the dishwasher before starting. Make sure no hot water remains inside from recent cycles.
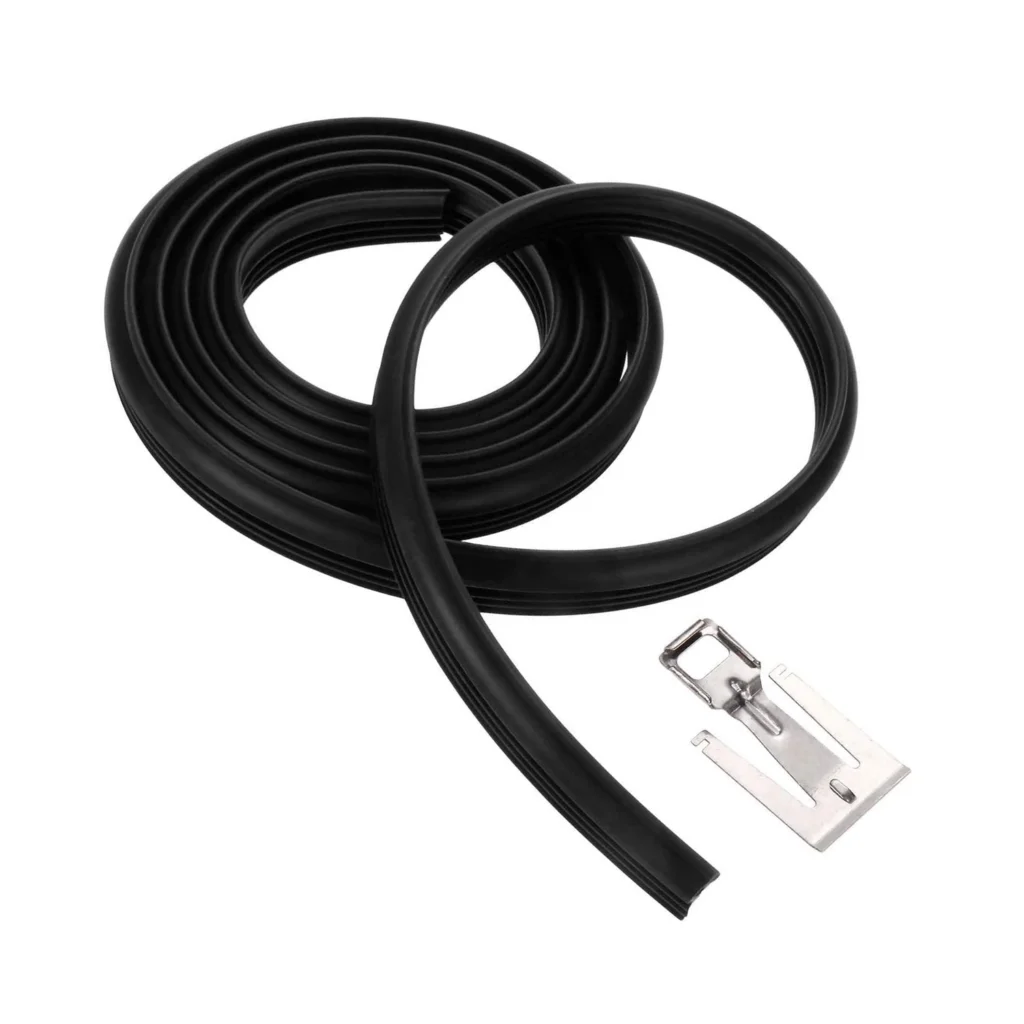
You load the dishwasher, press start, and come back 20 minutes later to find water pooling under your Whirlpool or KitchenAid dishwasher. The culprit? A torn or worn door gasket that's no longer creating a proper seal. This is one of those repairs that looks intimidating but is actually straightforward once you understand the trick.
What You Need Before Starting
The beauty of this repair is that you don't need any tools. Seriously. Your hands and a bowl of warm water are all you'll need. This W10542314 gasket kit fits models like WDT710PAYM3, WDF510PAYS6, GU2275XTVY1, and dozens of other Whirlpool-family dishwashers.
- Bowl of warm water
- Clean cloth or towel
- Your replacement W10542314 gasket kit
Repair time: 15-30 minutes
Difficulty: Easy — no experience required
Safety First
Turn off the dishwasher and unplug it if you can reach the outlet. If not, flip the breaker. There's no electrical work involved here, but you'll be working with the door open and it's better to be safe. Make sure the dishwasher has been off long enough that there's no hot water inside.
Step 1: Remove the Old Gasket
Open your dishwasher door fully. The old gasket sits in a groove that runs around the inside edge of the door. Starting at any corner, grab the gasket and simply pull it out of the groove. It's not glued or screwed in — it just sits there by friction. Peel the entire thing out and toss it. You'll probably see why it was leaking once you get a good look at the tears or compressed sections.
Step 2: Clean the Gasket Groove
This step matters more than you'd think. Use a damp cloth to wipe out the entire groove where the old gasket lived. You're looking to remove any soap scum, mineral buildup, or food particles. A clean groove means the new gasket will seat properly and create a better seal. Run your finger along the entire groove to make sure there aren't any rough spots or debris left behind.
Step 3: Prepare the New Gasket
Here's the trick that makes this repair easy: place your new W10542314 gasket in a bowl of warm water for 2-3 minutes. The warmth makes the rubber more pliable and easier to work with. While it's soaking, locate the center point of the gasket — it'll usually have a mark or slightly different shape at the midpoint. This matters because you'll start installation from the top center and work your way around.
Step 4: Install the New Gasket
Pull the gasket from the warm water. Starting at the top center of your dishwasher door, press the center of the new gasket into the top center of the groove. Once that's seated, work to the left — pressing the gasket into the groove a few inches at a time. When you reach the corner, do the same thing going right from center. Work your way down both sides until you reach the bottom corners.
You'll probably notice about an inch of extra gasket extending past the groove on each side at the bottom. Don't panic — this is normal with the W10542314 kit. Let those extra sections curve gently toward the center of the door. They'll compress when you close the door and actually help create a better seal at the bottom corners where leaks often start.
Step 5: Test for Leaks
Close the door and listen for the latch to click. It should feel the same as before, maybe even a bit firmer. Run a test cycle with a full load of dishes — the weight helps the door compress the gasket evenly on the first few runs. Check underneath the dishwasher and around the door edges about 10 minutes into the cycle. No water? You're done.
Testing After Installation
For the first few cycles, do a quick visual check when the dishwasher is running. Look at the door edges during the wash cycle — you shouldn't see any water seeping out. If you notice a small leak in one spot, open the door and press that section of gasket more firmly into the groove. Sometimes it takes a cycle or two for the gasket to fully seat and form to your door's shape.
Frequently Asked Questions
Why is there extra gasket material at the bottom corners?
The W10542314 is designed to fit multiple Whirlpool, Maytag, KitchenAid, and Kenmore models. That extra inch on each side at the bottom isn't a defect — it's intentional. Let those sections curve naturally toward the door center. When the door closes, they compress and actually improve the seal at the bottom corners where older gaskets often fail first.
Do I need to use adhesive to hold the gasket in place?
No. The gasket stays in place purely by friction — it's shaped to grip the groove. Using adhesive would actually make future replacements harder and doesn't improve the seal. If your gasket keeps popping out of the groove, the groove might have damage or the gasket wasn't fully pressed in during installation.
Will this fix my dishwasher if it's not cleaning dishes properly?
It depends. If poor cleaning is happening alongside leaking, then yes — a bad door seal can reduce water pressure inside the dishwasher, which affects cleaning performance. But if you're seeing poor cleaning without any leaks, you're probably dealing with clogged spray arms, a failing pump, or a blocked filter. Replace the gasket first if you've got leaks, then move on to other diagnostics if cleaning doesn't improve.
My old gasket looked fine — could something else be causing the leak?
Gaskets fail in ways that aren't always visible. Even without obvious tears, the rubber loses its compression strength over time and stops sealing properly. Given that this repair takes 20 minutes and requires no tools, it's worth trying the gasket replacement first. If you still have leaks after installing the W10542314, then you'd look at the door strike, hinges, or tub seal as the next possibilities.
Soak the new gasket in warm water for 2-3 minutes before installation — it makes the rubber pliable and much easier to work into the groove.
Need the part for this repair?
W10542314 · In Stock · Ships next business day