
How to Replace W10518394 Dishwasher Heating Element on Whirlpool Dishwasher — Step-by-Step
Turn off power at the circuit breaker and shut off water supply before starting. The heating element operates at 120V and you'll be working with live electrical connections.
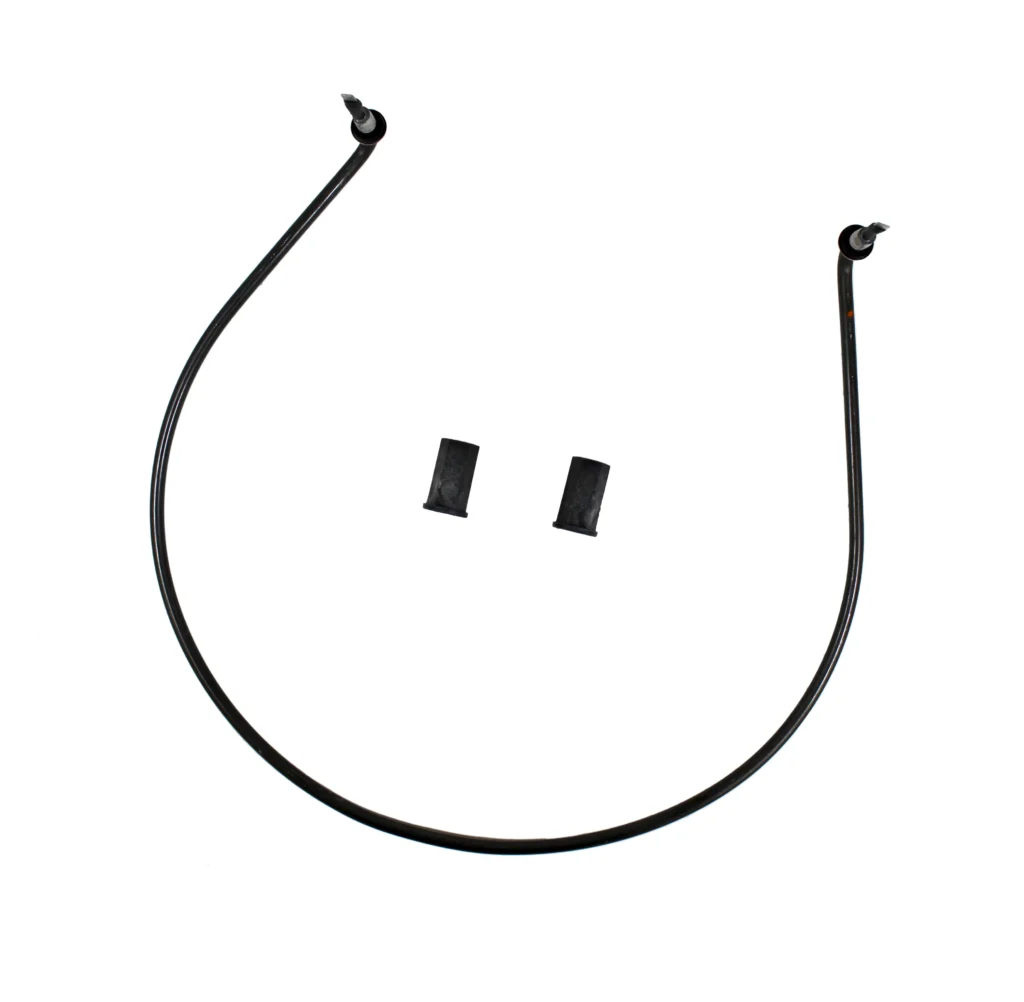
Your Whirlpool dishwasher finishes its cycle, you open the door expecting dry dishes, and instead you're greeted with water droplets everywhere. Sound familiar? One customer with a WDF520PADM3 told us: "My dishwasher started leaving food on dishes and not drying dishes as well as it used to." That's classic heating element failure — and if you're reading this, you've probably already confirmed your element is broken or severely corroded.
The good news? If a 69-year-old with no repair experience can do this with just pliers (and yes, that's a real customer quote), you can too. This repair takes 20-60 minutes depending on whether you need to pull the dishwasher out of the cabinet.
What You Need Before Starting
Here's what to grab before you start:
- Adjustable wrench or pliers (pliers alone will work in a pinch)
- Screwdrivers (Phillips and flathead)
- Socket set with extension (if removing dishwasher from cabinet)
- Phone or camera for photos
- Towels for water cleanup
- Flashlight
Estimated Time: 20-60 minutes
Difficulty: Moderate
Safety First
Turn off power at the circuit breaker — not just the dishwasher switch. The heating element operates at 120V and you'll be working directly with electrical connections. Also shut off the water supply valve under your sink. You'll likely encounter some residual water in the sump area when accessing the element from below, so have towels ready.
Step 1: Access the Heating Element
You've got two options here. If you can comfortably reach under your dishwasher while it's installed, you can access the element from below by removing the lower front kickplate panel. But if space is tight or you need better access, you'll need to pull the unit out. Disconnect the supply hose, drain hose, and electrical connection at the junction box (usually right side). As one customer mentioned: "It took me about an hour to get the dishwasher out of the cabinet" — but once it's out, everything else moves quickly.
Step 2: Photograph and Disconnect the Wiring
This is critical: take clear photos of how the wires connect to the heating element terminals. You'll see two wire connections on the element posts that extend through the bottom of the tub. One common mistake is forgetting which wire goes where. Disconnect these wires by pulling off the spade connectors — they should slide off without much force.
Step 3: Remove the Old Heating Element
Look at the bottom of the dishwasher tub. You'll see two threaded posts from the heating element with mounting nuts holding it in place. Use your adjustable wrench or pliers to remove these nuts. Important note from multiple customers: the new W10518394 element comes with rubber washers already installed on the element posts, but the threads are larger than the original. That's why it includes new plastic mounting nuts — don't try to reuse your old ones.
Once the nuts are off, carefully pull the old element down and out from inside the tub. There's a rubber gasket seal around the element — if it's stuck, gently work it loose. Watch for any remaining water that might spill out.
Step 4: Install the New W10518394 Element
Here's where those installation notes matter. The new element arrives with rubber washers pre-installed, but some installers report needing additional larger washers for a proper seal. Check the fit before tightening everything down. Position the new element so the posts come through the mounting holes in the tub bottom. From underneath, thread on the new plastic nuts (they come with the element). Hand-tighten first, then use your wrench to snug them down — firm but not gorilla-tight. You want compression on the gasket without cracking the plastic nuts.
Step 5: Reconnect Wiring and Test
Using your photos as reference, reconnect the wire spade connectors to the element terminals. They should push on firmly. If you pulled the dishwasher out, now's the time to slide it back in and reconnect water, drain, and electrical. Restore power at the breaker and water at the shutoff valve.
Testing After Installation
Don't just run a normal cycle and hope for the best. Run the service diagnostics cycle to reset the dishwasher to default settings — this clears any error codes related to the old failed element. Check your owner's manual for the specific button sequence (usually involves holding certain buttons while closing the door). Then run a complete wash cycle and check these things:
- Water gets noticeably hot during the wash cycle
- No leaks around the element area during or after the cycle
- Dishes come out actually dry at the end
- No burning smell (a slight odor on first heat-up is normal as manufacturing oils burn off)
Frequently Asked Questions
Why did my heating element fail in the first place?
Heating elements fail from age, hard water mineral buildup, and thermal stress from thousands of heating cycles. If you've had your dishwasher 5+ years and the element breaks or corrodes through, that's just normal wear. The W10518394 is built to handle models like WDF520PADM7, WDF540PADM3, and dozens of other Whirlpool, Maytag, and Kenmore dishwashers — it's a workhorse part.
Do I really need to pull the dishwasher out to replace this?
Not necessarily. If you're flexible and have decent lighting, you can work from underneath with the unit in place. But pulling it out gives you proper access and makes the job much easier, especially for the wiring. One customer did it without removal using just pliers, so it's doable — just more awkward.
What if dishes still aren't drying after I replace the element?
First, make sure you ran that diagnostic reset cycle — the control board needs to recalibrate. If dishes still aren't drying, check your rinse aid dispenser (it's usually empty), and consider replacing the high limit thermostat at the same time. Several customers report replacing both parts together for best results. Also verify your vent and fan assembly is working — you should hear airflow during the dry cycle.
Take clear photos of all wire connections before disconnecting anything — it's the easiest way to ensure correct reassembly and avoid diagnostic headaches later.
Need the part for this repair?
W10518394 · In Stock · Ships next business day