
How to Replace W10400895 Tub Centering Spring Kit on Whirlpool Maytag Washers — Step-by-Step
Unplug washer before starting. Springs are under tension and can cause injury. Wear work gloves when handling springs.
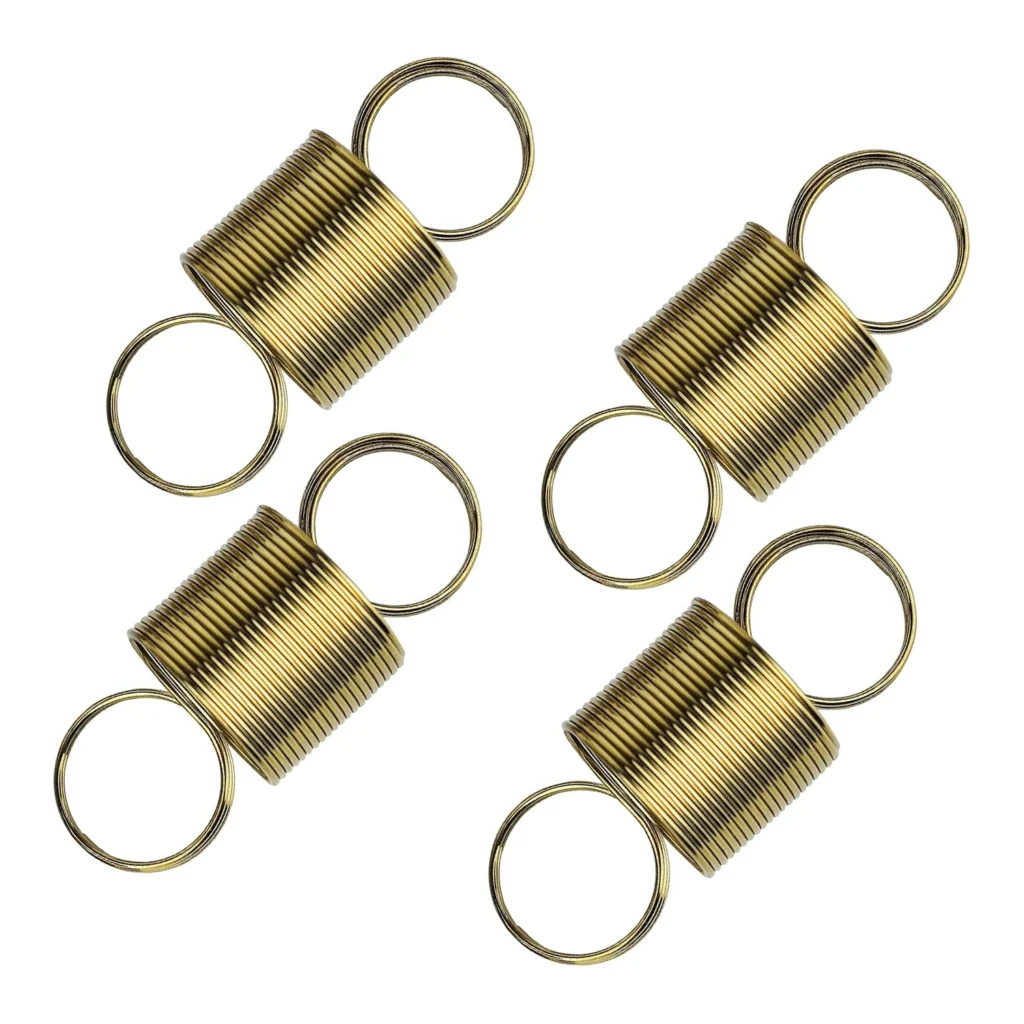
You're doing laundry when you hear it — that banging sound coming from your Whirlpool washer during the spin cycle. The machine's literally walking across your laundry room floor. You check the load. It's balanced. You level the machine again. Still shaking. The problem? Your tub centering springs are shot, and that metal tub is bouncing around inside the cabinet like a pinball.
The W10400895 tub centering spring kit controls how the wash tub moves during operation. These four springs (this kit includes two, you'll need two kits for all four) stretch between the outer tub and the washer cabinet, keeping everything centered. When they fail, the tub loses stability, especially during high-speed spins. I've seen worn springs cause machines to walk three feet across a floor during a single load.
What You Need Before Starting
This isn't a quick fix, but it's not complicated either. Plan for about 45 minutes to an hour once you have the cabinet apart. Here's what to grab:
- 1/4-inch nut driver or socket
- 5/16-inch socket wrench
- Flathead screwdriver
- Pliers (needle-nose work best)
- Work gloves (those spring hooks are sharp)
- Towels (for water drainage)
Repair Time: 45-60 minutes
Difficulty: Moderate — Requires cabinet removal and reaching tight spaces
Safety First
Unplug the washer completely before you start. Not just turning it off — physically pull the plug from the wall. These springs are under tension, and the last thing you want is the machine deciding to spin while your hands are inside. Wear work gloves when handling the springs; those metal hooks will slice your fingers if you're not careful. If your washer has any water sitting in the tub, run a drain cycle first or manually drain it with the drain hose.
Step 1: Remove the Cabinet
Pull the washer away from the wall so you can work. Remove the three screws across the back of the control console (top panel). Flip the console forward — it'll hinge up and rest against the wall. Now locate the two screws at the bottom rear corners of the cabinet. Remove those. The entire outer cabinet will now lift straight up and off. It's not heavy, but it's awkward. Set it aside somewhere it won't get dented.
Step 2: Locate the Failed Springs
You're now looking at the outer tub assembly. The centering springs are positioned at the four corners — front left, front right, back left, back right. They're thick metal springs with hooks on each end. Check all four. If one's broken or severely stretched, replace all four while you're in there. They wear at the same rate, and you don't want to repeat this job in three months when the next one fails.
Step 3: Remove the Old Springs
Here's where those pliers come in handy. Each spring hooks onto a bracket on the tub and another bracket on the cabinet base. Start with the top hook first — use your pliers to squeeze the hook and unhook it from the tub bracket. The spring's under tension, so it'll want to snap. Control it. Then unhook the bottom end from the base. Work on one spring at a time. Don't remove all four at once or the tub can shift and make reinstallation a nightmare.
Step 4: Install the New Springs
Hook the bottom end of the new spring to the base bracket first. That's the easier connection. Then stretch the spring up to reach the tub bracket. This takes some muscle — you're working against the spring tension. Use your pliers to guide the top hook into place on the tub bracket. You'll hear it click when it seats properly. Double-check both ends are fully engaged in their brackets. Repeat for the remaining three springs, replacing them one at a time in a diagonal pattern (front left, then back right, then front right, then back left). This keeps the tub balanced as you work.
Step 5: Test Before Reassembly
Before you put that cabinet back on, give the tub a gentle push from side to side. It should move smoothly and spring back to center. That's what you're looking for — controlled movement with automatic centering. If it feels stiff or doesn't return to center, recheck your spring installation. One hook might not be fully seated.
Reassemble and Test Run
Slide the cabinet back down over the washer. Line up those bottom screw holes and reinstall the two rear screws. Flip the control console back down and reinstall those three screws across the back. Push the washer back into position, plug it in, and run a test cycle. Start with a small load and let it go through a complete wash and spin. The difference will be obvious — no more walking, no more banging. Just smooth, quiet operation.
Why This Happens
These springs fail from metal fatigue. Every spin cycle stretches and contracts them. After thousands of loads, the metal weakens. Running consistently unbalanced loads speeds this up — those heavy comforters or single large items make the springs work overtime. Overloading the washer does the same thing. The springs are trying to stabilize more weight than they're designed for.
Frequently Asked Questions
Do I need to replace all four springs or just the broken one?
Replace all four. If one failed, the others are right behind it. They've all experienced the same wear cycle. I've seen people replace just one spring, then have another break two weeks later. Save yourself the hassle and do all four at once. This kit comes with two springs, so order two kits for a complete set of four.
Will this fix my washer if it's shaking during the spin cycle?
If the shaking is caused by worn centering springs, yes. But check a few other things first. Make sure the washer's level — use a bubble level across the top. Ensure all four leveling feet are firmly on the floor. If the floor itself is weak or bouncy (like a second-floor laundry room with inadequate floor joists), new springs won't solve that. But if the machine is level, the floor is solid, and it's still shaking, these springs are your answer.
Can I use this spring kit on a Kenmore washer?
Yes, if your Kenmore model uses this part number. Many Kenmore washers are manufactured by Whirlpool and use identical internal components. Check your model number against the compatibility list. The part number W10400895 also replaces AP5263280, PS3497596, W10348658, and 1938554. If your Kenmore originally used any of those numbers, this kit will work. Models like 110.27012700 and 110.28002791 commonly use these springs.
Replace springs in diagonal pattern to keep tub balanced during installation. Hook bottom bracket first, then stretch to top bracket.
Need the part for this repair?
W10400895 · In Stock · Ships next business day