
How to Replace W10198086 Dryer Drive Belt on Whirlpool & Maytag Dryers — Step-by-Step
Always unplug the dryer before starting repair work. Dryer drums are heavy — use proper lifting technique.
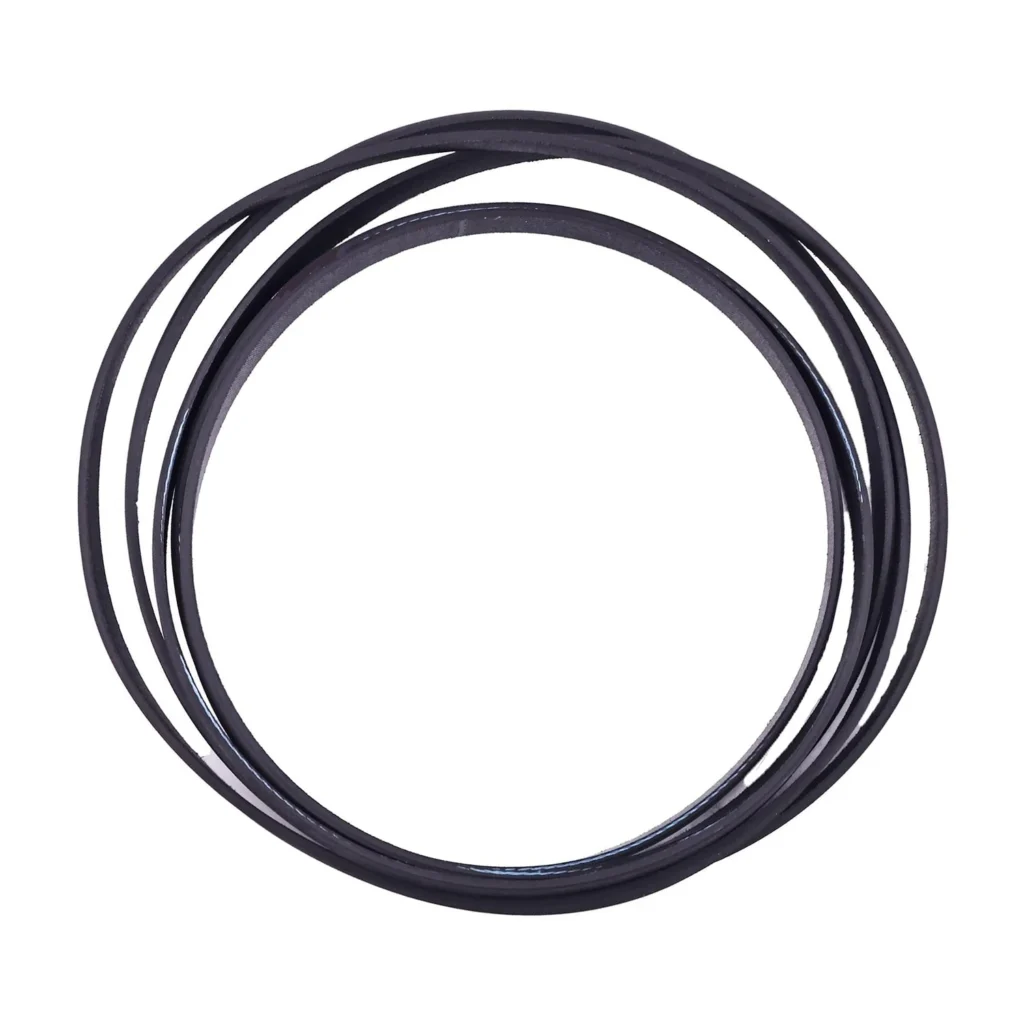
Your Maytag MEDC465HW0 dryer is running, but the drum isn't turning. You can hear the motor humming away, but your clothes just sit there getting warm without tumbling. That's the classic sign of a broken drive belt — and it's actually one of the easier dryer repairs you can tackle yourself.
The W10198086 drive belt wraps around your dryer drum, then loops around the motor pulley and idler pulley to create the tension needed for rotation. When it snaps or wears through, the drum stops turning even though everything else seems fine. This belt fits dozens of Whirlpool, Maytag, KitchenAid, and Jenn-Air dryer models including the MEDC215EW1, MEDX655DW1, MEDC300BW0, and MGDB755DW0.
What You Need Before Starting
Here's what you'll need to complete this repair:
- Phillips head screwdriver or nut driver (5/16" typically)
- Flathead screwdriver for prying clips
- Putty knife or paint scraper
- Work gloves (the belt routing can be tricky)
- Shop vacuum for cleaning out lint
- Flashlight or headlamp
Time Required: 45-60 minutes
Difficulty: Moderate — the belt routing takes some patience, but it's doable for most DIYers
Safety First
Unplug your dryer completely before starting any work. Don't just flip the breaker — physically disconnect the power cord. If you have a gas dryer, you don't need to disconnect the gas line for this repair, but make sure the dryer is pulled away from the wall enough to work comfortably. Dryer drums are heavy (40-50 pounds typically), so use proper lifting technique when you need to manipulate it.
Step 1: Remove the Lint Screen and Access the Top Panel
Pull out the lint screen completely. Inside the lint trap housing, you'll see two Phillips screws — remove these first. Next, slide a putty knife between the top panel and front panel about 3 inches from each corner. You'll feel spring clips release with a light pop. Once both clips are released, lift the top panel up and lean it back against the wall carefully.
Step 2: Disconnect the Door Switch Wire and Remove Front Panel
With the top open, locate the door switch wire harness near the top right corner. Press the tab and pull it apart. Now remove the screws holding the front panel (usually two at the top corners inside the cabinet). Lift the front panel up slightly and pull it forward to unhook it from the bottom clips. Set it aside where it won't get damaged.
Step 3: Release Tension and Remove the Old Belt
You'll now see the drum, motor, and belt assembly clearly. The idler pulley on the right side creates tension on the belt. Push the idler pulley toward the motor to release tension, then slip the old belt off the motor pulley. Pull the old belt off the drum — this is a good time to inspect it for cracks, glazing, or the break point. Also vacuum out all the lint that's accumulated around the motor and blower housing while you're in there.
Step 4: Route the New W10198086 Belt Around the Drum
Take your new belt and wrap it around the dryer drum with the ribbed side against the drum surface (smooth side facing out). The belt should sit in the center channel of the drum. This is important — if the ribs face outward, the belt will squeal and wear prematurely.
Step 5: Loop the Belt Around the Motor and Idler Pulleys
This is where it gets slightly tricky, but take your time. Reach underneath the drum and loop the belt around the motor pulley in a clockwise direction. Then route it around the idler pulley to create the tension triangle. The belt path should form a figure-8 pattern when viewed from the side. Push the idler pulley toward the motor again, slip the belt onto the motor pulley fully, then slowly release the idler. It should snap into place with good tension.
Step 6: Test Drum Rotation Before Reassembly
Before you put everything back together, manually rotate the drum a few times. It should spin smoothly without binding or squeaking. If you hear noise or feel resistance, check that the belt isn't twisted and is seated properly in the drum channel. Give the drum a good spin — it should rotate freely and return to the same position when released.
Step 7: Reassemble the Dryer
Reinstall the front panel by hooking the bottom clips first, then pressing it against the cabinet. Secure the top screws. Reconnect the door switch wire harness until it clicks. Lower the top panel and push down firmly on both corners until the spring clips snap back into place. Reinstall the two screws in the lint trap housing, then slide the lint screen back in.
Testing After Installation
Plug your dryer back in and run a short air-fluff cycle without clothes. Listen for any unusual noises — a slight squeak for the first few rotations is normal as the new belt seats itself, but persistent squealing means something's not right. The drum should rotate smoothly in both directions (it reverses periodically during normal operation). Once you're satisfied it's running correctly, throw in a load of towels and run a normal cycle to confirm everything's working properly.
Frequently Asked Questions
How long does a dryer belt typically last?
Most dryer belts last 10-15 years with normal use, but heavy usage or poor maintenance can shorten this. If you're running multiple loads daily or your dryer overheats regularly due to restricted airflow, the belt wears faster. The W10198086 is a quality OEM-equivalent belt that should give you years of reliable service.
Why does my new belt squeak when the dryer first starts?</n
A slight squeak during the first few cycles is completely normal — the belt is seating itself against the drum and pulleys. However, persistent loud squealing usually means the belt is installed backwards (smooth side should face out), or there's lint buildup on the pulleys. Make sure you cleaned everything thoroughly before installing the new belt.
Can I replace just the belt if the idler pulley looks worn?
While you can, it's not recommended. If your idler pulley has a flat spot, wobbles, or the bearing feels rough, replace it at the same time. A worn pulley will eat through your new belt prematurely. Since you're already in there with everything disassembled, it's the perfect time to replace both parts and avoid doing this job again in six months.
Clean out all lint from around the motor and blower housing while you have the dryer open — it improves efficiency and reduces fire risk.
Need the part for this repair?
W10198086 · In Stock · Ships next business day