
How to Replace W10131172 Dryer Drive Belt on Whirlpool Maytag Kenmore — Step-by-Step
Unplug dryer completely and turn off gas supply before starting. Drum is heavy and will drop when belt is removed — keep hands clear.
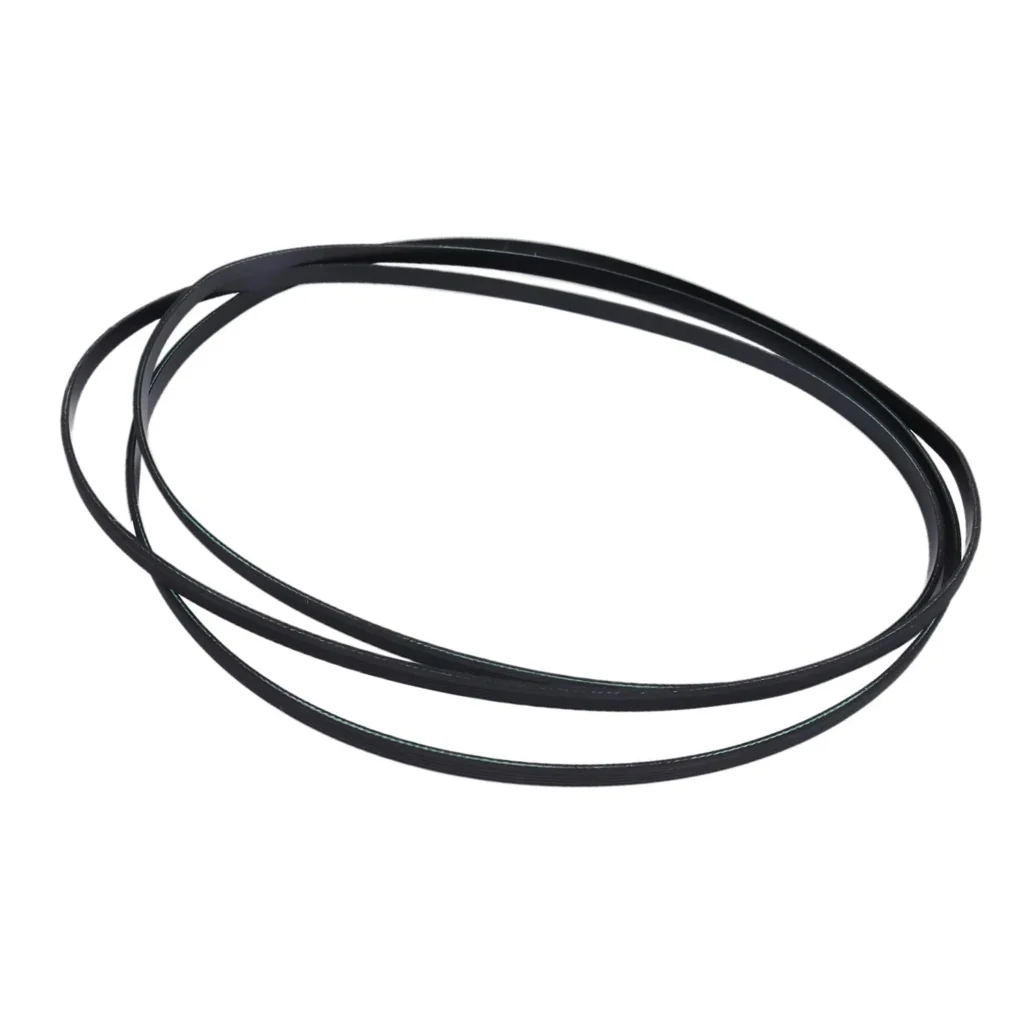
Your Whirlpool dryer's running, but the drum isn't moving. Or maybe you're hearing a loud thumping noise with every rotation. Nine times out of ten, that's a worn or broken drive belt. The W10131172 is one of the most common failure points in Whirlpool, Maytag, Kenmore, and Crosley dryers — the belt stretches, cracks, or snaps after a few years of constant use.
The good news? This is a straightforward fix. You don't need to be a professional appliance tech to swap out a drive belt. With basic tools and about 30 minutes, you'll have your dryer back to normal.
What You Need Before Starting
Gather these items before you begin:
- Phillips head screwdriver
- Putty knife (for releasing panel clips)
- Socket or nut driver set
- Work gloves (optional but recommended)
- Replacement W10131172 drive belt
Time required: 25-35 minutes
Difficulty level: Moderate — requires disassembly of the dryer cabinet but follows a logical sequence
Safety First
Unplug your dryer completely before starting. If you have a gas dryer, turn off the gas supply valve as well. The drum is heavy and will drop when you remove the belt, so keep your hands clear. Work on a stable surface and consider having someone nearby if you're uncomfortable lifting the dryer drum — it weighs about 30 pounds depending on your model.
Step 1: Remove the Front Panel and Drum
Use your putty knife to release the clips at the top corners of the front panel. Slide the knife between the top and the cabinet about 2 inches from each edge, then push in to pop the clips. Lift the top up and prop it against the wall. Now remove the screws securing the front panel (usually 2-4 screws). Disconnect the door switch wire harness, then set the front panel aside.
Step 2: Support and Lift Out the Drum
With the front panel off, you'll see the drum and the old belt wrapped around it. Reach underneath and support the front of the drum with one hand. Lift the entire drum forward and up — it'll come right out once you clear the support rollers in the back. Set it on a clean towel or blanket nearby. You'll now have full access to the belt path.
Step 3: Route the New Belt Around the Drum
Here's where people mess up: the belt goes on with the grooved side against the drum, smooth side out. Wrap the W10131172 belt around the drum about a third of the way up from the front rim. Make absolutely sure the belt isn't twisted — this is critical and mentioned in every service bulletin for this repair. A twisted belt will squeal, slip, and fail quickly.
Step 4: Thread the Belt Through Motor and Idler Pulley
Carefully lift the drum back into the cabinet and lower it onto the support rollers. Reach underneath and locate the motor pulley (connected to the motor shaft) and the spring-loaded idler pulley. Thread the belt under the idler pulley first, then loop it around the motor pulley in a Z-pattern. Pull the idler pulley toward you to create tension, then let it snap back. Rotate the drum by hand — it should turn smoothly with consistent resistance.
Step 5: Reassemble and Test
Reconnect the door switch harness to the front panel. Line up the panel and secure it with the screws you removed earlier. Lower the top back down until the clips snap into place. Plug the dryer back in (and turn the gas back on if applicable). Run a short test cycle with no clothes — listen for smooth operation and watch that the drum rotates evenly without noise.
Testing After Installation
Start a timed dry cycle and let it run for 5 minutes. The drum should rotate smoothly without squealing, thumping, or hesitation. Open the door mid-cycle and check that the drum stops immediately — this confirms the door switch is connected properly. If you hear any rattling or the drum seems wobbly, power down and double-check that the belt isn't twisted and the drum is seated correctly on the rear rollers.
Frequently Asked Questions
How do I know if my dryer belt is broken or just worn?
If the drum doesn't turn at all but the motor runs, the belt's broken. If the drum turns but makes noise or slips occasionally, the belt's worn and stretched. You might also see black rubber dust inside the cabinet — that's belt material wearing away. Either way, replacement is the solution.
Will this belt fit my Kenmore 110 series dryer?
Most likely yes. The W10131172 is compatible with dozens of Kenmore models including the 110 series, plus Whirlpool models like the MEDB765FW and MGDB765FW, Maytag models, and Crosley models like the CED8990XW0 and CGD9050AW0. Check your model number against the compatibility list, but this belt covers a huge range of machines manufactured between 2005 and present.
Can I replace the belt without taking the drum completely out?
Technically yes, but it's way harder and you risk installing the belt twisted. Taking the drum out adds maybe 3 minutes to the job but gives you clear access to inspect the idler pulley, motor pulley, and support rollers. If any of those components are worn, you'll spot it while you're in there — better to know now than have another failure in six months.
Make sure your new belt is not twisted when installing it on the drum. Grooved side goes against the drum, smooth side faces out.
Need the part for this repair?
W10131172 · In Stock · Ships next business day