
How to Replace SPP6 Hard Start Kit on Carrier Goodman Trane Rheem Lennox York HVAC Units — Step-by-Step
Turn off power at the breaker and verify with a voltage tester before working on any HVAC electrical components. Discharge the capacitor before touching terminals to avoid electrical shock.
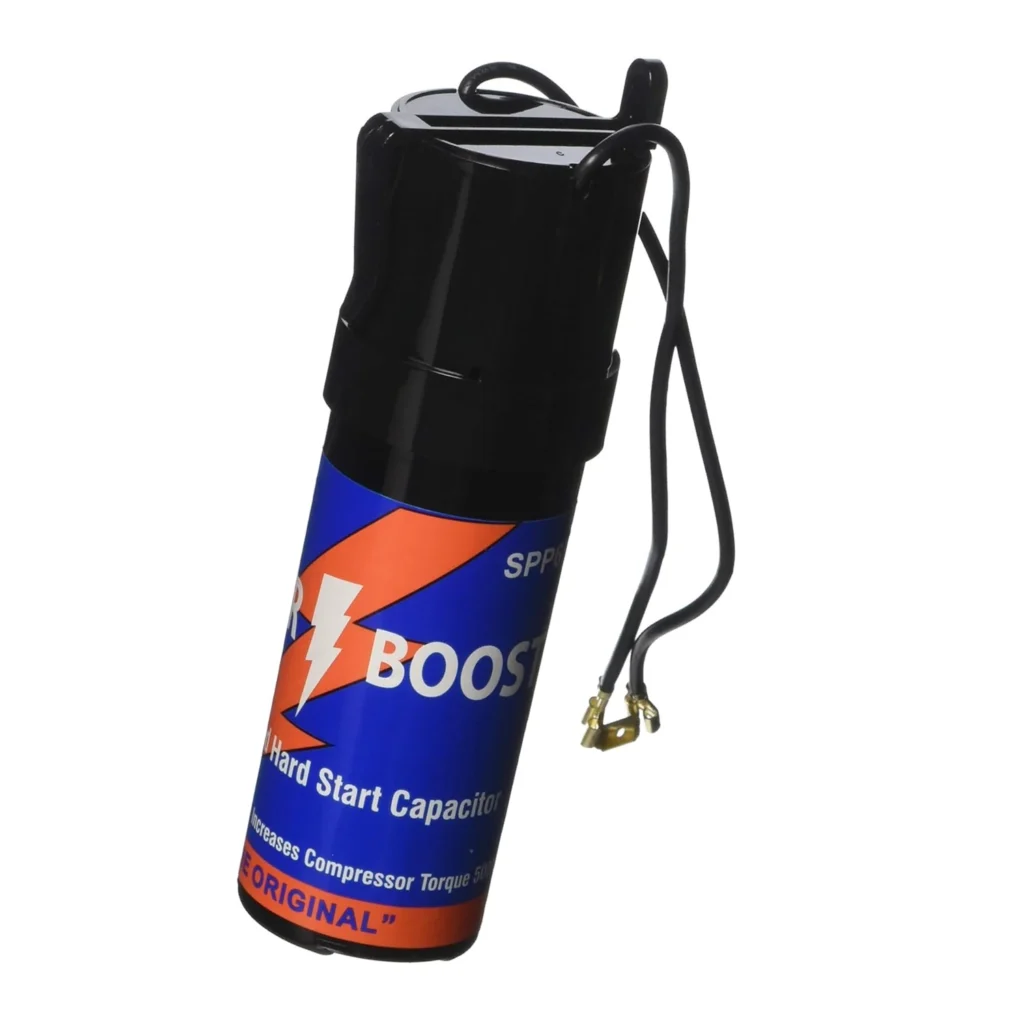
You walk outside on a 95-degree day and your AC compressor is humming but not starting. The capacitor feels warm, there's a slight buzzing sound, and the unit keeps trying to kick on but can't. Your compressor is struggling with hard starts — a classic sign that your hard start kit has failed or was never installed. The SPP6 hard start kit (replaces TJ90HS6, AP4502872, ERPP6) is designed specifically to give your compressor the electrical boost it needs during startup, and replacing it can save you from a $300+ service call.
What You Need Before Starting
This is a straightforward electrical component swap that most homeowners can handle. Here's what you'll need:
- Needle-nose pliers
- Wire strippers (if terminals need replacement)
- Screwdriver (for condensing unit panel)
- Voltage tester or multimeter
- Camera phone (to document wire positions)
Repair Time: 20-30 minutes
Difficulty: Easy — Basic electrical work required
Safety First
You're working with 240V electricity and a component that stores electrical charge. Turn off the breaker to your outdoor condensing unit at your electrical panel — not just the disconnect switch outside. Use a voltage tester to verify power is completely off at the contactor before touching any wires. Even with power off, capacitors can hold a charge, so discharge the run capacitor by shorting its terminals with an insulated screwdriver before starting work.
Step 1: Access the Electrical Compartment and Document Existing Connections
Remove the access panel on your condensing unit (usually held by 4-6 screws). Before disconnecting anything, take clear photos of how the existing hard start kit is wired to the compressor terminals and capacitor. The SPP6 connects between the compressor's start and run terminals, working in conjunction with your run capacitor. On units like the Goodman GSX160361 or Carrier 24ABC636A003, you'll find this near the compressor dome on the right side of the unit.
Step 2: Discharge the Capacitor and Remove the Old Hard Start Kit
With power verified off, discharge the run capacitor by briefly touching an insulated screwdriver across the HERM and C terminals. You'll hear a pop if it's charged. Now locate your old hard start kit — it's a small rectangular component with three wire connections. The SPP6 replaces common kits like the Supco DST-6 or Mars HS6. Carefully disconnect the spade terminals from the compressor's start terminal, run terminal, and the capacitor. On Trane XR15 and Rheem RA1430AJ1NA models, these terminals are clearly labeled on the compressor.
Step 3: Identify Correct Terminal Positions for SPP6 Installation
The SPP6 has three terminals: one connects to the compressor's START terminal, one to the RUN terminal, and one to the capacitor's HERM terminal. Your compressor should have these marked as S, R, and C on the terminal block. If you're installing this on a Goodman GSZ140361 or York LX Series unit and the labels are worn off, the start terminal is typically the smaller gauge wire. The hard start kit creates a temporary boost circuit during the first split second of compressor startup, then drops out once the motor is running.
Step 4: Connect the SPP6 Hard Start Kit
Connect the SPP6's terminals according to your reference photos. The positive temperature coefficient (PTC) resistor inside this kit needs proper orientation. Connect one terminal to the compressor's START wire, another to the RUN wire, and the third to the capacitor's HERM terminal. Push each spade connector firmly until you feel it seat. On Lennox XC13 and Carrier XC16 units, there's usually a mounting clip near the compressor where you can secure the hard start kit body to prevent it from vibrating loose.
Step 5: Secure Components and Restore Power
Double-check that all three connections are tight and properly seated. Make sure no bare wire is exposed and that the hard start kit isn't touching any metal housing (it should be electrically isolated). Use a zip tie if needed to keep wires organized and away from moving parts like the fan blade. Replace the access panel, restore power at the breaker, and set your thermostat to call for cooling.
Testing After Installation
Listen carefully during the first startup. With a properly functioning SPP6, your compressor should start smoothly without the labored humming or multiple start attempts you heard before. The startup should be quick and decisive — usually within one second of the contactor engaging. Let the system run for 10 minutes, then feel the hard start kit body. It should be slightly warm but not hot (the PTC heats up briefly during start, then cools). If you're still hearing hard starts on your Trane 4TTR3036 or Rheem RP1460AJ1NA, check that the run capacitor itself isn't weak — hard start kits can't compensate for a failed capacitor.
Frequently Asked Questions
Do I need a hard start kit if my AC is starting normally?
Not necessarily. Hard start kits are typically added when a compressor begins struggling to start due to age, low voltage conditions, or after a compressor replacement. However, many HVAC techs install them proactively on older units (10+ years) to reduce startup stress and extend compressor life. If your Goodman or Carrier unit starts smoothly every time, you don't need one.
Can I install the SPP6 on any brand of condensing unit?
The SPP6 is a universal hard start kit compatible with most residential single-phase compressors from 1 to 5 tons. It works on Carrier, Goodman, Trane, Rheem, Lennox, York, and most other brands. However, verify your compressor is single-phase (not three-phase commercial) and that you're not dealing with a scroll compressor that specifically prohibits hard start kits in the manufacturer documentation.
How do I know if my hard start kit has failed versus my capacitor?
A failed hard start kit usually causes inconsistent hard starts — the compressor will struggle more on hot days or after sitting idle. A bad capacitor causes the compressor not to start at all, or to hum continuously without turning. Test the capacitor with a multimeter set to capacitance — if it reads more than 10% below its rated microfarad value, replace it first before diagnosing the hard start kit. On units like the GE DTSR495GF0GG series, both components often wear out around the same time after 8-10 years.
Why does my new SPP6 get hot after installation?
The PTC thermistor inside the SPP6 is supposed to heat up briefly during compressor start — that's how it limits current flow after the initial boost. It should heat for 2-3 seconds, then cool down while the compressor runs. If it stays hot continuously, you've likely connected it incorrectly (wrong terminals) or your compressor is drawing excessive locked rotor amps, indicating a mechanical problem with the compressor itself that a hard start kit can't fix.
Take detailed photos before disconnecting any wires — hard start kit wiring diagrams can vary by unit, and your photos will be your best reference for correct reconnection.
Need the part for this repair?
SPP6 · In Stock · Ships next business day