
How to Replace MDS62058301 Rear Tub Gasket on LG Washer — Step-by-Step
Unplug washer completely before starting. Wear safety glasses when removing bearings. Heavy tub components require two people or proper lifting technique.
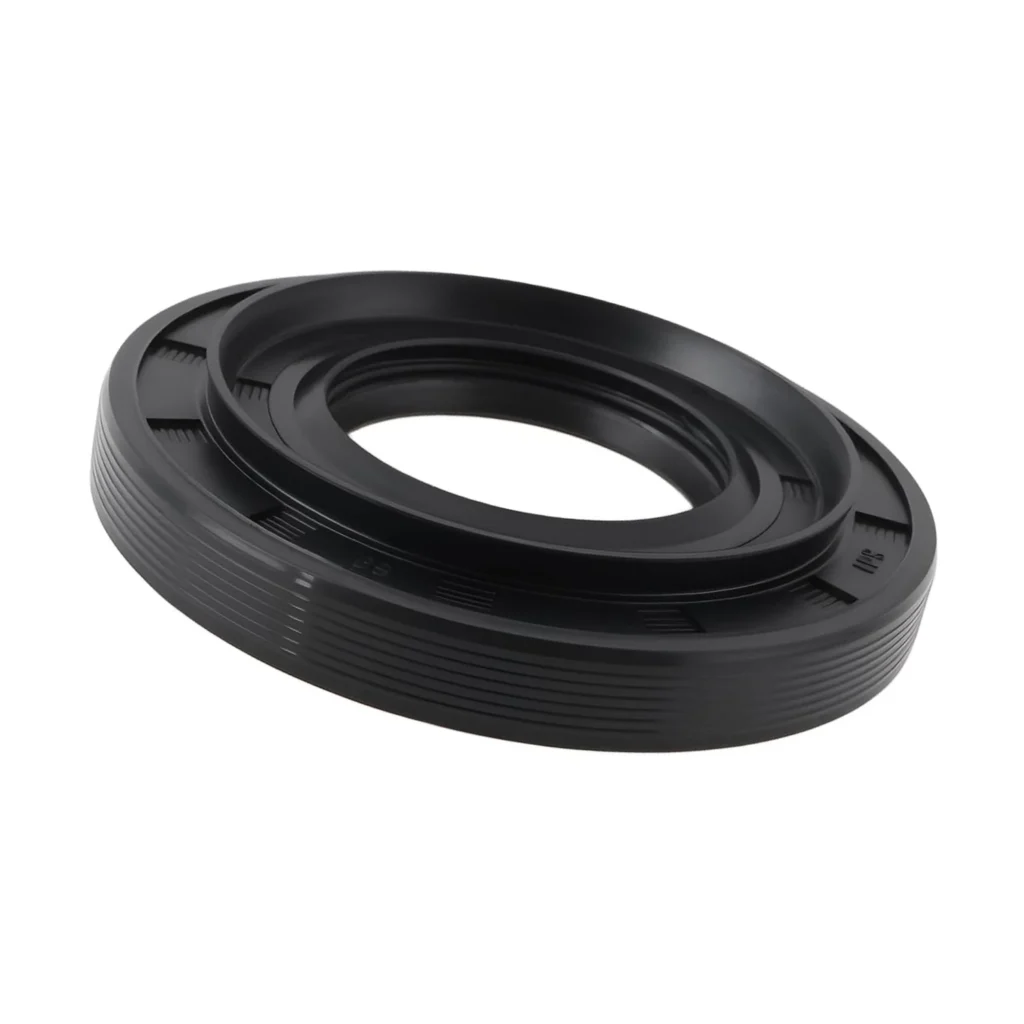
Water pooling under your LG washer after every load? Hearing a grinding roar during spin cycles that sounds like a jet engine taking off? You've probably got a failed rear tub gasket. When this seal goes bad on models like the WM3550HVCA or WM3700HWA, water sneaks past it and attacks the bearing behind it. Rust forms, the bearing seizes, and suddenly you're dealing with both a leak and noise that'll wake the neighbors.
One repair tech described it perfectly: "I removed the barrel from the inside of the washer, and removed the tub after that I punched out the bearings and replaced them." This isn't a quick fix. The MDS62058301 gasket replacement means tearing down the entire tub assembly, but it'll save you from buying a new washer.
What You Need Before Starting
Time commitment: 2+ hours minimum — budget an entire afternoon
Difficulty: Hard
Required tools:
- Socket set with extensions
- Adjustable wrench and wrench set
- Flathead and Phillips screwdrivers
- Nut drivers (multiple sizes)
- Hammer and brass punch
- Heat gun or propane torch
- Penetrating oil (WD-40 or PB Blaster)
- Plastic bags for organizing hardware
Safety First
Warning: Unplug the washer completely before starting. You'll be working around heavy components that can pinch fingers or cause serious injury if the drum shifts unexpectedly. Wear safety glasses when punching out bearings — metal fragments can fly. This repair involves lifting the tub assembly, which weighs 40+ pounds, so get help or use proper lifting technique to avoid back injury.
Step 1: Disassemble the Cabinet and Remove the Tub
Pull the washer away from the wall and disconnect water lines. Remove the top panel by releasing the clips at the back, then take off the front panel by removing screws along the bottom edge and unclipping the top. Disconnect the door boot seal from the front of the tub. Now you'll need to disconnect all wiring harnesses to the control board — take photos before unplugging anything. Remove the detergent dispenser housing, drain pump, and motor assembly. Here's where it gets real: you'll find suspension rods connected to the tub. Mark their positions before removing them because they need to go back exactly where they came from.
Step 2: Separate the Tub Halves
The outer tub is held together by a ring of bolts around the perimeter. Remove every single one — and check carefully because some machines have extra screws hiding under tabs. Once the bolts are out, carefully pry the tub halves apart using a flathead screwdriver in the seam. Work your way around gradually. The rear half will have the bearing housing with your failed gasket. Set the front half aside where it won't get damaged.
Step 3: Remove the Drum Shaft (The Brutal Part)
This is where one customer's warning becomes critical: "The shaft was VERY difficult to free from the bearings... took the heat, penetrating oil, and a sledgehammer. Be ready for that to take a while and to have to hit the shaft a LOT harder than you think you should." He's not exaggerating. Spray penetrating oil around the shaft where it meets the bearing and let it soak for 15 minutes. Apply heat with your heat gun around the outer bearing race to expand the metal. Now place a wood block against the shaft end and hit it with your hammer. Hard. You're driving the shaft through the seized bearing. It'll take dozens of strikes. Keep applying heat and oil. When it finally breaks free, the shaft will punch through suddenly — keep your hands clear.
Step 4: Remove Old Bearings and Gasket
Flip the tub half over so you're looking at the bearing from behind. Use your brass punch and hammer to drive out the outer bearing race by working around the perimeter — hit opposite sides alternately to keep it even. The inner bearing comes out the same way. Once both bearings are out, you'll see the old MDS62058301 gasket sitting in its groove. Pry it out carefully. Clean the bearing housing thoroughly with degreaser and a rag. Any dirt or rust left behind will compromise your new seal.
Step 5: Install New Gasket and Bearings
Press the new MDS62058301 gasket into its groove firmly — it should seat evenly all the way around. Install the new outer bearing by tapping it in evenly with your hammer and a block of wood. Don't hit directly on the bearing race. Once it's flush, flip the assembly and install the inner bearing the same way. Apply a thin coat of waterproof grease to the seal lip before sliding the drum shaft back through. The shaft should slide in smoothly this time since everything's new and properly aligned.
Step 6: Reassemble and Test
Bolt the tub halves back together in a star pattern to ensure even pressure. Here's a pro tip from the field: tilting the tub level with the floor makes hose reassembly much easier than trying to work at an angle. Reconnect suspension rods, motor, drain pump, and all wiring harnesses using those photos you took earlier. Double-check that the door boot seal is properly seated in its groove. Reinstall the cabinet panels.
Testing After Installation
Run a test cycle without clothes. Listen for any unusual noises during agitation and spin. The bearing noise should be completely gone. Check underneath the washer during and after the cycle for any water leaks. Run it through a complete wash cycle with a load of towels — this puts real stress on the bearing. If you hear grinding or see water underneath, you'll need to recheck the gasket installation.
Frequently Asked Questions
Can I replace just the gasket without changing the bearings?
Technically yes, but it's terrible strategy. If your gasket failed and let water through, your bearings are already damaged even if they're not making noise yet. Once you've invested 2+ hours tearing down the tub, spending another $30 on bearings now saves you from doing this entire job again in six months. Always replace both together.
Why is the shaft so hard to remove?
Water that leaked past your old gasket caused the inner bearing to rust and seize onto the shaft. That rust creates an incredibly strong bond. The combination of heat (to expand the bearing), penetrating oil (to break down rust), and mechanical force (your hammer) is the only thing that'll break it free. Some techs report needing 30+ minutes of hammering on severely rusted shafts.
Which LG models use the MDS62058301 gasket?
This gasket fits front-load washers including the WM3150HVC, WM3370HVA, WM3400CW, WM3485HWA, WM3500CW, WM3550HVCA, WM3570HWA, WM3670HRA, WM3700HWA, WM3770HWA, WM3875HVCA, and dozens of other models in LG's 3000-series lineup. Check your model number plate inside the door frame to verify compatibility before ordering.
Label hardware in plastic bags with location and sequence for easier reassembly. Tilting the tub level with the floor makes hose reconnection much easier.
Need the part for this repair?
MDS62058301 · In Stock · Ships next business day