
How to Replace DC97-14369G Drum Flange Shaft Assembly on Samsung Washer — Step-by-Step
Unplug washer completely before starting. Drum assembly weighs 40-60 pounds—use a helper. Wear safety glasses when working underneath to protect from falling debris.
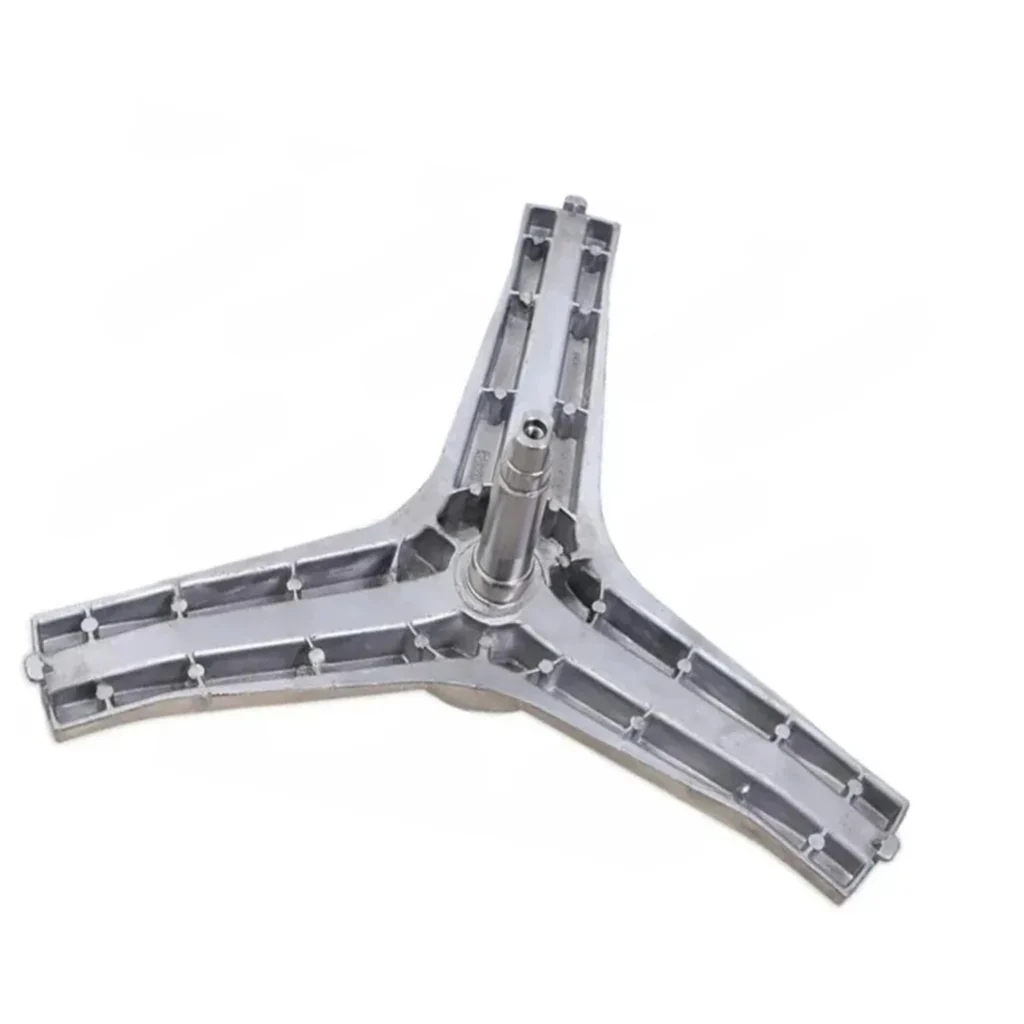
Your Samsung washer's making a grinding noise during the spin cycle that sounds like metal scraping concrete. You've checked the drum—nothing's stuck inside. The problem? It's likely the drum flange shaft assembly, part number DC97-14369G. This critical component connects your washer's drum to the motor, and when it fails, you'll know it immediately.
What You Need Before Starting
This is an advanced repair that requires disassembling most of your washer. Set aside a full afternoon and gather these tools:
- Socket set (8mm, 10mm, 12mm most common)
- Screwdriver set (Phillips and flat-head)
- Rubber mallet
- Penetrating oil (like WD-40)
- Clean towels or rags
- Digital camera or phone (for reference photos)
- Work gloves
Repair Time: 2-3 hours for experienced DIYers, 3-4 hours for first-timers
Difficulty: Advanced — requires complete drum removal
Safety First
Unplug your washer completely before starting—not just turning it off. This repair involves removing heavy components, so work with a helper if possible. The drum assembly weighs 40-60 pounds depending on your model. Wear safety glasses when working underneath, as debris and rust can fall into your eyes. Clear a large workspace—you'll be setting aside multiple panels and components.
Step 1: Access the Drum Assembly
Remove the top panel by unscrewing the two rear screws and sliding it backward. Take photos as you go—Samsung washers have multiple wire harnesses you'll need to reconnect correctly. Disconnect the detergent dispenser and control panel carefully. On models like the WF1804YPC and WF8714FPA, you'll also need to remove the front panel by releasing the door boot seal clamp and tucking the boot inside.
Step 2: Detach the Drum from the Tub
The concrete counterbalance weights are bolted to the drum—remove all bolts and set these aside carefully (they're heavy). Disconnect the shock absorbers from the bottom of the tub. Remove the drive belt from the motor pulley. Now unbolt the drum spider arm from the rear bearing housing. This is where penetrating oil helps—spray the bolts and let them sit for 10 minutes if they're corroded.
Step 3: Extract the Old Flange Shaft Assembly
With the drum removed, you'll see the flange shaft assembly at the rear. It's held by multiple bolts through the spider arm. Remove these bolts working in a star pattern to prevent warping. The old assembly might be seized to the drum shaft—use your rubber mallet to tap it gently from behind while pulling forward. On high-use washers like the WF8804AS, expect significant corrosion here. Clean all mating surfaces thoroughly before installing the new part.
Step 4: Install the New DC97-14369G Assembly
Position the new flange shaft assembly (DC97-14369G) onto the drum shaft. Align the bolt holes precisely—any misalignment will cause immediate failure. Hand-thread all bolts first, then tighten in a star pattern using your socket set. Torque specs vary by model, but aim for firm and secure without over-tightening (typically 15-20 ft-lbs). The assembly should sit flush with no gaps or wobble.
Step 5: Reassemble and Test
Reverse your disassembly process using your reference photos. Reinstall the drum into the tub, reconnect shock absorbers, and bolt the counterbalance weights back on. Reinstall the drive belt—it should have about 1/2 inch of deflection when pressed. Reconnect all wire harnesses and water lines. Before securing all panels, plug in the washer and run a short spin cycle empty. Listen for any unusual noises. The drum should spin smoothly without grinding or wobbling.
Testing After Installation
Run a complete wash cycle with a small load of towels. Monitor the washer during agitation and spin—it should operate quietly with no vibration beyond normal. Check underneath for any water leaks around the drum seal area. On models like the WW22K6800AW and WF106U4SAGD, the drum should reach full spin speed (1200+ RPM) without slowing down or making noise. If you hear any grinding or see excessive movement, stop immediately and recheck your bolt torque and alignment.
Frequently Asked Questions
Can I replace just the bearings instead of the entire flange shaft assembly?
Not with the DC97-14369G—Samsung designed this as a complete sealed assembly. The bearings, shaft, and flange are integrated as one unit. Attempting to press out old bearings usually damages the housing beyond repair. When this part fails, full replacement is your only option.
Will this part fit my WF8704GSV if the model number isn't exact?
Check your washer's model plate carefully. The DC97-14369G replaces older part DC97-14369D and fits front-load washers from 2012-2018, including the WF8704GSV. Samsung uses this assembly across dozens of models. If your model starts with WF87, WF88, or WW22, you're almost certainly compatible. When in doubt, match your old part number.
Why is the drum flange shaft assembly so expensive at $251.99?
This is a precision-engineered sealed bearing assembly with the main drum shaft integrated. It's machined stainless steel designed to handle thousands of high-speed spin cycles. The cost reflects the engineering—cheaper alternatives often fail within months because the bearings can't handle the lateral forces during unbalanced loads. This genuine Samsung part includes the complete assembly, not just individual components.
Take photos at every step of disassembly. Samsung wire harnesses look similar and misconnection will prevent the washer from operating. Spray penetrating oil on corroded bolts and wait 10 minutes before removing.
Need the part for this repair?
DC97-14369G · In Stock · Ships next business day