
How to Replace DC62-00223A Center Tub Oil Seal on Samsung & Kenmore Washers — Step-by-Step
Unplug washer completely. Suspension springs are under tension. Wear gloves—sharp edges throughout cabinet.
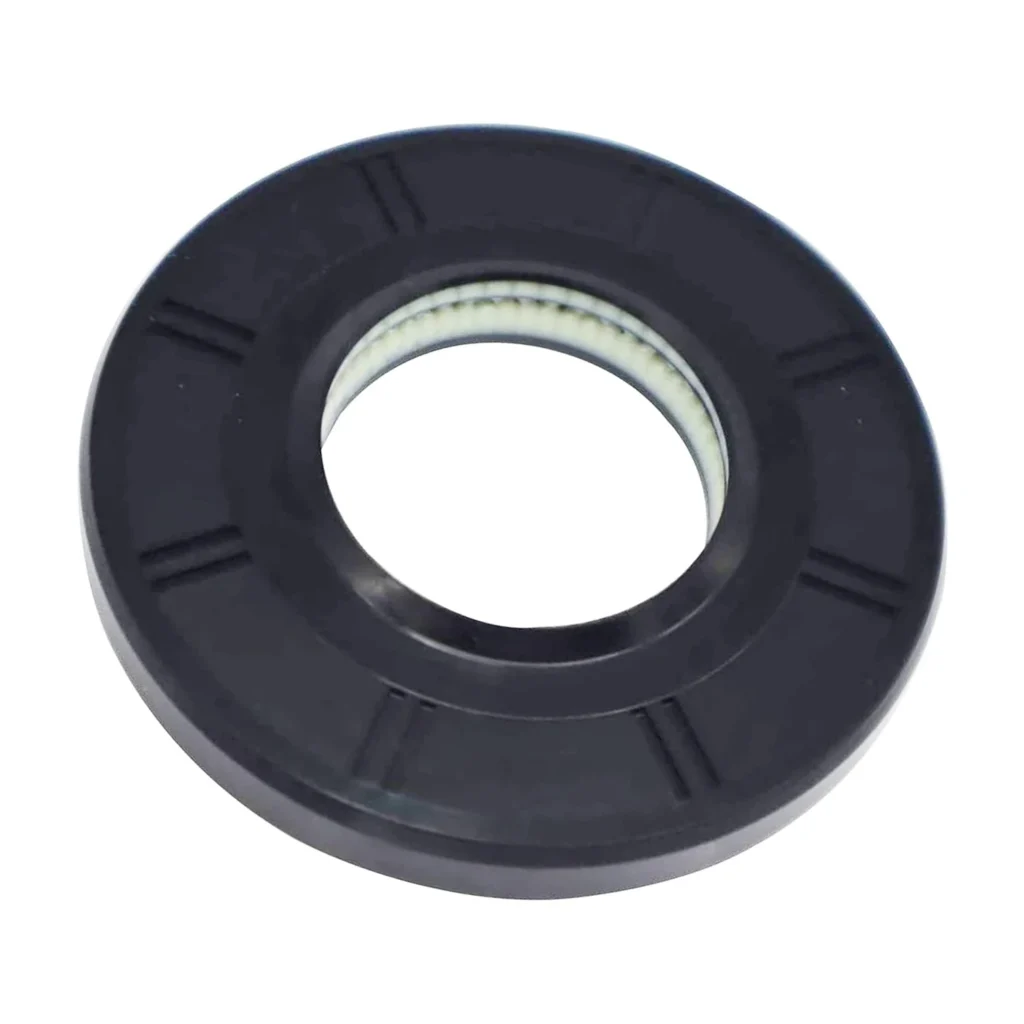
You're staring at a puddle under your Samsung washer after every load. The clothes come out clean, but there's water pooling on the laundry room floor. Nine times out of ten, that's your center tub oil seal (part DC62-00223A) giving up the ghost. This seal sits between the outer tub and the transmission, preventing water from leaking into the bearings and all over your floor.
This repair isn't quick—you're looking at disassembling a good chunk of your washer to reach the seal. But it beats a $400 service call, and if you're methodical about it, the job's totally doable in an afternoon.
What You Need Before Starting
Here's what you'll need for this repair:
- Socket set (multiple sizes, including deep sockets)
- Nut driver set
- Flathead and Phillips screwdrivers
- Needle-nose pliers
- Spanner wrench or large channel locks
- Work gloves (this part's sharp in spots)
- Towels (there will be residual water)
- Rubber mallet
Estimated Time: 2-3 hours
Difficulty: Advanced
Safety First
Unplug the washer completely before you start—no exceptions. Pull it away from the wall so you've got room to work. Water will drip out when you remove the tub, so lay down towels. Wear work gloves throughout this repair; the metal housing edges are sharp, and you'll be reaching into tight spaces.
Step 1: Remove the Cabinet and Top Panel
Pop off the detergent dispenser drawer and remove the screws behind it. There are typically two screws at the top rear of the cabinet—remove those. Slide the entire cabinet forward and lift it off. Now remove the top panel by releasing the clips at the back corners. You'll finally be able to see the drum and suspension system.
Step 2: Disconnect Hoses and Wiring
Before you can pull the tub out, disconnect everything attached to it. Unplug the pressure switch hose, the water inlet valve wires, and the drain hose. Take photos as you go—you'll thank yourself during reassembly. Use needle-nose pliers to remove hose clamps. Have those towels ready; water's going to drain out.
Step 3: Remove the Tub Assembly
This is where it gets real. Detach the shock absorbers from the bottom of the tub (usually two bolts each). Disconnect the suspension springs at the top—these are under tension, so be careful. With everything disconnected, lift the entire tub assembly straight up and out. It's heavy and awkward. Get a friend to help if you can, or brace it against your workbench.
Step 4: Access and Replace the Center Tub Seal
Flip the tub assembly over. You'll see the center shaft where the seal sits. Use your spanner wrench to loosen the retaining nut—it's reverse-threaded on some models, so lefty-tighty, righty-loosey. Remove the old seal by prying it out carefully with a flathead screwdriver. Clean the housing thoroughly—any old seal residue or gunk will cause the new seal to leak.
Press the new DC62-00223A seal into place. Make sure it's seated evenly all the way around. Tap it gently with a rubber mallet if needed, but don't crack it. Reinstall the retaining nut and tighten it securely.
Step 5: Reassemble the Washer
This is basically Step 3 in reverse. Lower the tub back into the cabinet. Reattach the suspension springs first (they'll pull the tub up into position), then bolt the shock absorbers back on. Reconnect all the hoses and wiring using your photos as a guide. Double-check every connection—a loose drain hose defeats the whole purpose of this repair.
Testing After Installation
Plug the washer back in and run it through a short wash cycle with no clothes. Watch underneath for leaks during the first few minutes. Check again during the spin cycle when water pressure's highest. If you see any drips, you might need to tighten the retaining nut slightly or reseat the seal.
Frequently Asked Questions
Will this seal fit my Kenmore washer model 40249032012?
Yes, the DC62-00223A seal is compatible with Kenmore models in the 402-49032xxx series, including 40249032010, 40249032011, and 40249032012. It also fits the Samsung 592-series models. Always verify your model number on the rating plate inside the washer door.
How do I know if my tub seal is actually the problem?
The classic symptom is water leaking from underneath the washer during or after the wash cycle. If you see oil or grease mixed with the water, that's a dead giveaway—the seal's failed and bearing grease is leaking out. Ignore this long enough and you'll damage the bearings too, which turns a $40 repair into a $200+ job.
Can I replace just the seal without replacing the bearings?
If you caught the leak early and there's no grinding noise from the drum, yes. But if the bearings are already making noise (grinding, squealing during spin), replace them at the same time. You've already got the tub apart—it's way easier to do both now than to tear it down again in three months.
Take photos of every wire and hose connection before disconnecting. Clean the seal housing thoroughly before installing the new seal—any debris will cause leaks.
Need the part for this repair?
DC62-00223A · In Stock · Ships next business day