
How to Replace DA31-00146H Evaporator Fan Motor on Samsung Refrigerators — Step-by-Step
Unplug refrigerator completely before starting repair. Allow frost to defrost to prevent water damage and ensure safe working conditions.
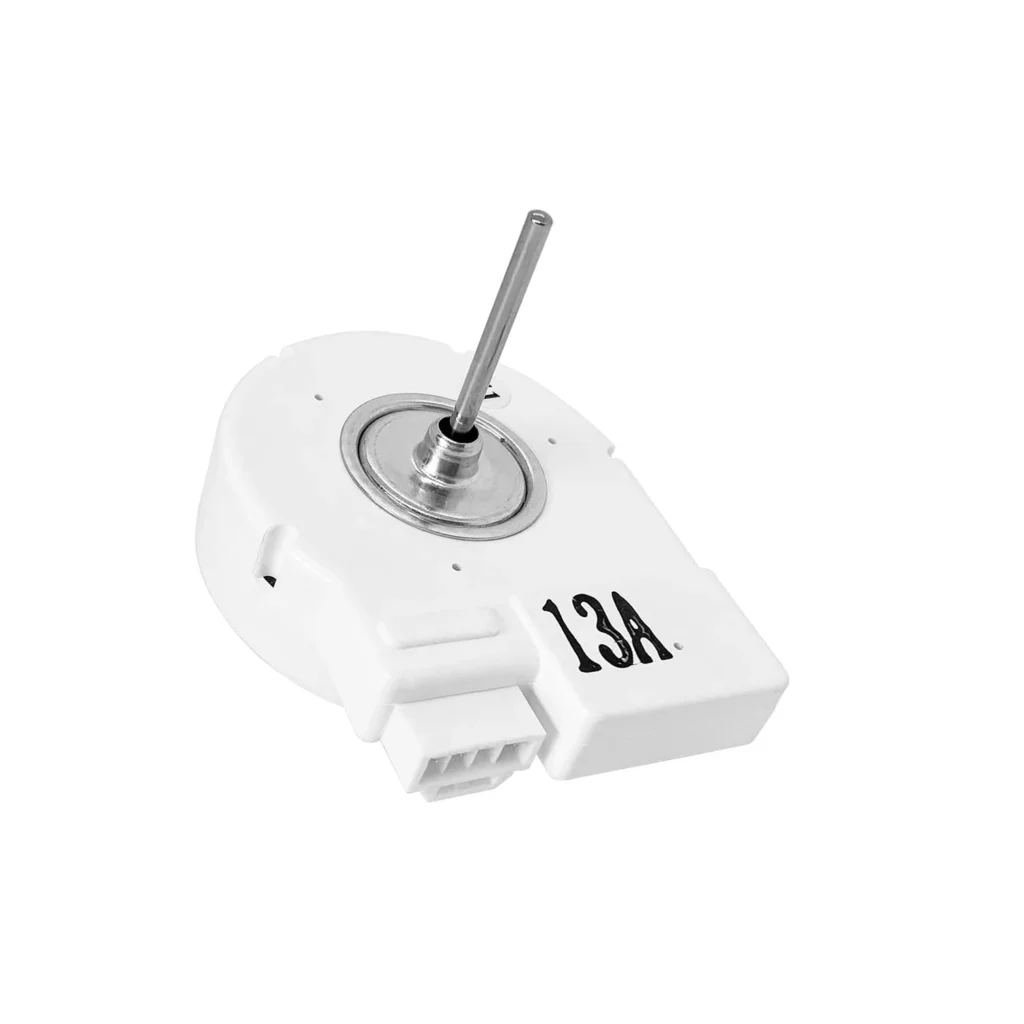
Your Samsung fridge suddenly feels lukewarm, and you hear absolutely nothing running in the freezer compartment. No gentle hum, no airflow sound — just silence. That's typically your evaporator fan motor calling it quits. This DA31-00146H motor is what pushes cold air from your freezer into the fresh food section, and when it stops, temperatures climb fast.
The good news? This repair is more straightforward than you'd think. You're working inside the freezer compartment, not behind the fridge, which means no heavy lifting or moving appliances around. Most people with basic DIY skills can knock this out in under an hour.
What You Need Before Starting
Gather these tools before you open anything:
- Phillips head screwdriver
- Quarter-inch nut driver or socket wrench
- Flashlight or headlamp (freezer lighting isn't great)
- Towels for any frost melt
- Cooler with ice for your frozen food
Time commitment: 45-60 minutes including defrost time
Difficulty: Moderate — requires removing freezer components
Safety First
Unplug your refrigerator completely. You'll be working near electrical connections and potentially wet surfaces from frost. Don't just flip the circuit breaker — physically unplug the unit. If your ice maker water line connects at the back, you don't need to shut off water since you're not removing the line.
Step 1: Empty and Access the Freezer Compartment
Remove everything from your freezer and transfer it to a cooler. Pull out all shelves, bins, and the ice bucket if you have an ice maker. You need clear access to the back panel of the freezer — that smooth plastic or metal wall where frost sometimes builds up. On models like the RF263AEBP or RF4267HAWP, this panel is held by 4-6 screws around the perimeter.
Step 2: Remove the Evaporator Cover Panel
Locate the screws holding the back panel in place. They're usually Phillips head, sometimes hidden under small plastic caps you can pop off with a flathead screwdriver. Remove all screws and carefully pull the panel forward at the bottom, then lift up and out. You might need to work it a bit if there's frost buildup. Behind this panel, you'll see the evaporator coils (they look like radiator fins) and your fan motor mounted in a housing.
If you see significant frost on the coils, let them defrost for 30-45 minutes before proceeding. Heavy frost makes it hard to access the mounting screws and creates puddles when you're working.
Step 3: Disconnect the Old Fan Motor
The fan motor sits in a plastic housing, usually on the left or right side of the evaporator coils. You'll see the fan blade attached to the motor shaft. First, disconnect the wire harness — there's a plastic connector you squeeze and pull apart. No cutting wires needed on this one.
Remove the mounting screws holding the motor bracket. On most Samsung models, that's three screws securing the motor assembly to the freezer wall. The entire motor and bracket come out as one piece. Before you pull it completely free, note how the fan blade is oriented — you'll want the new one facing the same direction.
Step 4: Install the New DA31-00146H Motor
Transfer the fan blade from your old motor to the new one if it didn't come pre-installed. The blade should slide onto the motor shaft and secure with either a clip or small screw. Make sure it's snug — a loose blade creates horrible rattling noises.
Position the new motor in the mounting bracket and secure it with the screws you removed earlier. Connect the wire harness by pushing the connectors together until you hear a click. Give the fan blade a gentle spin by hand — it should rotate freely without catching on anything. If it rubs against the housing, loosen the screws slightly and adjust the motor position.
Step 5: Reassemble and Test
Replace the evaporator cover panel and reinstall all screws. Double-check you didn't leave any tools or screws in the freezer compartment. Put the shelves and ice bucket back in place, then plug the refrigerator back in.
Within 30 seconds, you should hear the new fan motor start up. It'll run quietly with a gentle hum. If you hear grinding, squealing, or nothing at all, unplug immediately and check your connections.
Testing After Installation
Leave the fridge running for 2-3 hours before reloading your frozen food. Check that:
- The fan motor runs continuously (it should cycle on and off with the compressor)
- You feel cold air circulating when you open the freezer door
- The fresh food section starts cooling down within an hour
- No unusual noises develop
Your freezer should hit 0°F and the fridge section should reach 37-38°F within 4-6 hours. If temperatures don't drop after 8 hours, you might have a different issue like a failed defrost system or sealed system problem.
Frequently Asked Questions
Will this DA31-00146H motor fit my specific Samsung model?
This motor works across dozens of Samsung French door and side-by-side models including the RF263, RF266, RF4267, RF23H, RF260, RF261, RF25H, and RF28H series. Check your model number on the label inside the fridge door or on the left wall. If your model starts with those prefixes, you're good to go. This motor replaces the older DA31-00146C part number.
My fridge is cold but the freezer isn't — is it still the fan motor?
Actually, that's backwards from what a failed evaporator fan causes. The fan pushes air FROM the freezer TO the fridge. When it dies, your freezer usually stays cold (the evaporator coils are right there), but the fresh food section warms up because no cold air is being circulated. If your freezer is warm and the fridge is cold, look at your defrost system or a refrigerant issue instead.
How long should this replacement motor last?
The DA31-00146H motor should give you 5-8 years of service, sometimes longer depending on how often you open the doors and how hard your compressor works. The original motor probably lasted 7-10 years before failing. These motors typically fail from bearing wear or the windings burning out from constant use.
Take a photo of the evaporator cover panel before removing screws — screw holes aren't always obvious when reassembling
Need the part for this repair?
DA31-00146H · In Stock · Ships next business day