
How to Replace 8559751 Dryer Door Handle on Whirlpool & Kenmore — Step-by-Step
Keep the dryer door open while working to prevent it from swinging closed and pinching your fingers. Do not remove the hexhead or Torx screws near the window — they hold the glass in place and don't need to be removed for handle replacement.
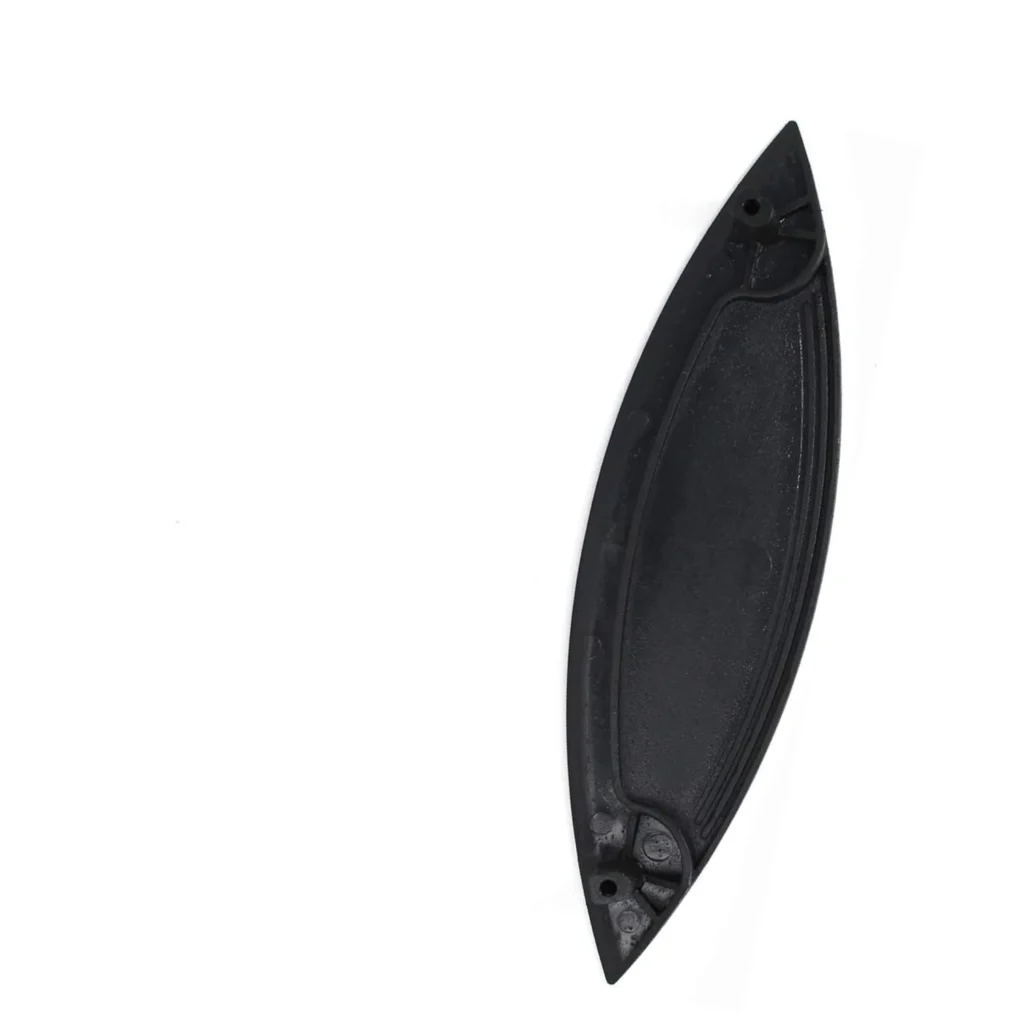
Your dryer door pops open mid-cycle, or worse — the handle snaps clean off in your hand when you go to check on a load. If you've got a Whirlpool or Kenmore dryer with model numbers like 110.82822100, 110.82824101, or 3RAWZ481ETH0, you're probably dealing with the classic cracked door handle problem. The good news? This is one of those repairs you can knock out in 20 minutes with just a screwdriver.
What You Need Before Starting
Grab these tools before you start pulling screws:
- Phillips head screwdriver
- Torx head screwdriver (optional — you probably won't need it)
- Masking tape or painter's tape (trust me on this one)
Repair Time: 15-30 minutes
Difficulty: Easy
Safety First
You don't need to unplug the dryer for this repair since you're not touching any electrical components. However, make sure the dryer door stays open while you work so it doesn't accidentally swing closed and pinch your fingers. Keep kids and pets away from your workspace — loose screws have a way of rolling into the most inconvenient places.
Step 1: Remove the Door from the Dryer
Open the dryer door fully and locate the hinge screws that attach the door to the dryer cabinet. Use your Phillips head screwdriver to remove these screws — usually two or four depending on your model. One user who tackled this on their Kenmore 110.82826102 noted: "Unscrewed the door hinge from dryer. Removed/Unscrewed back of door panel and removed panel. Keep track of screws removed as there are two different types specific for reassembly." That warning about different screw types? Pay attention to it.
Step 2: Disassemble the Door Panel
Flip the door over so you're looking at the back panel. Here's where things get critical: you'll see Phillips head screws around the perimeter and possibly some Torx head screws near the window. Do NOT remove the Torx screws — those hold the window glass in place and you don't need to touch them. One experienced DIYer shared this tip: "I taped each screw to the corresponding hole since all of them have different dimensions and lengths." Smart move. These screws aren't interchangeable, and mixing them up will leave you with a door that rattles or doesn't seal properly.
Step 3: Access and Replace the Handle
Once you've removed all the perimeter screws, carefully separate the front and back door panels. The old broken handle will be obvious — it's usually cracked at the mounting points or completely snapped off. Remove any remaining screws holding the old handle in place. Position your new 8559751 handle exactly where the old one sat and secure it with the screws. Don't overtighten — plastic handles can crack if you go Hulk mode on them.
Step 4: Reassemble the Door
Now comes the moment where that tape trick pays off. Match each screw back to its original hole using your tape labels. Work your way around the door panel, reinstalling every screw in its proper location. If you didn't tape them, look closely at the screw lengths — the longer ones typically go in the deeper holes along the sides, while shorter ones secure the top and bottom edges. As one repair tech put it: "There are several different size screws so tape screws to door as you remove them so you can easily install them back into the correct holes."
Step 5: Reinstall the Door on the Dryer
Line up the door hinges with the mounting points on the dryer cabinet. Thread in the hinge screws and tighten them snugly — but again, don't strip them. Open and close the door a few times to make sure it swings smoothly and latches properly. If it's rubbing or not closing all the way, loosen the hinge screws slightly and adjust the door position before retightening.
Testing After Installation
Close the door and make sure it latches securely. The handle should feel solid with no flexing or cracking sounds. Run a quick test cycle — toss in a towel and let the dryer run for five minutes. Check that the door stays closed during operation and doesn't pop open when the drum reverses direction. If everything holds, you're done.
Frequently Asked Questions
Will this handle fit my Kenmore 110 series dryer?
Yes, the 8559751 handle is compatible with dozens of Kenmore 110 series models including 110.82822100 through 110.82832100. It replaces part numbers WP8559751, 8519332, and AP6013245. Check your dryer's model number on the label inside the door frame to confirm compatibility.
Do I really need to keep track of which screw goes where?
Absolutely. Whirlpool and Kenmore use different length screws around the door panel — some are for shallow mounting points, others go deep into the frame. Mix them up and you'll either have screws bottoming out before they secure anything, or screws that don't reach far enough to grab. The tape trick isn't overkill — it's the difference between a 20-minute repair and an hour of frustration.
Can I replace just the handle without removing the door from the dryer?
Technically you could try, but you'd be working at an awkward angle and risking dropped screws falling into the dryer cabinet. Removing the door takes 30 seconds and gives you a flat workspace where you can see what you're doing. Plus, you won't be hunched over the dryer opening trying to thread tiny screws into plastic.
Tape each screw to its corresponding hole as you remove it. The screws have different dimensions and lengths, and mixing them up will cause reassembly problems.
Need the part for this repair?
8559751 · In Stock · Ships next business day