
How to Replace 8547157 Dryer Drum Drive Belt on Whirlpool, Kenmore & Maytag Dryers — Step-by-Step
Unplug dryer completely before starting repair. For gas models, shut off gas supply valve.
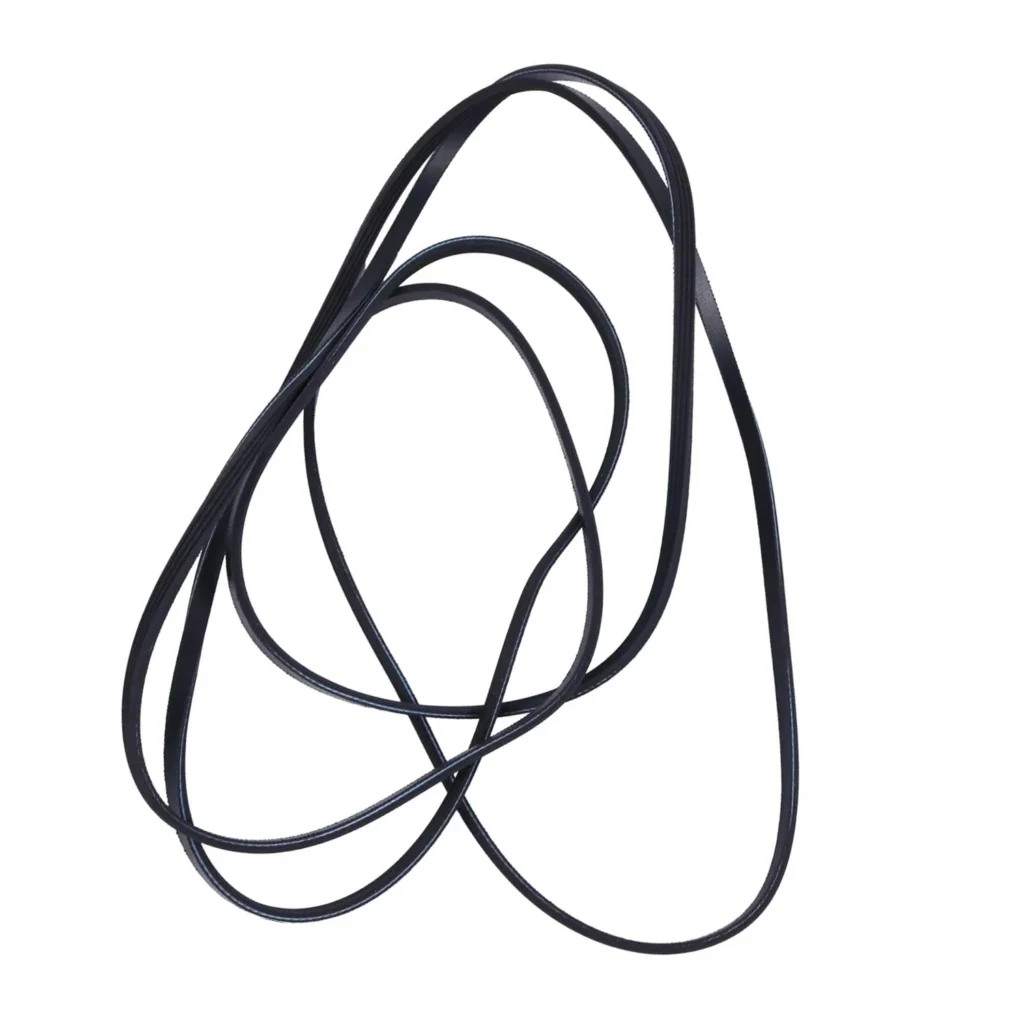
Your dryer's running, but the drum isn't spinning. Or maybe it's making that telltale squealing noise every time you start a load. Nine times out of ten, you're looking at a worn or broken drive belt. The 8547157 belt is one of those parts that just wears out — it's designed to slip if something jams, which saves your motor but means you'll replace it every 5-7 years depending on how much laundry you do.
This belt works across dozens of Whirlpool, Kenmore, and Maytag dryer models including the WED7300XW0, WED8500BW0, 7MWGD7800XW0, and Kenmore 110.67032600. If your drum won't turn or you hear grinding and squealing, this guide walks you through the entire replacement process.
What You Need Before Starting
This is a straightforward repair, but you'll need to access the drum from either the front or top depending on your model. Here's what to grab:
- Phillips screwdriver
- Putty knife or flat-blade screwdriver
- Work gloves (belt routing gets awkward)
- Flashlight or headlamp
- Replacement 8547157 belt
Estimated Time: 45-60 minutes
Difficulty: Moderate
The hardest part isn't removing the old belt — it's threading the new one around the motor pulley and idler while holding the drum in place. You'll need some patience and maybe a second pair of hands.
Safety First
Unplug the dryer completely. If it's a gas model, shut off the gas supply valve too. This repair involves working near the motor and blower housing, and you don't want anything powering on while your hands are inside. Give the drum a spin by hand after unplugging to make sure there's no residual motion.
Step 1: Remove the Lint Screen and Top Panel
Pull out the lint screen completely. Look inside the opening — you'll see two Phillips screws holding the top panel down. Remove both screws. Now slide a putty knife between the top and front panel about 3 inches from each corner. Push in to release the spring clips, then lift the top straight up and lean it back against the wall. Most Whirlpool models have a hinge that lets you prop it open safely.
Step 2: Disconnect the Front Panel
With the top up, you'll see the door switch wire harness connected near the top corner. Press the tab and pull it straight off — this lets you fully remove the front panel. Now look for screws along the inside top edge of the front panel (usually two). Remove them. The front panel lifts up slightly and pulls forward. Set it aside carefully — you don't want to crack the door assembly.
Step 3: Release the Drum and Remove the Old Belt
Here's where it gets interesting. The drum is now just sitting in place, held by the belt tension. Reach underneath and you'll feel the belt wrapped around the drum. Follow it back and you'll find the motor pulley and spring-loaded idler pulley at the bottom. Push the idler pulley toward the motor to release tension, then slip the belt off the motor pulley. The drum will drop slightly — that's normal.
Now you can lift the front of the drum up and out. It's bulky but not super heavy. Inspect the felt drum seals while you're here — if they're shredded, replace them now before reassembly. Pull the old belt completely out.
Step 4: Route the New 8547157 Belt
Take your new belt and loop it around the drum with the ribbed side facing in (touching the drum). The smooth side should face out. Lower the drum back into the cabinet, threading the belt through the opening at the bottom. This is awkward — tilt the drum to get it seated on the support rollers at the back.
Now reach underneath and pull the belt around the motor pulley first (it's the smaller one), then stretch it over the spring-loaded idler pulley. You'll need to pull the idler toward the motor to get enough slack. This step makes you feel like you need three hands. Once the belt's on both pulleys, give the drum a spin. It should rotate freely with just a bit of resistance.
Step 5: Reassemble and Test
Reconnect the door switch wire harness. Line up the front panel — bottom edge goes in first, then push it back and down. Replace those top screws you removed. Lower the top panel and push down on both front corners until the clips snap. Replace the lint screen screws. Plug the dryer back in (and gas supply if applicable).
Run a quick test cycle with nothing inside. The drum should spin smoothly without squealing or hesitation. If you hear noise, the belt might not be seated correctly on the idler — pop the top back off and check the routing.
Testing After Installation
Start with an air-dry or timed dry cycle — no heat needed for this test. Listen for smooth operation. The drum should accelerate quickly and maintain consistent speed. If you hear thumping, one of the drum support rollers might be worn (common on high-mileage dryers). That's a separate repair, but worth noting while you're troubleshooting.
Check that the drum doesn't wobble excessively. A little play is normal, but if it's banging side to side, you might've missed the rear support bearing during reassembly.
Frequently Asked Questions
How do I know if my dryer belt is broken or just worn?
If the drum doesn't spin at all but the motor runs (you'll hear it humming), the belt's broken. If the drum spins but squeals, especially when starting, the belt's glazed and slipping. A completely broken belt usually shows frayed edges or a clean snap where it gave out. Worn belts look shiny on the ribbed side instead of grippy.
Can I replace just the belt without changing the idler pulley?
You can, but it's not always the best idea. If your dryer's over 8 years old, that idler pulley's been under spring tension the whole time. The bearing inside wears out and starts squeaking. Since you're already in there with everything apart, spending another $15 on the idler saves you from doing this job again in six months.
Why does my new belt squeal for the first few loads?
That's actually normal. New belts need a break-in period — usually 3-5 cycles. The rubber's stiff and the ribbed side hasn't fully seated into the drum and pulley grooves yet. If it's still squealing after a week of use, check your belt routing. It might be twisted or the idler spring could be weak.
Push the idler pulley toward the motor while routing the belt — this gives you the slack needed to stretch it over both pulleys without fighting spring tension.
Need the part for this repair?
8547157 · In Stock · Ships next business day