
How to Replace 612148 Electrical Door Lock Assembly on Bosch Dishwasher — Step-by-Step
Disconnect power completely before starting this repair. The door lock operates at 120V and you'll be working directly with electrical connections.
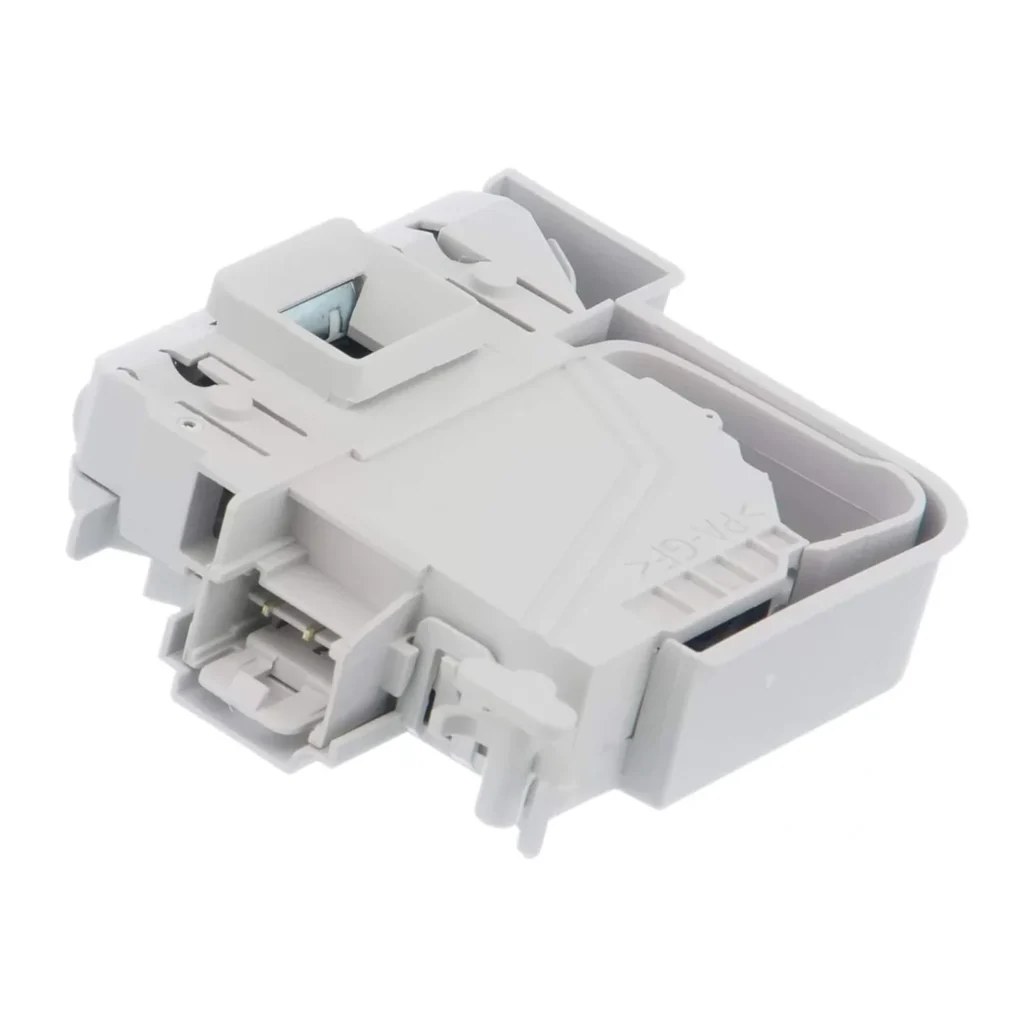
Your Bosch dishwasher won't start, and you can hear it trying to engage but nothing happens. The control panel lights up, you press Start, maybe hear a faint clicking sound — then nothing. Nine times out of ten, it's the door lock assembly that's failed. The 612148 electrical door lock is the security mechanism that tells your dishwasher it's safe to fill with water. When it fails, your machine simply refuses to run.
What You Need Before Starting
This is a straightforward electrical replacement that doesn't require plumbing work. Here's what you'll need:
- T20 Torx screwdriver
- Flathead screwdriver
- Needle-nose pliers
- Towel (for any residual water in the door)
- Work gloves (optional, those sheet metal edges are sharp)
Repair Time: 25-35 minutes
Difficulty: MODERATE — You'll need to work inside the door panel, but no special skills required.
Safety First
Unplug your dishwasher or flip the dedicated circuit breaker. This part carries 120V when the machine's running, and you'll be working directly with electrical connectors. Don't rely on just opening the door — physically disconnect power. If your dishwasher is hardwired, turn off the breaker and verify it's dead with a voltage tester.
Step 1: Remove the Inner Door Panel
Open the dishwasher door fully. You'll see a series of Torx screws around the inner perimeter — usually 8-10 screws depending on your model (WAS20160UC, WAS24460UC series typically have 10). Remove all these screws and set them aside. The control panel will stay attached, but the inner door panel will come free. Carefully lift the inner panel up and away, supporting it as you go — there are still wires connected to the control board.
Step 2: Locate and Disconnect the Door Lock
The door lock assembly (612148) sits at the top center of the door frame, behind where the inner panel was. It's a black rectangular unit about 3 inches wide with a wire harness connector. Press the locking tab on the wire connector and pull it straight out. Some models have a secondary ground wire — if yours does, remove that too.
Step 3: Remove the Mounting Hardware
Two Torx screws hold the lock assembly to the door frame. Remove these screws, then gently wiggle the lock assembly to release it from the striker mechanism. The lock has a plastic catch that engages with the door striker — you may need to rotate it slightly counterclockwise while pulling toward you. Don't force it; if it's stuck, there's usually a small release tab on the side.
Step 4: Install the New 612148 Lock Assembly
Position your new 612148 assembly in the mounting bracket. The orientation is obvious — the wire connector faces down and toward the interior. The striker catch should face the door opening. Push it firmly into place until it seats completely, then install the two mounting screws. Tighten them snug but don't overtighten — you're threading into plastic mounting points.
Step 5: Reconnect and Test
Plug the wire harness connector back into the new lock assembly until you hear it click. If there's a ground wire, reconnect it now. Before reassembling the door panel, restore power and run a quick test. Close the door and press Start — you should hear the lock engage with a solid click within 2-3 seconds. If it locks and the dishwasher begins its cycle, you're good. Power down again before reassembling.
Reassembly
Position the inner door panel back onto the door, lining up all the screw holes. Thread in all the Torx screws finger-tight first, then tighten them in a cross pattern to ensure even pressure. Don't crank them down — these are threading into plastic and can strip easily.
Testing After Installation
Run a short cycle completely through. Pay attention to the initial door lock engagement — it should happen within 5 seconds of pressing Start. The lock should release automatically when the cycle completes and you hear the control beep. Open and close the door a few times to verify the striker aligns properly with the new lock mechanism. If the door feels like it's catching or not closing smoothly, you may need to slightly adjust the striker position (there are small adjustment slots on most Bosch models).
Frequently Asked Questions
Will this 612148 lock work on my Thermador dishwasher?
Yes. Bosch owns Thermador, and they share door lock assemblies across many models. This part replaces 00611090 and AP4355295, which are used in both brands. Check your model number against the compatibility list, but if your old part number matches any of those, you're good to go.
My dishwasher still won't start after replacing the lock. What else could it be?
Check the door striker on the dishwasher tub. If it's bent, misaligned, or broken, the new lock won't engage properly. Also verify the wire harness connector is fully seated — it should click positively into place. Finally, test the door switch itself with a multimeter if you have one. Sometimes it's not the lock but the signal circuit that's failed.
Can I use the dishwasher if the door lock is broken?
No. The door lock is a safety interlock that prevents the machine from filling with water when the door isn't secure. Even if you could bypass it (don't), you'd risk water leaking everywhere when the spray arm starts spinning. Replace it properly — it's a 30-minute job that'll save you from a potential flood.
Before removing the old lock, take a quick photo of the wire connector orientation. Bosch connectors only go one way, but having the reference saves you from second-guessing during reassembly.
Need the part for this repair?
612148 · In Stock · Ships next business day