
How to Replace 5304485917 Washer Shock Absorber Kit on Frigidaire Front Load Washer — Step-by-Step
Unplug washer completely. Use caution when tipping washer — front-load models are heavy and contain concrete counterweights. Wear gloves when working with retaining pins.
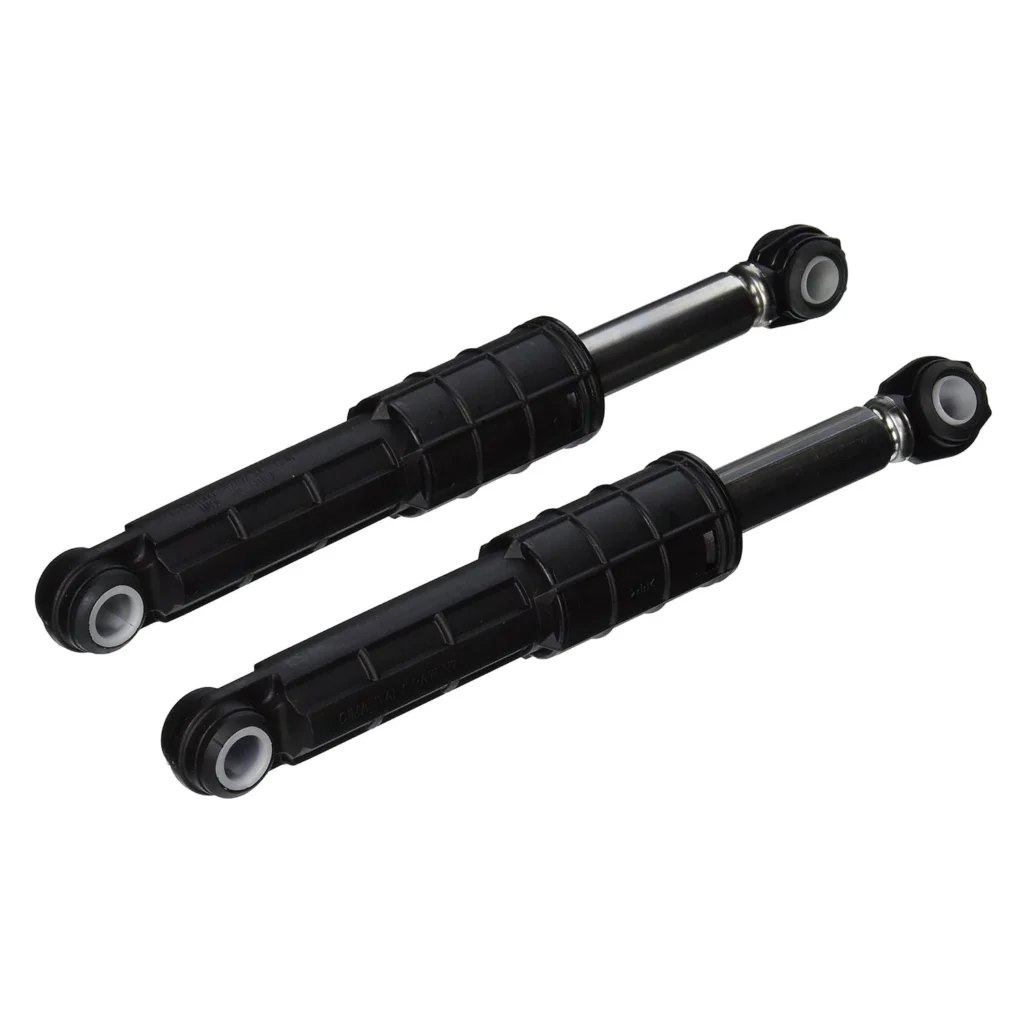
Your Frigidaire front-loader is banging like a drum solo during the spin cycle. The whole machine's doing the cha-cha across the laundry room floor. One customer put it perfectly: "the front loader washer was banging when it was running. noisy and shook a lot." That's your shock absorbers crying for help. The 5304485917 shock absorber kit is what keeps your washer planted during those 1,200 RPM spin cycles, and when they wear out, you'll definitely know it.
What You Need Before Starting
This isn't a quick 15-minute job, but it's totally doable if you've got basic tool skills. Here's what you'll need:
- Pliers (channel locks work great for the retaining pins)
- Socket set with extensions
- Flathead and Phillips screwdrivers
- An old bolt or alignment rod (trust me on this one)
- Work gloves — those pins fight back
Repair Time: 1-2 hours (depending on how stubborn those pins are)
Difficulty: Moderate — You'll need some muscle and patience
Safety First
Unplug the washer completely before you start. Front-loaders are heavy, and you'll be working underneath, so make sure it's stable. If your model has a concrete counterweight, be extra careful — those things are ridiculously heavy. Wear gloves when dealing with the retaining pins; they require serious force and you don't want to slip and smash your knuckles.
Step 1: Access the Shock Absorbers
You'll need to tip the washer back or lay it on its front to access the bottom. Most Frigidaire models like the ATF7000ES0 or ATF8000FG0 have the shocks accessible from underneath. Remove the front lower panel by unscrewing the retaining screws. Some models require you to remove the entire front panel — check your specific model. Once you've got access, you'll see the shock absorbers running from the outer tub down to the base frame.
Step 2: Remove the Old Shock Absorber Pins
Here's where it gets real. As one installer noted: "Removing and installing pins took a lot more force than showed on the movie." Those retaining pins are in there TIGHT. Use a 1/4" socket extension and a 1/2" socket to push out the old pins from the mounting points. You might need to tap them with a hammer. Don't be gentle — they're designed to stay put. Remove both the top and bottom mounting pins on the failed shock absorber.
Step 3: Install the New Shock Absorber
Here's a pro tip straight from the field: "used an old bolt to align the holes and bracket for installing new pins." Slide the new shock absorber into position and thread an old bolt through one mounting hole to hold everything aligned. This makes life SO much easier. Once aligned, use channel locks to push the new retaining pins through. They'll snap into place with a satisfying click. Repeat for all four shock absorbers in the kit — yes, replace all of them even if only one failed.
Step 4: Reassemble and Secure Everything
With all four new shocks installed, double-check that every retaining pin is fully seated. Give each shock a tug to make sure it's locked in. Reattach any panels you removed and tip the washer back upright. Make sure it's level — use the adjustable feet if needed. This is important because even with new shocks, an unlevel washer will still vibrate excessively.
Testing After Installation
Plug the washer back in and run an empty spin cycle first. Listen for any rattling or banging. It should be dramatically quieter than before. Then run a full wash cycle with a normal load. The washer should stay put — no more walking across the floor. One satisfied customer reported: "Fit perfectly, easy to order and got here on time with their get it shipped out the door ASAP. Made my wife happy to have the washer back without missing a wash cycle." That's what you're aiming for.
Frequently Asked Questions
Do I really need to replace all four shock absorbers?
Yes, absolutely. If one has failed, the others aren't far behind — they've all been subjected to the same wear. Replacing just one means you'll be back under there in a few months doing it again. The 5304485917 kit includes all four for a reason. Plus, mismatched shock dampening can actually cause more vibration issues.
Why won't the retaining pins come out?
They're designed to stay put under extreme vibration, so they're intentionally difficult. If you're struggling, use penetrating oil and let it soak for 15 minutes. Then use a socket extension as a punch with a hammer. Don't use the actual pins from the new kit as punches — you'll damage them. The force required is significantly more than most YouTube videos show.
Will this fix my washer's drainage or agitation problems?
Not directly. Worn shock absorbers cause shaking, movement, noise, and can contribute to leaking (because the violent movement can loosen hose connections). If your ATF6700FS0 or ATF7000FE0 won't drain or agitate, you're looking at a different issue — likely the drain pump or drive belt. However, excessive vibration from bad shocks can damage other components over time, so fixing them prevents future problems.
Use an old bolt to align the mounting holes before installing new pins — it makes the job ten times easier. Replace all four shocks at once, even if only one has failed.
Need the part for this repair?
5304485917 · In Stock · Ships next business day