
How to Replace 279570 Dryer Door Catch Kit on Whirlpool & Kenmore Dryers — Step-by-Step
Unplug dryer before repair. Keep door open to prevent pinching hands during panel removal.
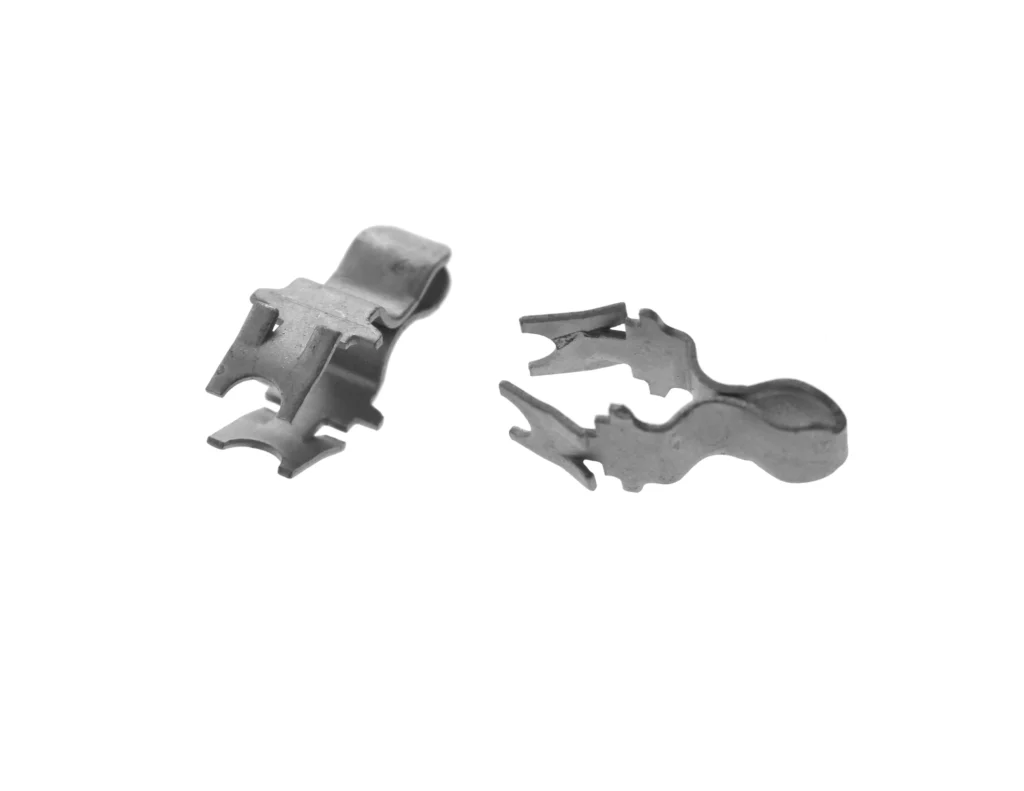
Your dryer door won't latch anymore. You push it closed, hear a click, but the moment you let go—it swings open. Or maybe it latches but won't release without yanking hard enough to make you worry about ripping the door off. That's your door catch failing, and the 279570 kit fixes both the striker and catch mechanism in one go.
This catch assembly works across Whirlpool, Kenmore, Maytag, KitchenAid, and Roper dryers. I've replaced dozens of these on models like the WED9550WL0, LTE5243DQ6, and TEDS840PQ1. The repair's straightforward—no special tools, no disassembly beyond the door panel.
What You Need Before Starting
- Phillips screwdriver
- Flathead screwdriver (for door panel trim)
- Putty knife or plastic pry tool
- Work gloves (metal edges can be sharp)
Repair Time: 15-20 minutes
Difficulty: Easy
Safety First
Unplug your dryer before starting. The door catch itself isn't electrical, but you'll be working near wiring inside the door panel. Keep the door open during the repair so it doesn't accidentally swing shut and pinch your hands while you're removing screws.
Step 1: Remove the Door Inner Panel
Open the door fully. You'll see screws around the inside perimeter—typically six to eight Phillips screws holding the inner panel to the outer door shell. Remove all of them and set them aside. On models like the WED9470WW2, there's also plastic trim clips at the top. Use your flathead screwdriver or putty knife to gently pry these loose without cracking them.
Step 2: Separate the Door Panels
Lift the inner panel away from the outer door. It should come free once all screws are out. You'll see the door catch mechanism mounted on the inner panel—it's the white or gray plastic piece with a spring-loaded hook. The striker plate stays mounted in the dryer opening itself. Don't lose the screws or springs that might fall out during this step.
Step 3: Remove the Old Catch Assembly
The catch is held by two screws on the inside edge of the door panel. Remove these screws and the old catch will pull straight out. Check the striker plate on the dryer cabinet too—if it's bent, cracked, or worn smooth, you'll need to replace it as well. The 279570 kit includes both parts, so you're covered either way.
Step 4: Install the New Door Catch
Position the new catch in the same spot as the old one. The hook side faces outward toward where the door closes. Thread in the two mounting screws and tighten them snug—don't overtighten or you'll crack the plastic housing. Test the spring action by pressing the hook in and releasing it. It should snap back quickly.
Step 5: Replace the Striker Plate
If your striker plate is worn, remove the two screws holding it to the dryer cabinet opening and install the new one from your kit. The strike plate has a specific orientation—the angled edge faces up so the catch hook slides over it smoothly when you close the door. This is where most people mess up and wonder why the door still won't latch right.
Step 6: Reassemble the Door Panel
Line up the inner panel with the outer door shell. Replace all the perimeter screws in the reverse order you removed them. Don't skip any—missing even one screw can cause the door to rattle or the panels to separate over time. Snap the trim clips back into place if your model has them.
Testing After Installation
Close the door slowly and listen for a solid click. The catch should engage firmly without excessive force. Open it—the release button or handle should work smoothly without sticking. Run a quick test cycle to make sure the door stays latched during operation and the dryer recognizes the door as closed. If the drum won't turn, the door switch might not be getting pressed properly—check that the catch isn't misaligned.
Frequently Asked Questions
Will this catch fit both front-load and top-load dryers?
The 279570 is designed for front-load dryers only. Models like the WED9550WL0, LTG6234AW1, and EED4300TQ0 all use this catch style. Top-load dryers use a completely different latching mechanism and aren't compatible with this part.
My door latches but won't release—do I still need to replace the catch?
Yes. When the catch won't release smoothly, it's usually because the spring mechanism inside has weakened or the plastic hook has worn down. You might be able to force it open for a while, but it'll eventually fail completely and leave you locked out of your dryer mid-cycle.
Can I replace just the catch without the striker plate?
You can, but it's not smart. The striker plate wears at the same rate as the catch. If you only replace one part, the worn striker will chew up your new catch within months. The 279570 kit includes both pieces for exactly this reason—replace them together and you won't be doing this repair again anytime soon.
The striker plate's angled edge must face upward for proper door closure. Misalignment is the most common installation mistake.
Need the part for this repair?
279570 · In Stock · Ships next business day