
How to Replace 154637401 Water Inlet Valve on Frigidaire Dishwasher — Step-by-Step
Turn off both electrical power at the breaker and the water supply valve before starting. Residual water will drain from connections when disconnected.
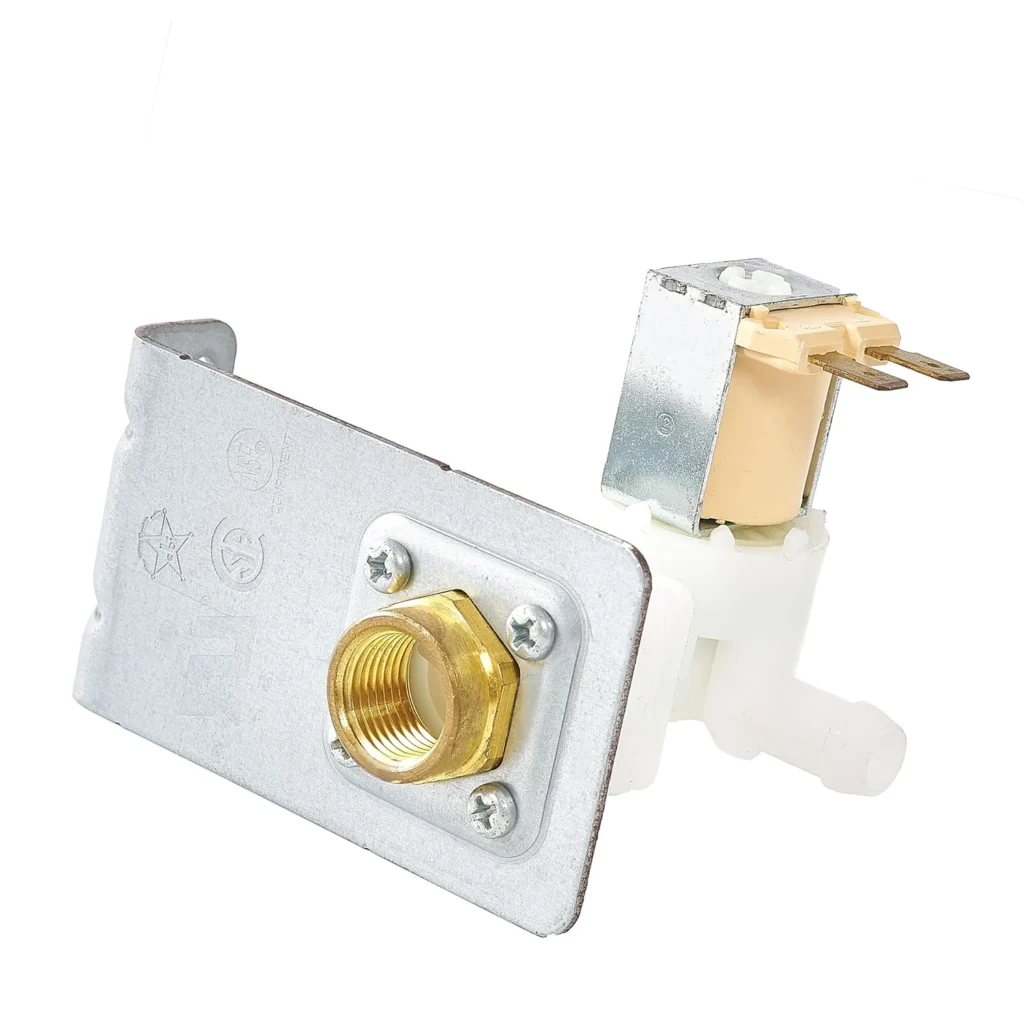
Your Frigidaire dishwasher fills slower than it used to, or maybe it's not filling at all. You open the door mid-cycle and find dishes sitting in a quarter-inch of water instead of being blasted clean. The water inlet valve — part 154637401 — controls the flow of water into your dishwasher, and when it fails, your cycles either take forever or never complete.
This valve works with a wide range of Frigidaire, Kenmore, Crosley, Gibson, and Tappan dishwashers. Models like the FDB1050REB3, FDB1500LFB1, FDBB2865FC2, and FPHD2481KF0 all use this exact part. It's a straightforward replacement once you know where to look.
What You Need Before Starting
- Adjustable wrench or channel locks
- Phillips screwdriver
- Flathead screwdriver
- Needle-nose pliers
- Towels or shallow pan (for water)
- Headlamp or flashlight
Repair Time: 25-35 minutes
Difficulty: Moderate
Safety First
Shut off power to the dishwasher at the circuit breaker — not just the door switch. Water and electricity don't mix. More importantly, turn off the water supply valve under your sink. It's typically a small valve on the hot water line. Turn it clockwise until it stops. Keep towels handy because even with the water off, you'll have residual water in the line when you disconnect the inlet.
Step 1: Access the Valve
Pull the dishwasher slightly forward from the cabinet — you need about 6 inches of clearance. Remove the lower front access panel by unscrewing the screws along the bottom edge. On most Frigidaire models, there are four screws. Once the panel's off, you'll see the water inlet valve on the left side, near the bottom. It's a small brass or plastic assembly with the water line connected to it and two wires running to the solenoid.
Step 2: Disconnect the Water Line
Place your towel or pan under the valve. Use your adjustable wrench to loosen the compression nut where the copper or braided water line connects to the valve. Turn counterclockwise. Water will drip out — that's normal. Once the nut is loose, pull the water line straight back from the valve fitting. Don't bend the copper line aggressively or you'll create a weak point that'll leak later.
Step 3: Disconnect Electrical and Internal Hose
The valve has two wire terminals — usually with spade connectors. Pull them straight off the terminals. They might be tight; use needle-nose pliers if needed, gripping the connector itself, not the wire. Now locate the rubber hose running from the valve into the dishwasher tub. It's held by a spring clamp or screw clamp. Squeeze the spring clamp with pliers and slide it back along the hose, then twist and pull the hose off the valve outlet. More water will come out here.
Step 4: Remove the Old Valve
The valve is held to the dishwasher frame by a mounting bracket — typically two screws. Remove these screws and the entire valve assembly lifts out. Check the rubber gasket or seal where the valve sits. If it's cracked or compressed, clean the mounting surface before installing the new valve.
Step 5: Install the New 154637401 Valve
Position the new valve in the mounting bracket and secure it with the two screws. Don't overtighten — you're screwing into thin metal or plastic. Push the internal rubber hose onto the valve outlet until it's seated fully, then slide the clamp back into position about half an inch from the end of the hose. Connect the two wire terminals to the solenoid — they're not polarized, so either wire can go to either terminal. Thread the water supply line onto the inlet fitting and tighten the compression nut with your wrench. Firm is good; gorilla-tight will crack the fitting.
Testing After Installation
Turn the water supply back on slowly. Check for leaks at both the supply connection and the internal hose. If you see water, turn the supply off and tighten the connection slightly. Once it's dry, restore power at the breaker. Start a short cycle and listen. You should hear the valve click open and water start flowing within 30 seconds. Watch the first few minutes of the fill cycle — the dishwasher should fill to its normal level in 2-3 minutes. If it fills too slowly or not at all, check that the supply valve under the sink is fully open.
Frequently Asked Questions
Will this valve work on my Kenmore dishwasher?
Yes, if your Kenmore is actually a Frigidaire-built model. Check your model number against the compatibility list. Many Kenmore 665 and 630 series dishwashers use this exact valve. The cross-reference numbers AP4321824, 154373301, and 154359801 all point to the same part.
Why does my dishwasher fill slowly even with a new valve?
Three common causes: the inlet screen is clogged (there's a small mesh screen inside the valve inlet — clean it), your home water pressure is below 20 PSI (check with a pressure gauge), or the supply valve under the sink isn't fully open. That valve should be turned all the way counterclockwise.
Can I test the valve before installing it?
You can do a basic bench test. Connect 120V power to the solenoid terminals (use extreme caution with live voltage) and blow into the inlet. When energized, you should feel air pass through. When power is off, the valve should block airflow completely. But honestly, for $15.99, if you've diagnosed a bad valve, just replace it rather than risking shock testing it.
Mark the wire positions with tape before disconnecting if you're nervous about reconnecting them — though they're not polarized, it helps some people feel more confident during reassembly.
Need the part for this repair?
154637401 · In Stock · Ships next business day