
How to Replace 131644700 Dryer Door Handle on Frigidaire & Electrolux Dryers — Step-by-Step
Ensure dryer is cool before handling door components to avoid burns from residual heat
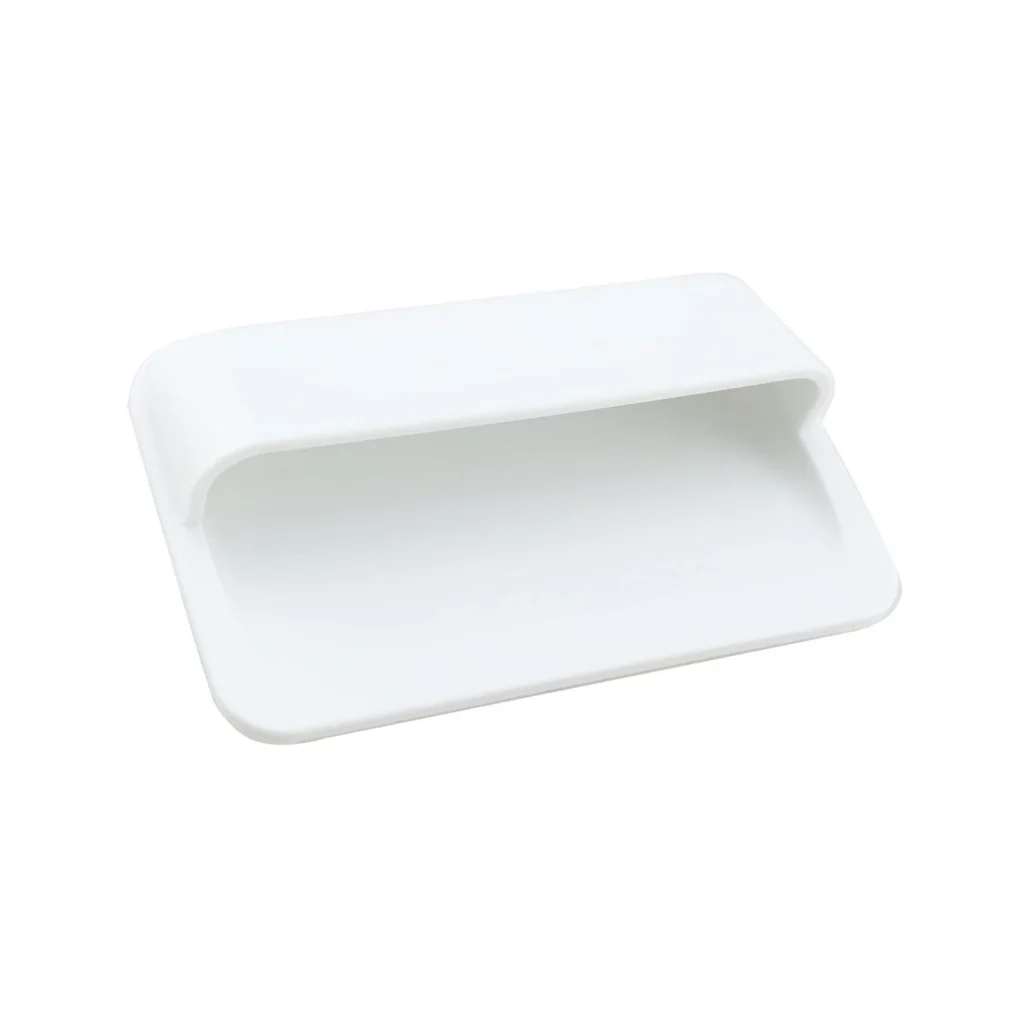
Your dryer works perfectly fine, but the door handle just snapped off in your hand. Again. If you've been using pliers or wedging a screwdriver to open your Frigidaire dryer door for the past week, you'll be glad to know this is one of the easiest appliance repairs you can do. The 131644700 door handle replacement takes about 10 minutes and requires nothing more than a Phillips screwdriver.
What You Need Before Starting
- Phillips screwdriver
- New 131644700 door handle assembly
- Flathead screwdriver (optional, for stubborn screws)
Repair time: 10-15 minutes
Difficulty: Easy
Safety First
No need to unplug the dryer for this repair — you're only working on the door assembly. However, make sure the dryer is off and cool. If you just ran a load, wait 10 minutes before handling the door to avoid any residual heat from the drum area.
Step 1: Open the Dryer Door Fully
Pull the door completely open so it's perpendicular to the dryer front. You'll see two Phillips-head screws on the inner door panel — one near the top hinge area and one near the bottom handle area. Some models like the GLER341AS2 and FDE336RES2 have these screws covered by small plastic caps that pop off with your fingernail.
Step 2: Remove the Inner Door Screws
Remove both screws holding the inner door panel to the outer door assembly. Keep these screws — you'll reuse them. On older Frigidaire models like the GLEQ642AS2, these screws can be tight from years of heat cycling. If they're stuck, apply firm pressure while turning to avoid stripping the heads.
Step 3: Separate the Door Panels
With the screws out, carefully pull the inner door panel away from the outer panel. They're held together by plastic clips around the perimeter in addition to those screws. Don't yank — just work your way around the edge with gentle pressure. The old handle will come off with the inner panel.
Step 4: Install the New Handle Assembly
The 131644700 handle snaps into the same position on the inner door panel. Line up the mounting tabs on the back of the new handle with the slots in the panel and press firmly until you hear it click into place. Give it a test pull — it should feel solid and not flex or pop loose.
Step 5: Reassemble the Door
Line up the inner panel with the outer door assembly, making sure all the plastic clips around the edge engage properly. Once aligned, reinstall the two Phillips screws and tighten them snug — but don't overtighten or you'll crack the plastic mounting bosses. Close and open the door a few times to make sure the latch engages smoothly.
Testing After Installation
Close the door and start a quick cycle to verify the door latch is engaging the strike properly. The dryer shouldn't start if the door isn't fully closed. Open and close the door 10-15 times with a normal pull motion — the new handle should feel solid with no flexing or creaking sounds.
Frequently Asked Questions
Will this handle fit my Kenmore dryer?
Yes, if your Kenmore dryer was manufactured by Frigidaire or Electrolux. Most Kenmore 417-series dryers use this same handle. Check your model number against the compatibility list or verify that your original handle has the part number 131484400 or AP2107331 stamped on the back.
Why do these handles break so often?
The plastic used in these handles becomes brittle over time from repeated heat exposure and UV light if your dryer is in a sunny laundry room. The stress point is right where the handle meets the mounting bracket — that's where you'll see the crack 95% of the time. Normal wear and tear typically causes failure after 5-8 years of regular use.
Can I just glue the broken handle back together?
You can try, but it won't last more than a few weeks. The plastic is under constant stress every time you pull the door open, and most adhesives don't bond well to this type of UV-damaged plastic. A new handle costs $27.99 and takes 10 minutes to install — it's worth doing it right rather than fighting with a re-broken handle in three weeks.
If screws are tight from heat cycling, apply firm downward pressure while turning to prevent stripping the screw heads
Need the part for this repair?
131644700 · In Stock · Ships next business day