
How to Replace EAU64824805 Evaporator Fan Motor on LG Refrigerator — Step-by-Step
Always unplug the refrigerator before accessing internal components. Defrost any ice buildup on the evaporator panel before starting the repair to avoid stripped screws and ensure proper motor installation.
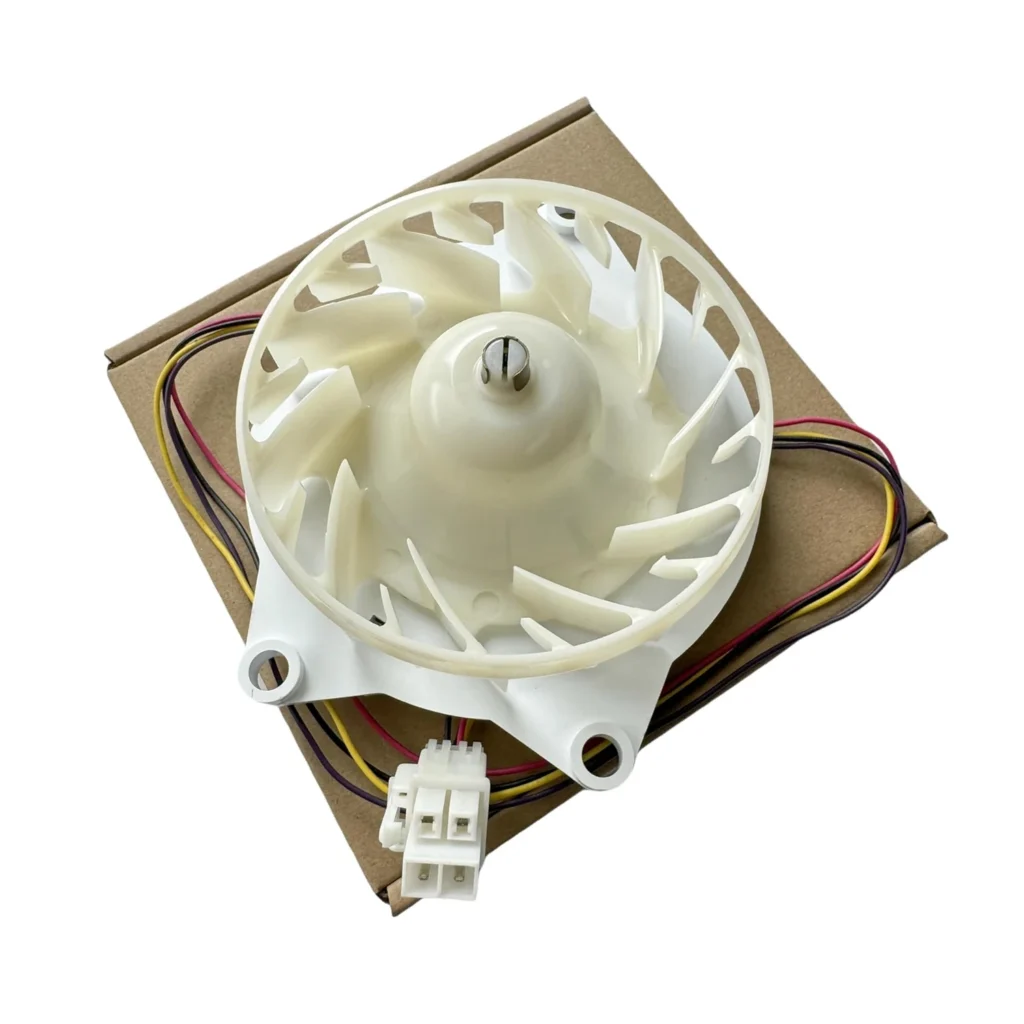
Your LG refrigerator's freezer section isn't getting cold enough, but the fresh food compartment seems fine. You hear silence where there used to be a steady hum. That's your evaporator fan motor giving up — it's supposed to circulate cold air from the evaporator coils throughout both compartments. When it fails, you get uneven cooling and food spoilage. The EAU64824805 motor replacement takes about 45 minutes and fixes models like the LRMVS3006S, LRFVC2406D, and LMXS28626S.
What You Need Before Starting
- Phillips head screwdriver
- Flathead screwdriver or putty knife
- 1/4" nut driver
- Work gloves (the freezer compartment will be cold)
- Towels (for any ice buildup)
Repair Time: 45-60 minutes
Difficulty: Moderate — You'll need to remove the freezer back panel, but it's straightforward once you're in.
Safety First
Unplug your refrigerator completely before starting this repair. The evaporator fan motor sits in the freezer compartment behind the back panel where the evaporator coils are located. If there's heavy ice buildup on that panel, you'll need to defrost the freezer first — otherwise you're fighting frozen screws and risking damage to the new motor. Give yourself at least 2-3 hours of defrost time if needed, or use a hairdryer on low heat to speed things up (never use high heat directly on plastic components).
Step 1: Empty the Freezer and Remove Shelves
Pull out all frozen food and store it in a cooler. Remove the wire shelves and any plastic bins — you need clear access to the back wall of the freezer. On models like the LRFDS3006S and LRSXS2706S, there's usually an ice maker assembly on the left side. You don't need to remove it, just work around it. If there's an ice bucket, pull it straight out.
Step 2: Remove the Evaporator Cover Panel
The back panel in your freezer compartment is held by multiple Phillips screws — typically 6 to 8 depending on your model. These screws might be hidden under small plastic caps that pop off with a flathead screwdriver. Remove all visible screws along the edges of the panel. Once the screws are out, gently pull the panel forward from the bottom, then lift up to unhook it from the top clips. Set it aside carefully — it's bulky but lightweight.
Step 3: Disconnect and Remove the Failed Motor
You'll now see the evaporator coils and the fan motor mounted to a bracket on the left side. The motor has a wire harness connector — press the release tab and pull it apart (don't yank on the wires themselves). The EAU64824805 motor is held by a mounting bracket with 2-3 screws. Remove these screws with your nut driver, then carefully slide the motor and fan blade assembly out. Note which direction the fan blade faces — the curved side should face toward the coils for proper airflow.
Step 4: Install the New EAU64824805 Motor
If your new motor doesn't come with a fan blade attached, you'll need to transfer the old one. It's press-fit onto the motor shaft — grip the blade firmly and pull straight off (wiggle slightly if it's stuck). Slide it onto the new motor shaft in the same orientation. Position the new motor assembly into the mounting bracket with the blade facing the correct direction. Secure it with the bracket screws, making them snug but not overtightened. Reconnect the wire harness until you hear it click into place.
Step 5: Reassemble and Test
Reinstall the evaporator cover panel by hooking the top tabs first, then pressing the bottom into place. Replace all the screws and plastic caps. Put the freezer shelves and food back in. Plug the refrigerator back in and listen — you should hear the evaporator fan start running within a minute or two. Set your freezer to the normal temperature setting. Within 15 minutes, you should feel cold air circulating. Check both the freezer and refrigerator compartments after a few hours to confirm even cooling.
Testing After Installation
Let the refrigerator run for 4-6 hours, then check the temperature in both compartments. The freezer should be at 0°F and the fresh food section around 37°F. Open the freezer door and listen for the fan — it should stop when the door opens and restart when you close it (this is normal safety behavior). If you hear grinding or the fan doesn't spin freely, you may have installed the fan blade backwards or the motor isn't fully seated in the bracket.
Frequently Asked Questions
Will this motor work in my LG French door refrigerator model?
The EAU64824805 replaces part numbers Z40E12MS1A0-57K06A, EAU64824806, and EAU63503706. It's compatible with over 100 LG models including the LRMVS3006D, LRFXC2416S, LRMDC2306D, and LRSOS2706S. Check your model number on the label inside the refrigerator compartment (usually on the left wall) against the compatibility list to confirm fit.
How do I know if it's the evaporator fan motor and not something else?
Open your freezer door and listen. If the fan motor is working, it should stop when you open the door. Close it and press the door switch (usually on the right side). If you don't hear the fan restart, or if you hear humming but no air movement, the motor's likely failed. Another test: if your freezer is too warm but the fresh food section is normal temperature, that's a classic evaporator fan failure pattern.
Do I really need to defrost before replacing this motor?
If there's ice buildup on the evaporator cover panel or around the fan area, yes — defrost first. Trying to remove frozen screws risks stripping them, and installing a new motor in an iced-up compartment means it won't circulate air properly anyway. If your evaporator is relatively frost-free, you can skip the defrost and go straight to the repair.
Take a photo of the wire harness connection and fan blade orientation before removing the old motor — it makes reassembly foolproof, especially if you're working on this repair over multiple sessions.
Need the part for this repair?
EAU64824805 · In Stock · Ships next business day