
How to Replace W10130913 Washer Drain Pump on Whirlpool Front-Load Washers — Step-by-Step
Unplug washer completely and turn off water supply before starting repair. Tip washer carefully to avoid back injury.
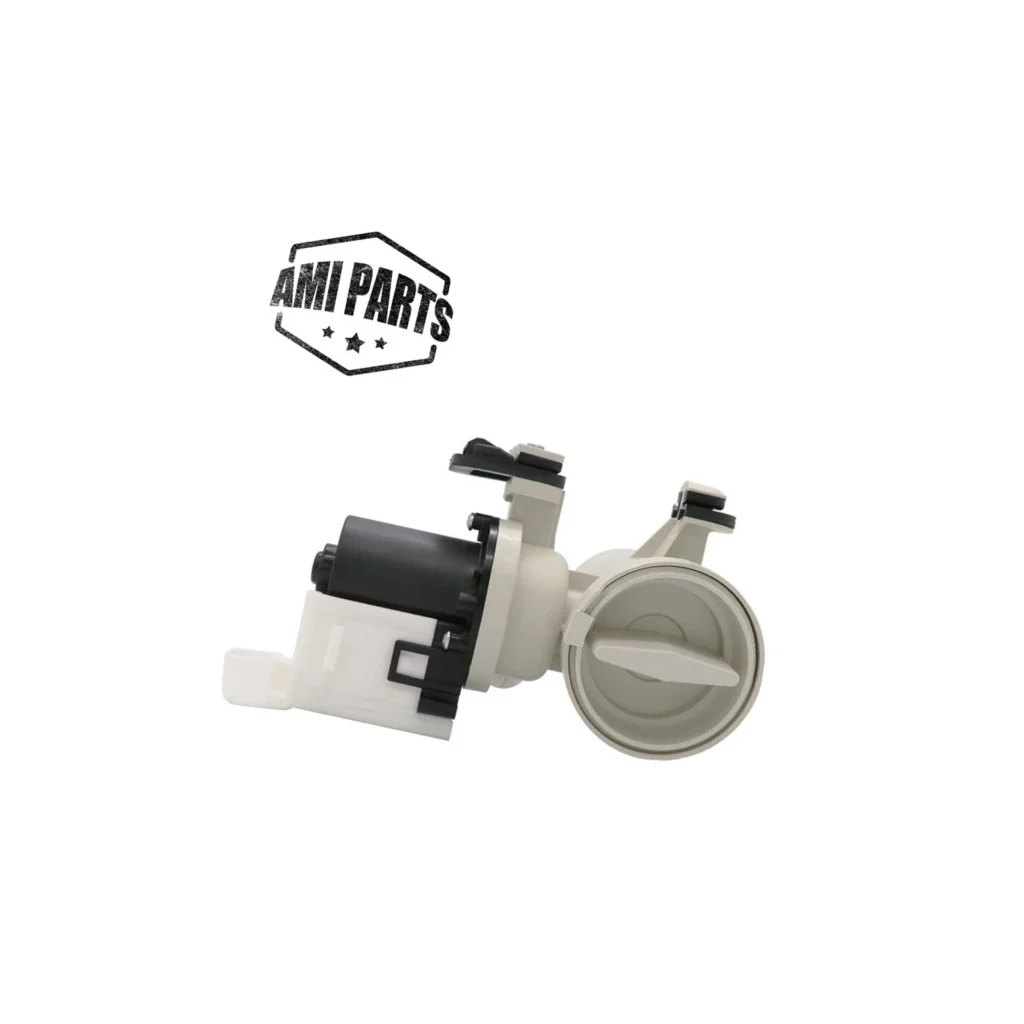
Your Whirlpool front-loader won't drain. The cycle finishes, but you open the door to soaking wet clothes and a drum full of water. Maybe you've noticed a burning smell during the spin cycle, or the machine tries to drain but nothing happens. These are classic signs your drain pump has failed — and on models like the WFW8400TW00, WFW9050XW02, and WFW8300SW series, the W10130913 pump assembly is the exact replacement you need.
This repair looks intimidating because you're working on the underside of the machine, but it's actually one of the more straightforward washer repairs. You'll have the pump out in 20 minutes if you know where to look.
What You Need Before Starting
Gather these tools before you tip that washer:
- 1/4-inch nut driver or socket set
- Flathead screwdriver
- Towels (you'll drain residual water)
- Shallow pan or bucket
- Work gloves
Repair time: 25-35 minutes
Difficulty: MODERATE
The physical challenge here is tipping the washer back safely. If you have back issues, grab a helper. Once you're underneath, the actual pump swap is straightforward.
Safety First
Unplug the washer completely — not just turning it off, but pulling the plug from the wall. These pumps run on 120V and you'll be disconnecting wire harnesses with wet hands. Also, turn off the water supply valves behind the machine. You don't need to disconnect the hoses for this repair, but killing the water supply prevents any accidental floods if something gets bumped.
Step 1: Access the Pump From Below
Whirlpool designed these front-loaders with bottom access to the pump. Carefully tip the washer back so it's resting on its rear panel — you might want to slide a folded towel under the back edge to protect your floor. The entire pump assembly is now visible from the bottom front corner. You'll see it mounted to the tub with three or four screws, with two large hoses connected.
Step 2: Disconnect Hoses and Drain Residual Water
Place your shallow pan directly under the pump. Using your flathead screwdriver, release the spring clamps on both hoses — the main drain hose and the circulation hose coming from the tub. Expect at least a cup of water to spill out, sometimes more if the pump failed mid-cycle. Once the clamps are loose, wiggle the hoses off the pump inlet and outlet ports. Water that's been sitting can smell funky, so don't be surprised.
Step 3: Remove Electrical Connection
The pump has a wire harness connector on the motor housing. Press the locking tab and pull the connector straight off. Some models have a second ground wire attached with a small screw — remove that too if present. Don't yank on the wires themselves; always pull from the plastic connector body.
Step 4: Unbolt and Remove the Failed Pump
Three 1/4-inch hex screws hold the pump bracket to the washer base. Remove them and the entire pump assembly lifts out. On the WFW8410SW series and similar models, there's sometimes a fourth screw hidden behind the pump motor — feel around back there. Once the screws are out, the pump should come free easily. If it doesn't budge, check for a zip tie or wire clip you might have missed.
Step 5: Install the W10130913 Replacement
Position your new W10130913 pump in the same orientation as the old one — the outlet port should point toward the drain hose location. Thread in the mounting screws hand-tight first, then snug them down with your nut driver. Don't overtighten; you're screwing into plastic housing. Reconnect the wire harness until you hear it click, then slide both hoses back onto the pump ports. Replace the spring clamps, positioning them about a half-inch from the hose ends.
Testing After Installation
Carefully return the washer to its upright position. Plug it back in and turn the water supply back on. Run a drain and spin cycle with no clothes inside. Listen for the pump motor — it should hum for a few seconds, then you'll hear water flowing through the drain hose. No water should leak from the hose connections. If you see drips, retighten those spring clamps.
Once the test cycle completes successfully, run a full wash cycle with a small load. The pump should engage smoothly at the end of the wash phase and drain the tub completely in under two minutes.
Frequently Asked Questions
Will this pump work if my washer is leaking water?
Depends where the leak is coming from. If water puddles under the washer during the drain cycle, the pump itself might be cracked or the hose connections are loose. But if water leaks during fill or wash, that's usually a door boot or inlet valve problem, not the pump. The W10130913 fixes draining issues specifically — not fill or door seal leaks.
My washer makes a grinding noise when draining — is that the pump?
Most likely. That grinding or humming-without-pumping sound means something's jammed in the impeller, or the pump motor has seized. Before ordering a new pump, check the drain filter (usually behind a small access panel at the front bottom). Pull it out and look for coins, bobby pins, or fabric chunks. If the filter is clear and you still hear grinding, the pump motor bearings are shot and you need the W10130913 replacement.
How long does this pump typically last?
Five to seven years is average for these Whirlpool drain pumps, but hard water and heavy use can shorten that. If you wash multiple loads daily or have well water with sediment, you might see pump failure around the four-year mark. Running the washer with small items like baby socks that can slip past the filter also wears pumps out faster.
Place towels under the pump area before disconnecting hoses — even a 'drained' washer holds residual water that will spill during pump removal.
Need the part for this repair?
W10130913 · In Stock · Ships next business day