
How to Replace W10873791 Ice Maker Assembly on Whirlpool Refrigerator — Step-by-Step
Unplug refrigerator before starting repair to avoid electrical shock from ice maker motor and wiring connections
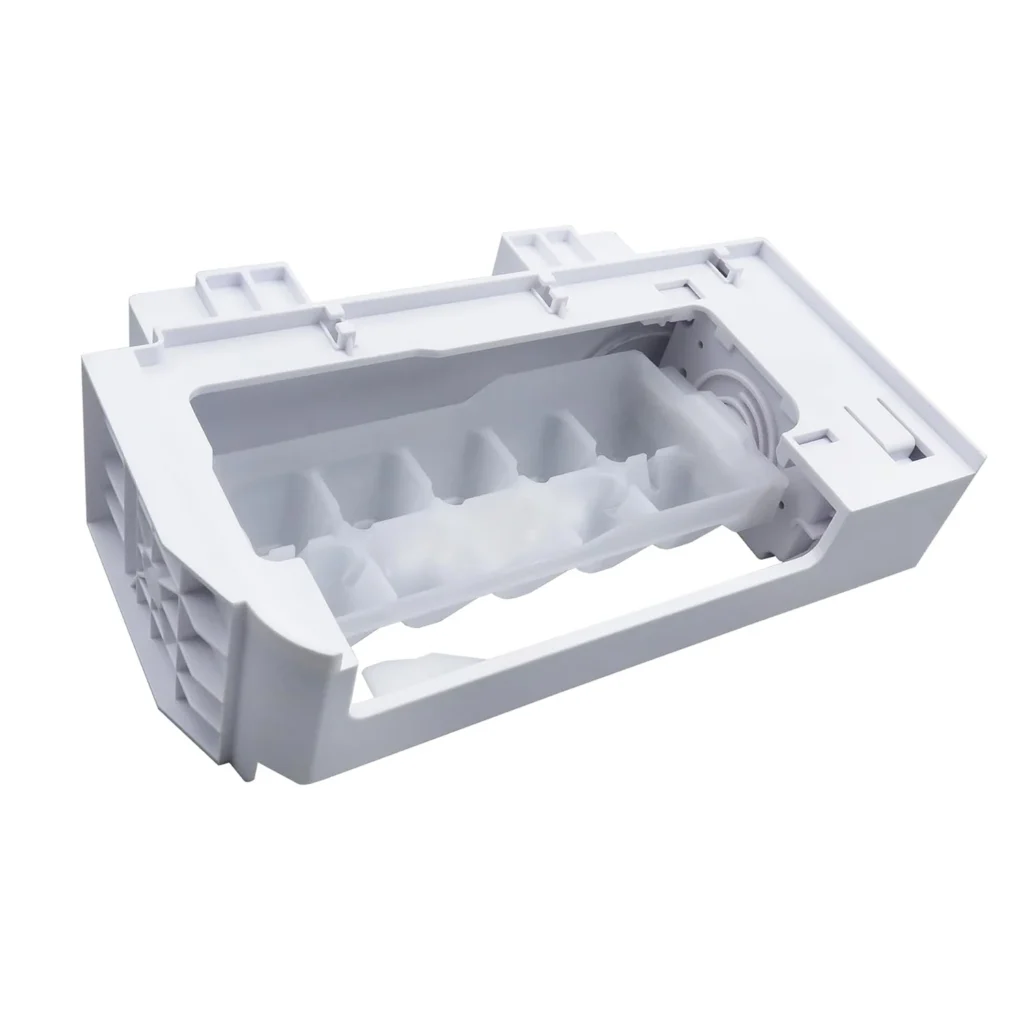
Your Whirlpool WRS571CIHZ stopped making ice three days before a family gathering. The ice maker assembly isn't cycling, and the bucket's been empty for days. If you're dealing with an ice maker that won't produce or dispense ice — or worse, one that's leaking water into your freezer — the W10873791 ice maker assembly is likely the culprit. This complete assembly replaces the entire ice maker unit, eliminating the guesswork of fixing individual components.
What You Need Before Starting
This repair takes about 20-30 minutes and requires minimal tools. Here's what you'll need:
- Quarter-inch nut driver or socket
- Flathead screwdriver
- Towel (to catch any residual water)
- Flashlight or headlamp
Difficulty: Easy — This is one of the simplest refrigerator repairs. If you can use a screwdriver, you can do this.
Estimated Time: 20-30 minutes
Safety First
Unplug your refrigerator completely before starting. Some homeowners try doing this repair with the power on — don't. You'll be working with electrical connections and a motorized assembly. Unplugging takes 10 seconds and prevents potential shocks or accidental ice maker cycling while your hands are inside. If unplugging isn't practical, flip the dedicated circuit breaker for your refrigerator.
Step 1: Access the Ice Maker Assembly
Open your freezer and remove the ice bucket by lifting it straight up and out. You'll now see the ice maker mounted on the left wall of most Whirlpool side-by-side models like the WRS588FIHZ and KRSC703HPS. Clear out any frozen items blocking your access — you need elbow room to work comfortably.
Step 2: Disconnect the Wiring Harness
Locate the white wire connector on the left side of the ice maker assembly. Press the release tab and pull the connector straight out. Don't yank on the wires themselves — squeeze the connector housing. On some KitchenAid models like the KRSC500ESS00, this connector sits behind a small plastic shield that pops off with gentle prying.
Step 3: Remove the Mounting Screws
You'll find three screws securing the ice maker to the freezer wall — two on top, one on the bottom. Use your quarter-inch nut driver to remove all three. Keep these screws; the new assembly doesn't always include replacements. Once the screws are out, tilt the front of the ice maker down slightly and lift it off the mounting bracket. There's a locating pin on the back that needs to slide upward to release.
Step 4: Detach the Fill Tube
The white plastic fill tube connects to the back of the ice maker assembly. On the W10873791, this connection simply pulls apart — no clips or screws. Gently wiggle and pull the fill tube straight back. If it's frozen in place (common on units that leaked), use a hairdryer on low heat for 30 seconds to loosen it. Don't force it or you'll crack the tube.
Step 5: Install the New W10873791 Assembly
Take your new assembly and connect the fill tube first — push it firmly until it seats completely. Position the ice maker on the mounting bracket, making sure that rear locating pin slides into its slot. Tilt the unit into place and install the three mounting screws. Hand-tighten them snugly but don't overtighten; you're threading into plastic. Reconnect the wire harness until you hear the tab click. Replace the ice bucket, plug in your refrigerator, and flip the ice maker arm to the down position.
Testing After Installation
The ice maker won't produce ice immediately. It takes about 24 hours for the freezer to reach proper temperature and the ice maker to complete its first cycle. However, you can test functionality right away: press the test button on the side of the ice maker (small white or black button). The arm should rotate through a complete cycle in about 10 seconds. You should hear the motor running and see the ejector blades turn. If your model doesn't have a test button, just wait for the first automatic cycle, which should happen within 6-12 hours.
Check back after 24 hours. You should see 6-8 ice cubes in the bucket. If you don't, verify the freezer temperature is below 10°F and the ice maker arm isn't stuck in the up (off) position. A common mistake is leaving that arm up after installation.
Frequently Asked Questions
Will this W10873791 ice maker fit my Kenmore refrigerator?
Yes, if your model number matches the compatibility list. This assembly works across Whirlpool, KitchenAid, Maytag, and Kenmore brands including models 106.51132213, 10651763510, and 10651779511. The W10873791 replaces older part numbers W10760070, W10798411, and W10847507, so if your original ice maker had any of these numbers, this is your direct replacement.
Why is my new ice maker leaking water into the freezer?
Nine times out of ten, it's the fill tube connection. If you didn't push that white plastic tube completely into the back of the ice maker, water sprays out during the fill cycle instead of going into the mold. Pull the ice bucket out while it's running and check for water spray. Reseat that tube firmly — you should feel resistance, then a definite stop when it's fully inserted.
How long does the W10873791 ice maker assembly typically last?
Expect 5-8 years of reliable service with normal use. Ice makers fail faster if your home has hard water (mineral buildup clogs the fill valve) or if the freezer temperature fluctuates frequently (causes ice bridging and jams the ejector mechanism). Using a water filter and maintaining steady freezer temps at 0-5°F extends the lifespan significantly.
Press the fill tube connection firmly until fully seated to prevent water leaks during the fill cycle
Need the part for this repair?
W10873791 · In Stock · Ships next business day