
How to Replace WE01X20374 Dryer Timer Knob on GE Dryers — Step-by-Step
Ensure the D-shaped shaft is properly aligned before pushing the knob on to avoid cross-threading or misalignment
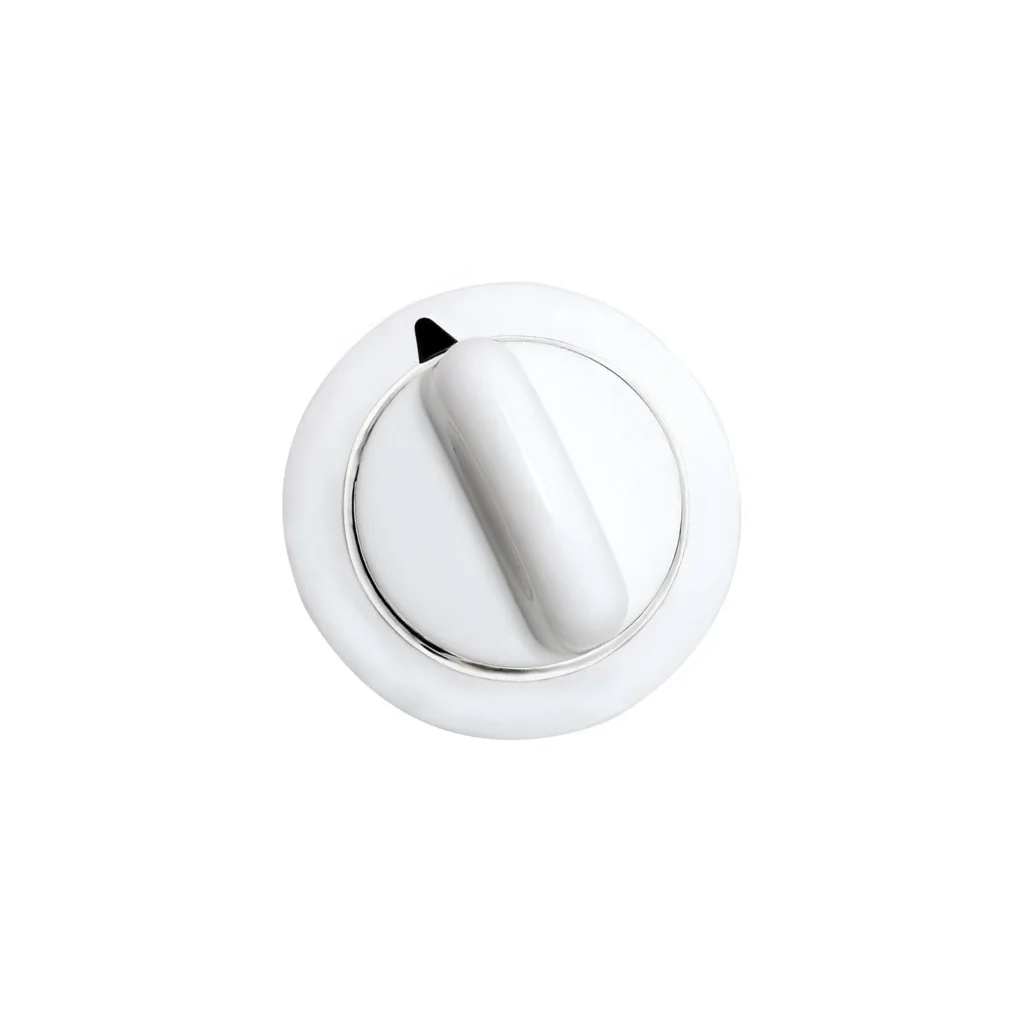
Your GE dryer's timer knob just spins freely without actually turning the timer shaft, or maybe it cracked and fell off mid-cycle. This white plastic knob (part number WE01X20374) is one of those parts that gets twisted dozens of times a week, and eventually the internal grip mechanism wears out or the plastic just gives up. The good news? This is literally the easiest dryer repair you'll ever do — no tools required, takes about 2 minutes.
What You Need Before Starting
Tools Required: None — this is a hand-install part
- Your new WE01X20374 timer knob
- That's it. Seriously.
Repair Time: 2-5 minutes
Difficulty Level: Beginner
Safety First
You don't need to unplug the dryer for this repair since you're not accessing any internal components. The knob sits on the external control panel shaft. That said, if you're replacing the knob because the timer itself is malfunctioning (not just the knob), you might need to address the timer assembly later, which would require unplugging the unit.
Step 1: Remove the Old Knob (If Still Attached)
Grip the old knob firmly and pull straight out away from the control panel. It should come off with moderate force — don't twist it, just pull. If it's already broken off, you might have pieces still on the timer shaft. Remove any fragments completely so the new knob seats properly. The shaft underneath is a D-shaped metal post with a flat side.
Step 2: Check the Timer Shaft Condition
Look at the exposed timer shaft. It should be clean and undamaged. If you see rust, corrosion, or metal deformation on the D-shaft, wipe it down with a dry cloth. The flat side of the D-shape is what prevents the knob from just spinning freely — the inside of your new WE01X20374 knob has a matching D-shaped hole that aligns with this shaft.
Step 3: Align and Install the New Knob
Look inside the back of your new knob — you'll see the D-shaped opening. Line up the flat side of the timer shaft with the flat side inside the knob. Push the knob straight onto the shaft until it's flush against the control panel face. You should feel it click or seat firmly. Give it a test rotation — it should turn the timer smoothly without slipping.
Step 4: Test the Timer Function
Turn the knob through its full range of motion, from off through all cycle settings and back. The timer mechanism should click as you rotate it, and the knob shouldn't wobble or slip on the shaft. If it feels loose, pull it back off and check that you've aligned the D-shaft correctly. Sometimes it takes a second attempt to get the orientation right.
Testing After Installation
Run a quick test cycle on your dryer. Set it for 10 minutes on air fluff or low heat. The timer should count down properly, and when you manually advance the knob, it should move the timer dial underneath. If the knob still spins without moving the timer, the issue isn't the knob — it's likely the timer shaft itself or the internal timer mechanism, which would require replacing the entire timer assembly (a different repair altogether).
Frequently Asked Questions
Will this knob fit my older GE dryer model?
WE01X20374 fits a wide range of GE and Hotpoint dryer models including the GTDP180, GTDP200, and GTDP250 series. It replaces older part numbers WE1M856, WE1M589, AP5805160, and PS8769912. Check your model number against the compatibility list — if your dryer was made in the last 15 years and uses a white timer knob, this is likely your part. The model number is usually on a tag inside the door opening.
What if the knob keeps falling off after I install it?
If the new knob won't stay on or feels too loose, the timer shaft itself may be worn down or damaged. The D-shaped shaft can round off over time from a broken knob spinning against it. In that case, you'll need to replace the entire timer assembly, not just the knob. However, if the shaft looks good and has clear flat edges on the D-shape, make sure you're pushing the knob on fully — it should go all the way flush with no gap.
Can I use pliers to install this if it's too tight?
Don't use pliers directly on the knob face — you'll crack the plastic. If the knob is genuinely difficult to push on (which is rare), you can place a thin cloth over the knob and use gentle pressure with slip-joint pliers on the sides. But honestly, these knobs are designed for hand installation. If it won't go on with firm hand pressure, something's misaligned. Pull it back off, check the D-shaft orientation, and try again.
If the new knob feels loose immediately after installation, the timer shaft may be worn and require timer replacement
Need the part for this repair?
WE01X20374 · In Stock · Ships next business day