
How to Replace WB15X10020 Microwave Door Handle on GE Spacemaker XL — Step-by-Step
Unplug microwave before starting work, even for door-only repairs
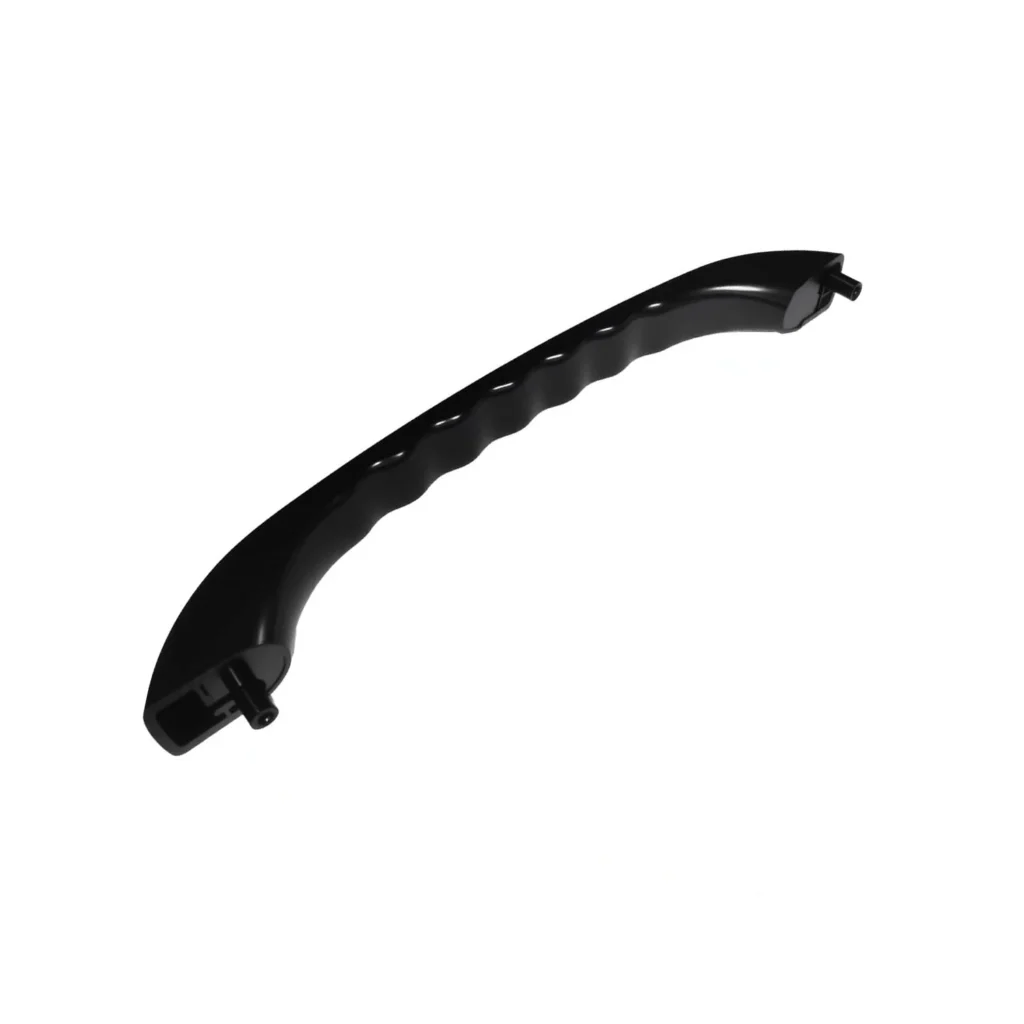
Your GE Spacemaker XL's door handle just broke off in your hand mid-pull, and now you're opening the microwave door with a kitchen towel wrapped around the metal latch. Sound familiar? The WB15X10020 door handle is one of those parts that fails suddenly — usually after years of daily use weakens the plastic mounting points. If your door's not closing properly or the handle feels loose and wobbly, replacing it takes about 15 minutes and requires nothing more than a Phillips screwdriver.
What You Need Before Starting
Here's what you'll need for this repair:
- Phillips screwdriver
- Replacement screws (the WB15X10020 doesn't include them)
- Flashlight or good lighting
- 15 minutes of time
Difficulty: Easy — this is a straightforward cosmetic repair with no electrical work required.
Important note: Screws are NOT included with this handle. You'll need to reuse your old screws or purchase #8-18 x 1/2" pan head screws separately. Check your old handle first to confirm screw size.
Safety First
While this repair doesn't involve electrical components, always unplug your microwave before starting any work. Even though you're only working on the door, it's good practice to eliminate any risk. Make sure the microwave is cool to the touch if it's been used recently.
Step 1: Remove the Old Handle
Open your microwave door fully. Look at the inside edge of the door where the handle attaches — you'll see two Phillips screws, one near the top and one near the bottom. These screws go straight through the door from the inside to secure the handle on the outside. Use your screwdriver to remove both screws completely. Keep them in a safe place since your new handle doesn't include replacements. The old handle should pull straight off once the screws are out.
Step 2: Clean the Mounting Area
With the old handle removed, you'll probably see some grime, grease, or food residue around the screw holes. Wipe down the door exterior with a damp cloth and some mild cleaner. This isn't just about appearance — debris in the screw holes can prevent the new handle from sitting flush against the door, which affects how well the door closes.
Step 3: Position the New Handle
Line up the new WB15X10020 handle on the outside of the door. The mounting holes should align perfectly with the holes in the door. Hold the handle steady with one hand while you reach inside the door with your other hand. It helps to have someone hold the handle in place while you insert the screws from the inside, but you can do this solo by pressing the handle against the door with your hip or chest.
Step 4: Secure the Handle
Insert the first screw from the inside of the door through to the handle. Don't tighten it completely yet — just get it started so the handle stays in position. Then insert the second screw. Once both screws are threaded, tighten them evenly, alternating between top and bottom. Don't overtighten — plastic handles can crack if you apply too much torque. The handle should feel solid but you shouldn't be straining to turn the screwdriver.
Step 5: Test the Door Operation
Close the microwave door and listen for the latch to engage properly. Open and close it a few times to make sure the handle feels secure and the door closes smoothly. If the door's not closing properly or seems misaligned, slightly loosen the screws and adjust the handle position up or down by a millimeter or two. The door should close with a satisfying click and the interior light should turn off completely when shut.
Testing After Installation
Plug your microwave back in and run it empty for 10 seconds (place a cup of water inside if you're concerned about running it empty). This confirms the door interlock switches are working correctly with the new handle. The microwave should run normally without any error codes. Pull on the handle with normal opening force — it shouldn't flex or feel loose. If you notice any wobble, check that both screws are tight.
Frequently Asked Questions
Will this handle fit my GE over-the-range microwave?
The WB15X10020 fits GE Spacemaker XL models including JVM1330, JVM1331, JVM1339, JVM1340, JVM1341, and JVM1350 series. Check your model number (usually on a label inside the door or on the side wall) against the compatibility list. Models like JVM1330BW01, JVM1340BW02, and JVM1350BW03 all use this handle.
Can I use different screws if I lost my originals?
Yes, but use the correct size. You need #8-18 x 1/2" pan head screws. Using screws that are too long can damage the door interior, while screws that are too short won't hold the handle securely. Hardware stores carry these in the fastener section — bring your old screws if you have them to match the thread pattern.
My door still doesn't close right after replacing the handle — what's wrong?
If the door's not closing properly even with a new handle, the issue might be with the door latch mechanism or hinges rather than the handle itself. The handle is just a grip — it doesn't control the latching. Check that the door hinges aren't bent and that the latch hook on the door lines up with the catch on the microwave body. Sometimes years of use can cause the door to sag slightly, which is a separate repair.
Screws NOT included with this handle — save your old screws or buy #8-18 x 1/2" pan head screws before starting
Need the part for this repair?
WB15X10020 · In Stock · Ships next business day